


Skim coating gives your walls a glass-smooth finish and fixes common wall problems. This technique puts a thin layer of drywall compound over your walls, creating a perfect surface for paint. With the right tools and patience, you can transform rough or damaged walls into smooth surfaces ready for any finish. Many homeowners find this project intimidating at first, but understanding the process makes it manageable for DIY enthusiasts.
Key Takeaways
- A thin layer of joint compound, mixed to the consistency of cake batter, provides the foundation for perfectly smooth walls.
- Proper preparation of your entire wall, including thorough cleaning and priming, prevents problems like bubbling and peeling in your skim coat.
- Multiple thin coats applied in alternating directions with your drywall knife create the smoothest possible surface.
- For complex or large-scale projects, consider professional services from OnDemand Painters to ensure the highest quality skim coating results.
- Working in manageable sections and maintaining a wet edge helps prevent visible seams in your walls and ceilings.
- New drywall-like smoothness requires patience through the full process of mixing, applying, and carefully sanding each coat.
What is a Skim Coat?
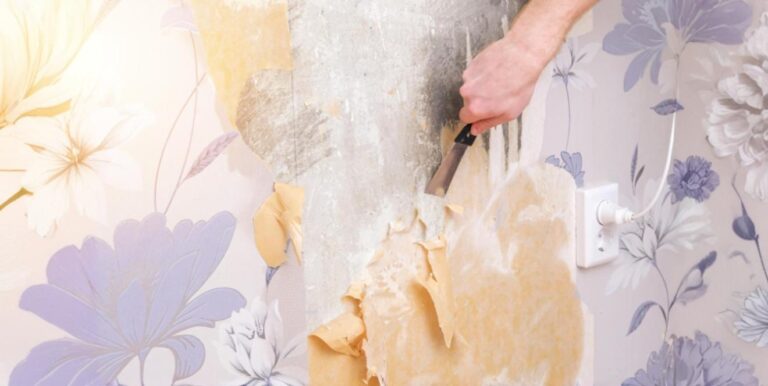
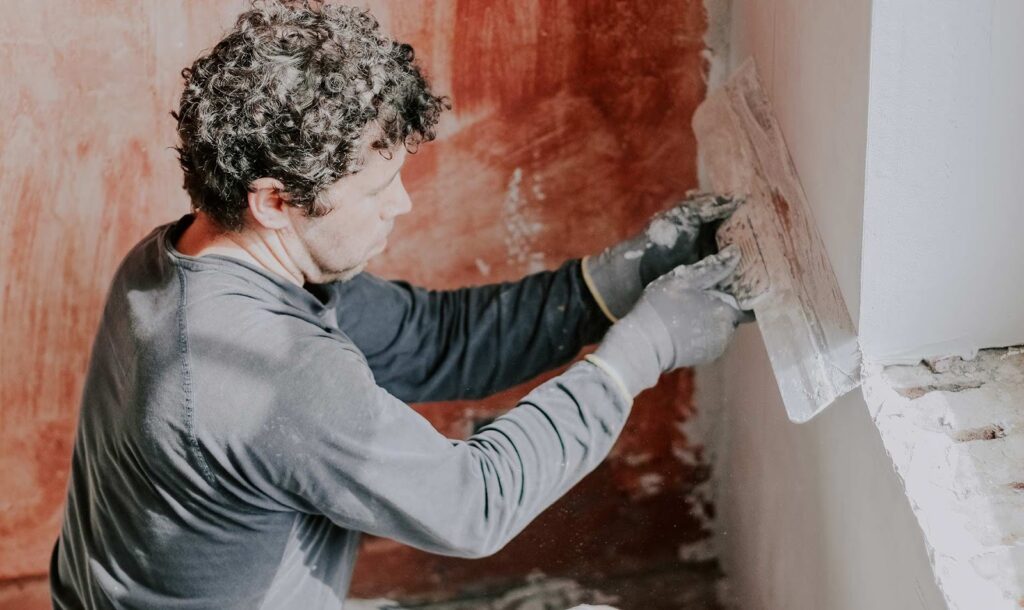
A skim coat is a thin layer of drywall compound that covers your entire wall. Professional painters use this method to fix various wall issues, from damaged drywall to old wall texture and wallpaper removal marks. The process uses joint compound, often called mud by professionals, to create a new, smooth surface. While skim coating takes time and practice, it offers a cost-effective solution compared to replacing drywall entirely. The technique works especially well for walls with minor damage, texture you want to remove, or surfaces that need refreshing before a new paint job.
Tools and Materials for Skim Coating Walls
Success in skim coating depends on having the right tools and materials ready before you start. You’ll need a 12-inch drywall knife, paint roller with 3/4-inch nap, mud pan, and a 5-gallon bucket for mixing. A mixing drill attachment saves time and ensures smooth compound consistency. For finishing, you’ll need a sanding pole and fine-grit sandpaper. Don’t forget essential prep materials like drop cloths and painter’s tape.
The most important material is your joint compound. Choose lightweight all-purpose joint compound for easier spreading and sanding. While ready-mixed compound costs more than powder mix, it saves time and reduces the risk of mixing errors. You’ll also need drywall primer and clean water for mixing and cleanup. Some professionals recommend having extra tools on hand, including smaller drywall knives for detail work and a good work light to spot imperfections.
Quality tools make a significant difference in your results. Look for drywall knives with comfortable handles and straight edges. Your paint roller should have a sturdy frame that won’t bend under pressure. Consider investing in a good dust mask and eye protection, as skim coating creates fine dust during the sanding process.
Preparing Your Entire Wall for Skim Coating
Proper preparation makes the difference between professional results and amateur work. Start by clearing the room completely. Remove all furniture, pictures, and outlet covers. Cover your floors with drop cloths to protect against compound drips and sanding dust. Clean your walls thoroughly, removing all dust and debris. Fix any holes or damage with setting-type joint compound before starting the skim coat process.
Priming plays a crucial role in skim coating success. Apply a quality drywall primer to the entire surface and let it dry completely. This step seals the wall and provides better adhesion for your joint compound. Some walls might need two primer coats, especially if they’re particularly porous or have never been painted. Good priming prevents problems like bubbling or peeling in your finished skim coat.
Protection goes beyond just drop cloths. Use painter’s tape to mask off trim work and window frames. Cover windows completely with plastic sheeting to protect against dust. Seal doorways to contain dust within your work area. Don’t forget to protect electrical outlets and switches with tape or covers. Good preparation now saves hours of cleanup later.
Creating the Perfect Thin Layer: Mixing Your Materials
Getting the right consistency makes or breaks your skim coating project. Start with clean materials and tools. Fresh joint compound should be free of lumps and contamination. Use clean water and ensure all mixing tools are thoroughly cleaned from previous uses. Temperature affects your compound’s working time, so avoid mixing more than you can use in about 30 minutes.
The perfect joint compound consistency resembles cake batter – thick enough to stick to your tools but thin enough to spread smoothly. Mix compound in your bucket using a drill attachment, adding water slowly until you reach the right consistency. Test the mix by lifting your mixing paddle – the compound should fall in a continuous ribbon, not in clumps or too quickly. Good mixing technique prevents air bubbles that can cause problems in your finish.
Common mixing problems can ruin your work before you start. Compound that’s too thick won’t spread evenly and creates ridges. Too thin, and it runs down the wall, creating drips and uneven coverage. Lumpy compound leads to bumps in your finish that require extra sanding. If your mix feels too dry, it won’t stick properly to the wall. Take time to adjust your mix until it feels right. Remember that different brands of compound might need slightly different amounts of water.
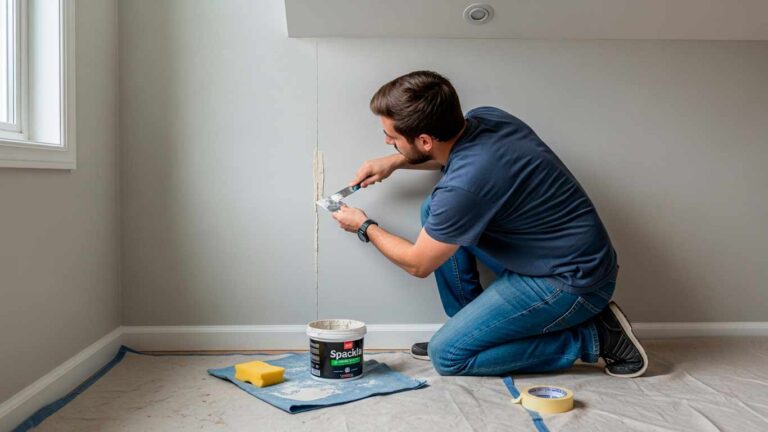
Step-by-Step Guide to Skim Coating
Proper application of your first coat determines the success of your entire skim coating project. Follow these key steps for the best results:
1. Section Your Wall Break your wall into manageable 4×4 foot sections. Working in smaller areas prevents the compound from drying before you can smooth it properly. Good lighting helps you spot areas needing attention.
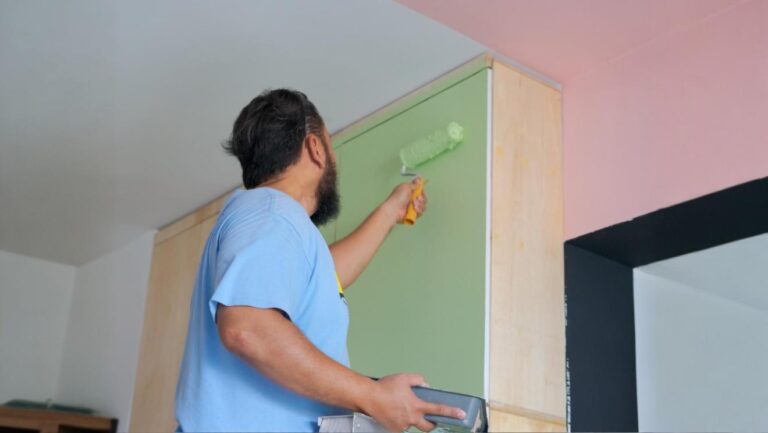
2. Apply the Compound Load your roller with mud, then roll it onto your first section. Use steady, even pressure to create a consistent layer. Don’t worry if it looks textured – the knife work will smooth this out.
3. Start Smoothing Hold your 12-inch drywall knife at a 30-degree angle against the wall. Apply firm, even pressure as you pull the knife down the wall in long, steady strokes.
4. Maintain Coverage Remove excess mud while leaving enough to fill wall imperfections. Each knife stroke should overlap slightly with the previous one for complete coverage.
5. Check Your Work Look carefully for missed spots or uneven areas. Fix these while the compound is still wet. Move your work light to different angles to spot imperfections better.
6. Clean Your Tools Wipe your drywall knife clean frequently. Built-up dried compound can leave unwanted lines in your finish. Keep a bucket of clean water and rags nearby.
7. Continue the Process Move to your next section, maintaining a wet edge where the sections meet. This prevents visible seams in your final finish.
Multiple Coats and Smooth Walls
Your first coat creates the foundation, but achieving perfectly smooth walls requires additional layers. After your first coat dries completely, inspect the wall for any remaining texture or uneven spots. The second coat goes on perpendicular to your first coat’s direction. If you applied the first coat vertically, apply your second coat horizontally. This crosshatch pattern helps eliminate any remaining texture and ensures complete wall coverage.
For the second coat, mix your compound slightly thinner than the first. Roll it on just as before, but use lighter pressure with your drywall knife. You’re not filling major imperfections now – you’re creating a smooth surface. Most walls need three coats for a truly smooth finish. The third coat should be the thinnest, focusing on smoothing rather than filling. Each coat builds on the previous one, gradually creating a glass-like surface.
Working time between coats matters significantly. Don’t rush the drying process – proper drying prevents bubbling and cracking in your final finish. In good conditions, each coat needs 24 hours to dry completely. High humidity or cold temperatures can extend this time. Use fans to improve air circulation, but avoid pointing them directly at your wet walls.
Sanding Between Coats
Proper sanding technique makes your final coat easier to apply. Wait until each coat dries completely – usually 24 hours in good conditions. Use 150-grit sandpaper for your first sanding, moving to 220-grit for your final coat. Sand just enough to remove any ridges or tool marks. You don’t need to sand the wall completely smooth between coats – focus on problem areas and visible imperfections.
Keep your sanding pressure light and consistent. Many DIYers make the mistake of pressing too hard, creating low spots that show in the final finish. A sanding pole helps maintain even pressure and prevents arm fatigue. Good lighting remains crucial during sanding – angle your work light to highlight any remaining imperfections.
Dust control during sanding makes a huge difference in your work quality and cleanup time. Use a dust collection system if possible, or at minimum, wear appropriate respiratory protection. Some professionals attach their sanders to shop vacuums for immediate dust collection. Regular cleaning between sandings prevents dust from getting trapped in your next coat.
Special Considerations for Walls and Ceilings
Different surfaces present unique challenges when skim coating. Ceilings require more preparation and different techniques than walls. When working overhead, use slightly thicker compound to prevent drips, and work in smaller sections. Orange peel texture or heavy textures might need extra coats to achieve a smooth surface. Pay special attention to corners and edges where texture often builds up.
Plaster walls need special attention. Old plaster often has hairline cracks and uneven areas that show through thin coats. These walls might need a base coat of setting-type compound before regular skim coating begins. Test a small area first to ensure good adhesion and determine how many coats you’ll need. Some older plaster walls may require bonding agents for proper adhesion.
Temperature changes can affect both plaster and drywall differently. Work in consistent temperatures, ideally between 50 and 90 degrees Fahrenheit. Extreme temperatures can cause the compound to dry too quickly or too slowly, affecting your final finish. Consider using setting-type compound in cold conditions, as it dries through a chemical reaction rather than evaporation.
Professional Tips for a Smooth Finish
Professional painters like OnDemand Painters recommend several techniques for better results. Keep your compound temperature consistent – cold compound gets thick and hard to spread. Clean your tools thoroughly between coats. Any dried bits can create scratches in your fresh coat. Watch your room temperature and humidity – extreme conditions affect drying time and final results.
Advanced techniques can help achieve an even smoother finish. Some professionals slightly dampen the previous coat before applying the next one, helping the new coat blend seamlessly. Others use specialized finishing compounds for their final coat, creating an ultra-smooth surface perfect for high-gloss paints.
Lighting plays a crucial role in achieving professional results. Use strong lighting at different angles to spot imperfections. Many professionals use LED work lights positioned at low angles to cast shadows that reveal even minor flaws. This technique, called critical lighting, helps ensure no imperfections remain visible after painting.
Conclusion
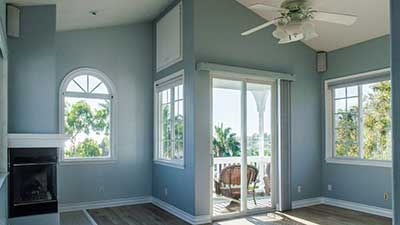
Skim coating transforms rough or damaged walls into smooth surfaces ready for paint. While the process takes time and patience, the results can match professional work. Consider your project’s size and complexity when deciding between DIY and hiring professionals like OnDemand Painters. Multiple coats and careful attention to detail create walls that look freshly installed.
Success comes from understanding each step’s importance and not rushing the process. From proper mixing to careful application and thorough sanding, every stage builds toward your final result. With practice and the right techniques, you can achieve professional-quality results on your own walls. Remember that even experienced professionals developed their skills over time – patience and attention to detail will serve you well in your skim coating project.
FAQs
Can a skim coat make walls as smooth as new drywall?
Multiple thin layers of joint compound with proper drywall sanding between coats can create walls as smooth as new drywall.
How many coats of drywall compound do living room walls and ceilings typically need?
Most walls and ceilings require three thin coats with light drywall sanding between layers for a professional finish.
What’s the difference between hot mud and regular drywall compound for skim coat walls?
Regular drywall compound is ideal for skim coating, while hot mud works better for quick drywall repairs and patches.
Will a paint roller and mud pan give me professional results?
Professional results require a complete tool set including a paint roller, drywall sander, and damp rag for proper application and cleanup.
Do I need flat paint after skim coating wall paper?
Remove wallpaper completely before skim coating and finish with flat paint for the best surface results.
How important is the first coat when skim coating walls?
The first coat creates the foundation, requiring careful drywall sanding before subsequent layers for perfectly smooth walls.