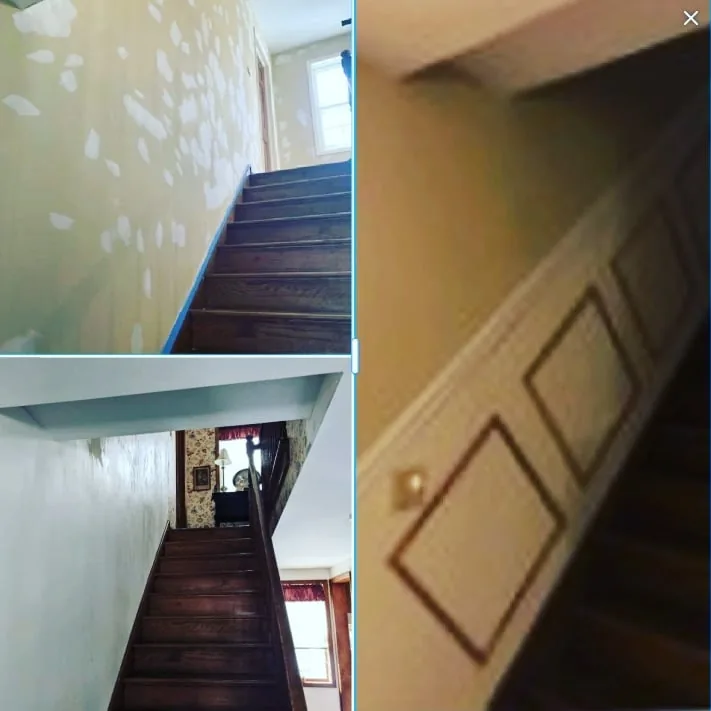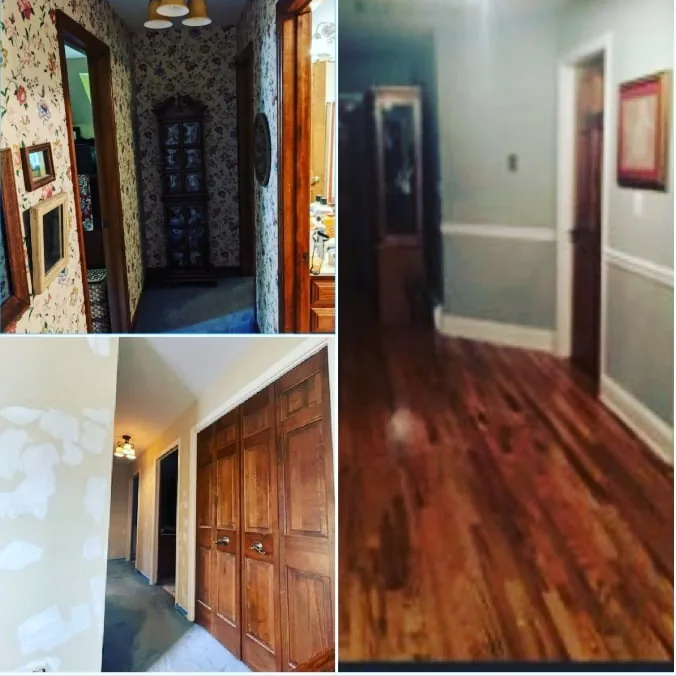
This was the kind of project that scope-creeps if you let it — and absolutely should. The homeowner started with “I want this wallpaper gone.” What they got was a room they like to walk into.
What the room needed
- Wallpaper removal that didn’t trash the drywall underneath
- Wall repair for the damage left behind, plus general flatness work
- Wainscoting installation to add architectural weight to the lower half of the room
- A color palette that felt traditional without feeling stuck in a previous decade
The sequence
- Removal first — proper wallpaper removal is patience plus the right scoring tools and stripper. Forcing it tears the drywall paper and creates twice the prep work.
- Skim coat the walls — most wallpaper jobs were applied over walls that had texture or imperfections the wallpaper hid. Once it’s down, you have to reset the surface.
- Install the wainscoting — measured, mitered, and caulked tight. The mistake DIY installs make is rushing the caulk and paint stage; gaps and seams that telegraph through paint are the giveaway.
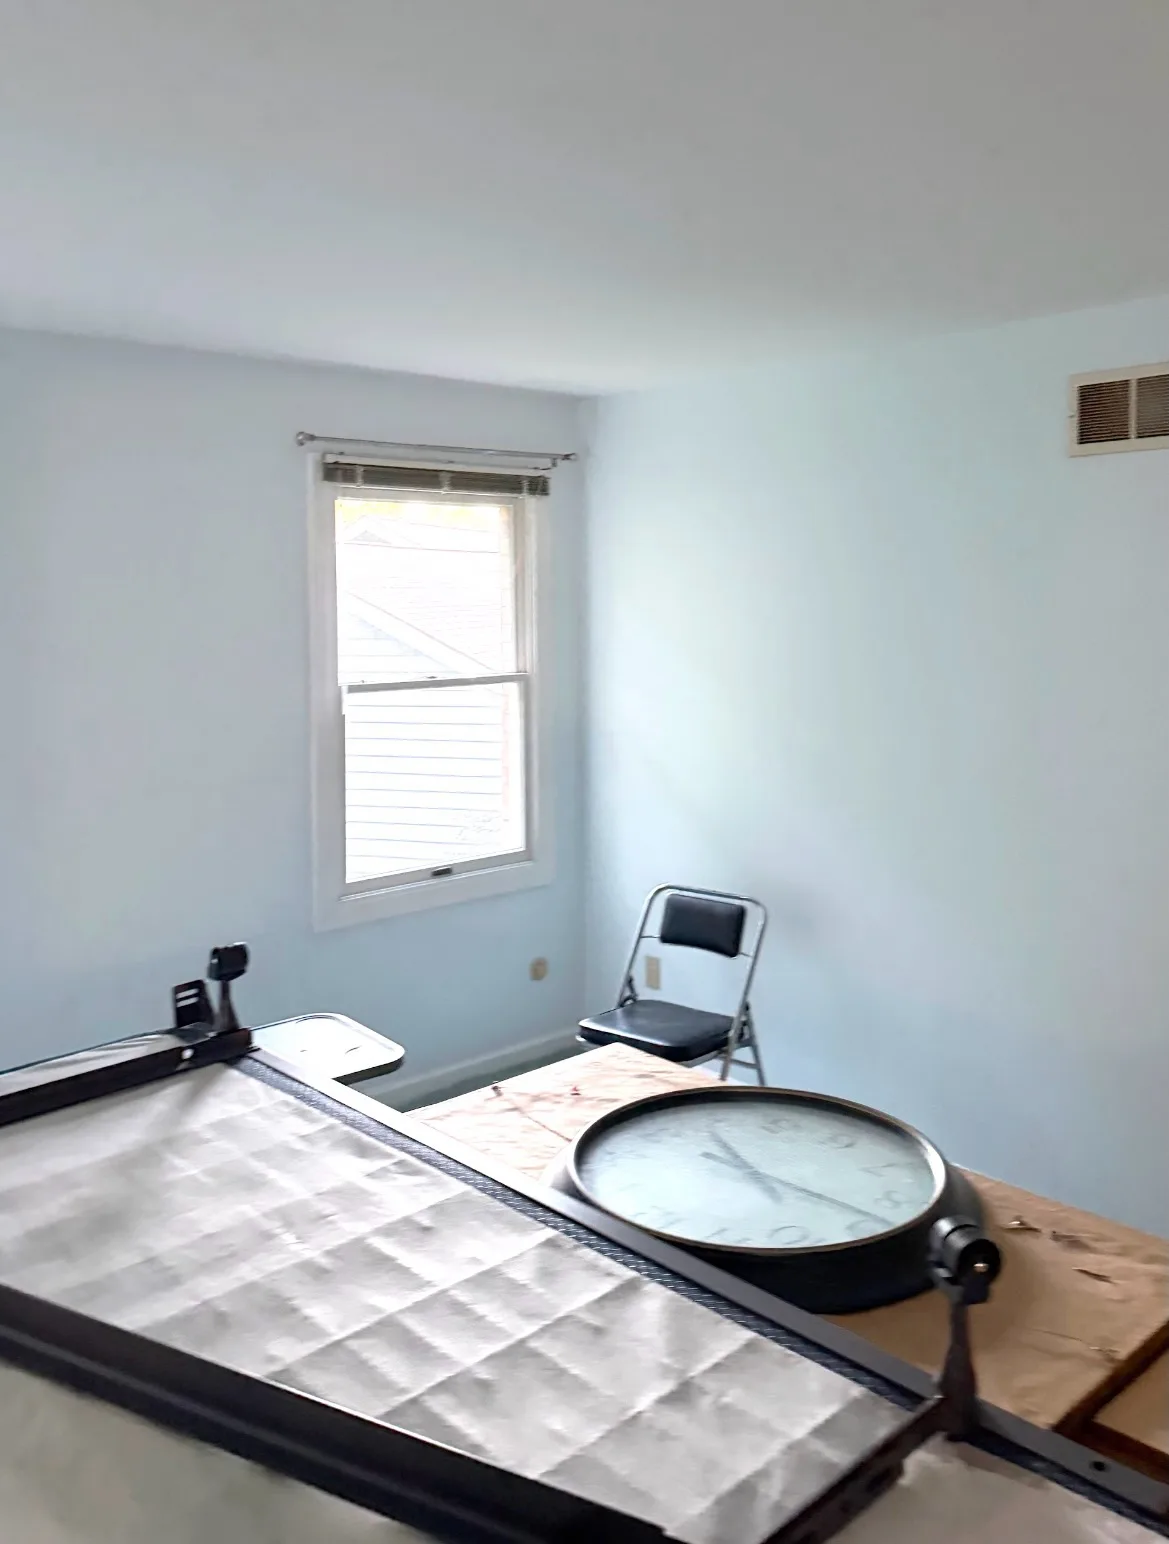
- Prime everything, then two finish coats.
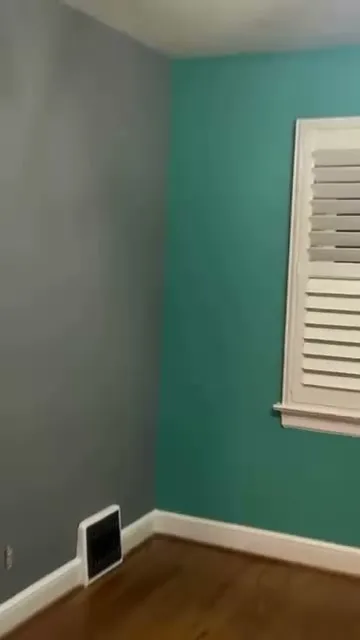
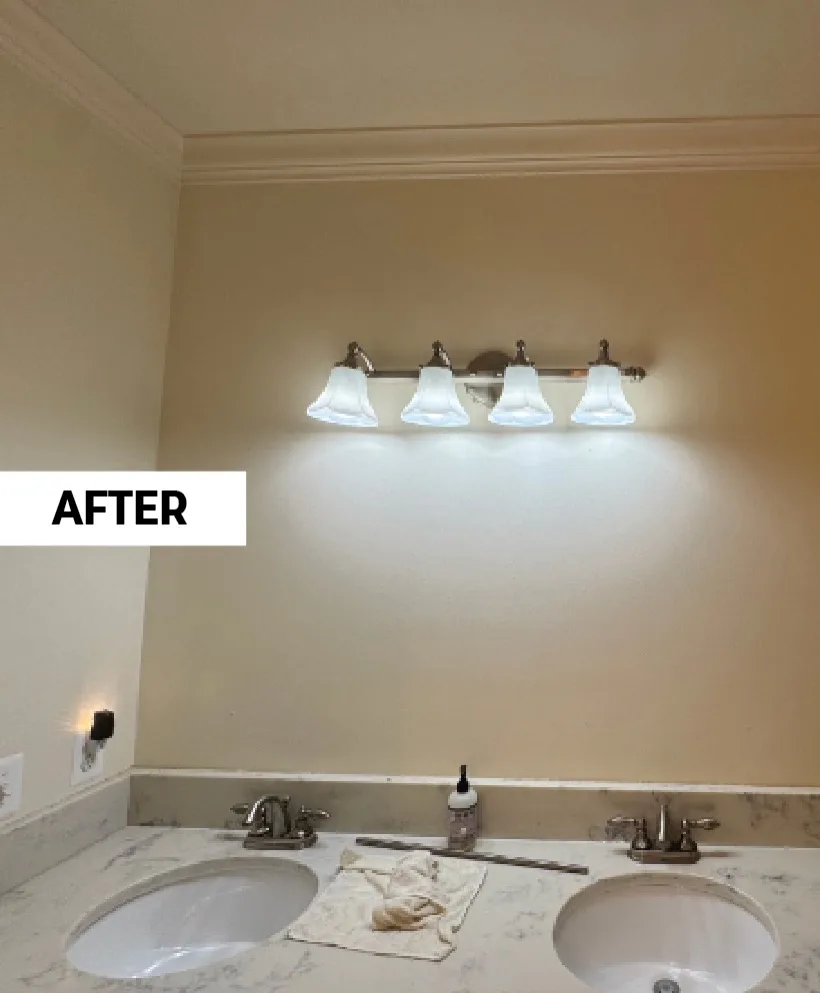
- Color palette — a soft, warm wall color above the chair rail, crisp white wainscoting and trim below, and an accent for the door and built-ins. Traditional structure, contemporary execution.
Why this kind of project pays off
A room with architectural detailing and a thought-out palette feels finished in a way a flat-painted box never does. You don’t need to remodel the bones of the house. You need to add the right details and treat the surfaces correctly.
If you’re sitting in a room with wallpaper you want to be done with, that’s usually step one of a much better room.