Drywall Installation in Nashville
Full drywall installation for new construction, additions, and remodels. Hang, tape, mud, sand, and prime. Ready for paint.
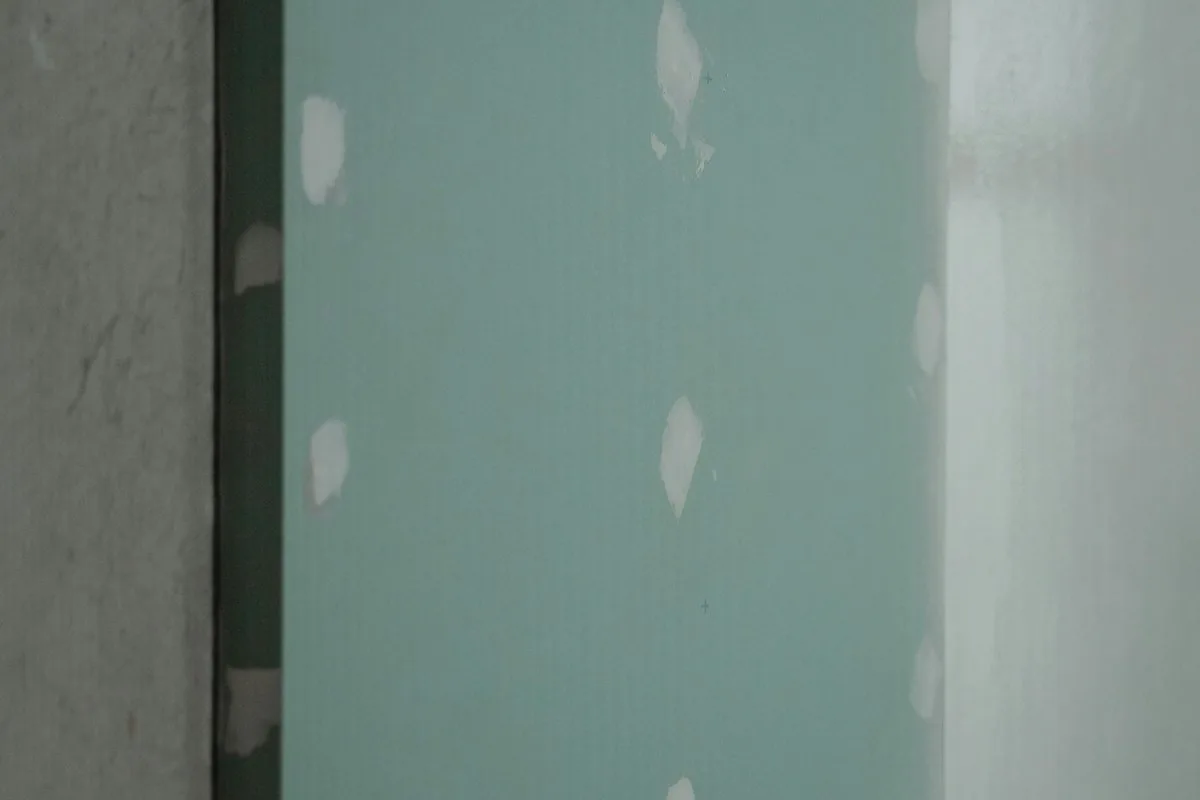
Nashville and Williamson County are building fast. We handle drywall for new construction, room additions, and renovation projects. With the amount of new homes going up in the area, we stay busy with both builders and homeowners.
Whether you are finishing a basement, adding a room, or building from the ground up, drywall installation is the step that turns framing into finished walls. We handle the full process. Hanging, taping, mudding, sanding, and priming. So the walls are ready for paint when we are done.
Layout and planning
We start by measuring the space and planning the layout. Drywall sheets come in 4x8 and 4x12 sizes, and the way they are arranged matters. Fewer seams means less taping and a smoother finished wall. We stagger the joints, avoid lining up seams with window and door corners, and hang sheets horizontally on walls to reduce visible joints.
Hanging the board
Hanging is the physical part. We cut each sheet to fit, fasten it to the studs with drywall screws spaced every 12 to 16 inches, and make sure every screw is set just below the paper surface without breaking through. Poorly set screws cause nail pops later. We cut around outlets, switches, and light fixtures with precision so the cover plates sit flush.
For ceilings, we use 5/8-inch drywall to resist sagging. In rooms where sound matters. Bedrooms next to living areas, home offices, media rooms. We install Type X or sound-dampening board. In bathrooms, laundry rooms, and kitchens, we use moisture-resistant drywall to prevent mold and water damage.
Taping and mudding
After hanging comes taping. We embed paper tape in a bed of joint compound along every seam and at every inside corner. Outside corners get metal or vinyl corner bead for a clean, straight edge. The tape and bead create the skeleton of the finished surface.
Mudding is where the skill shows. We apply three coats of joint compound over every taped joint, screw head, and corner bead. Each coat is wider than the last. Starting at about four inches and feathering out to 12 or 14 inches on the final coat. This creates a gradual transition that hides the seam completely. Each coat has to dry before the next one goes on, and each coat gets sanded smooth.
Choosing a finish level
The finish level matters. The drywall industry uses a standard grading system from Level 0 to Level 5. Most residential work calls for Level 4. All joints taped and mudded with two coats, plus a skim coat on visible areas. Level 5 adds a full skim coat over the entire surface and is used when the wall will be under harsh lighting or will receive a gloss finish. We will tell you what level your project needs and why.
After the final sand, we prime everything. Primer seals the joint compound and paper so paint absorbs evenly across the wall. Without it, you get a patchy, uneven finish called "flashing" where the mudded joints look different from the paper surface.
Timeline and crew
A bedroom-sized installation takes two to three days. A full basement or addition takes a week or more depending on size and finish level. We clean up dust as we go. Drywall sanding is messy, and we take that seriously.
We do this work ourselves. Same crew that hangs it tapes it, muds it, sands it, primes it, and paints it. No handoffs, no gaps in quality.
What's included
Drywall Installation questions
What are drywall finish levels and which one do I need? expand_more
Finish levels range from Level 0 (bare board, no taping) to Level 5 (full skim coat over the entire surface). Most homes need Level 4, which means all seams are taped, mudded, and sanded smooth. Level 5 is for areas under harsh or raking light, or walls getting a high-gloss finish. We will recommend the right level based on your space and how it will be used.
How long does a full drywall installation take? expand_more
A single room takes two to three days. A full basement runs about a week. Larger additions or new construction may take two weeks or more. Drying time between mud coats is the main factor. We cannot rush that without hurting the finish quality.
Do you install drywall over existing plaster? expand_more
In some cases, yes. If plaster walls are badly damaged or uneven, we can fur out the walls and install drywall over them. This gives you a flat, modern surface without the mess and cost of full plaster removal. We will look at your walls and give you the best option.
What about soundproofing between rooms? expand_more
We offer several options. Type X drywall adds mass and fire resistance. Specialty sound-dampening board (like QuietRock) significantly reduces noise transfer. For the best results, we combine thicker board with insulation in the wall cavity and resilient channels to decouple the drywall from the studs.
Can you hang drywall in a garage or unfinished space? expand_more
Yes. Garages typically get a Level 1 or Level 2 finish since appearance matters less than function. Code may require fire-rated Type X drywall on the wall between your garage and living space. We handle permitting requirements and make sure the installation is up to code.
Drywall Installation for Nashville homes
Nashville homes run the gamut. Historic Craftsman bungalows in 12 South, brick ranches in Crieve Hall, two-story builds in Mt. Juliet, and new construction in Brentwood and Franklin. We've painted all of them.
Nashville summers are hot and humid, and the rain comes in hard afternoon storms. We plan around the weather and use high-performance paints and primers that stand up to Tennessee's climate. For older homes in Germantown and East Nashville, we handle plaster, popcorn ceilings, and the detail work that keeps historic character intact.
Where we work
We work across the Nashville metro. From Belmont-Hillsboro and Sylvan Park to Williamson Estates, Franklin, and Mt. Juliet.
From quote to finished. In 4 steps
1. Get a Quick Quote
Fill out the form or call us. We respond with a detailed quote in as little as 10 minutes.
2. On-Site Estimate
For larger projects, we schedule a free in-person walkthrough to confirm scope and pricing.
3. We Get to Work
Our crew arrives on time, preps properly, uses premium materials, and keeps you informed throughout.
4. Final Walkthrough
We walk through the finished work with you. If anything needs adjusting, we fix it on the spot.
Chris Heerdegen
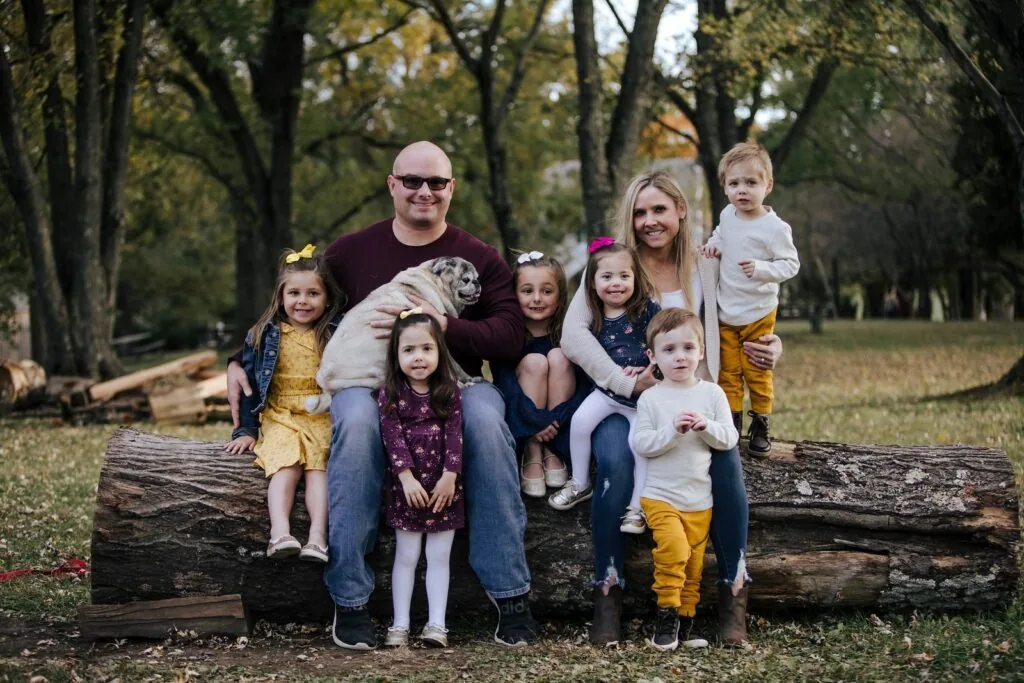
I'm Chris, the owner of OnDemand Painters. When you call, it's directly to my cell. I've been in the industry since 2001 and manage crews across six markets. We show up when we say we will, and we do the type of work that earns a review.
Ready for drywall installation in Nashville?
Free quote in 10 minutes. Local crew. Written guarantee.