Quality work.
Genuine craftsmanship.
Painting, drywall, and gutter services across six US markets. Satellite imagery quotes in 10 minutes. 3-year warranty. 25% deposit. Balance on completion.
Get a free quote
We respond in as little as 10 minutes.
Painting Pros in 6 Metro Markets
Each market has a dedicated local crew. Same quality standards, same 10-minute quotes, wherever you are.
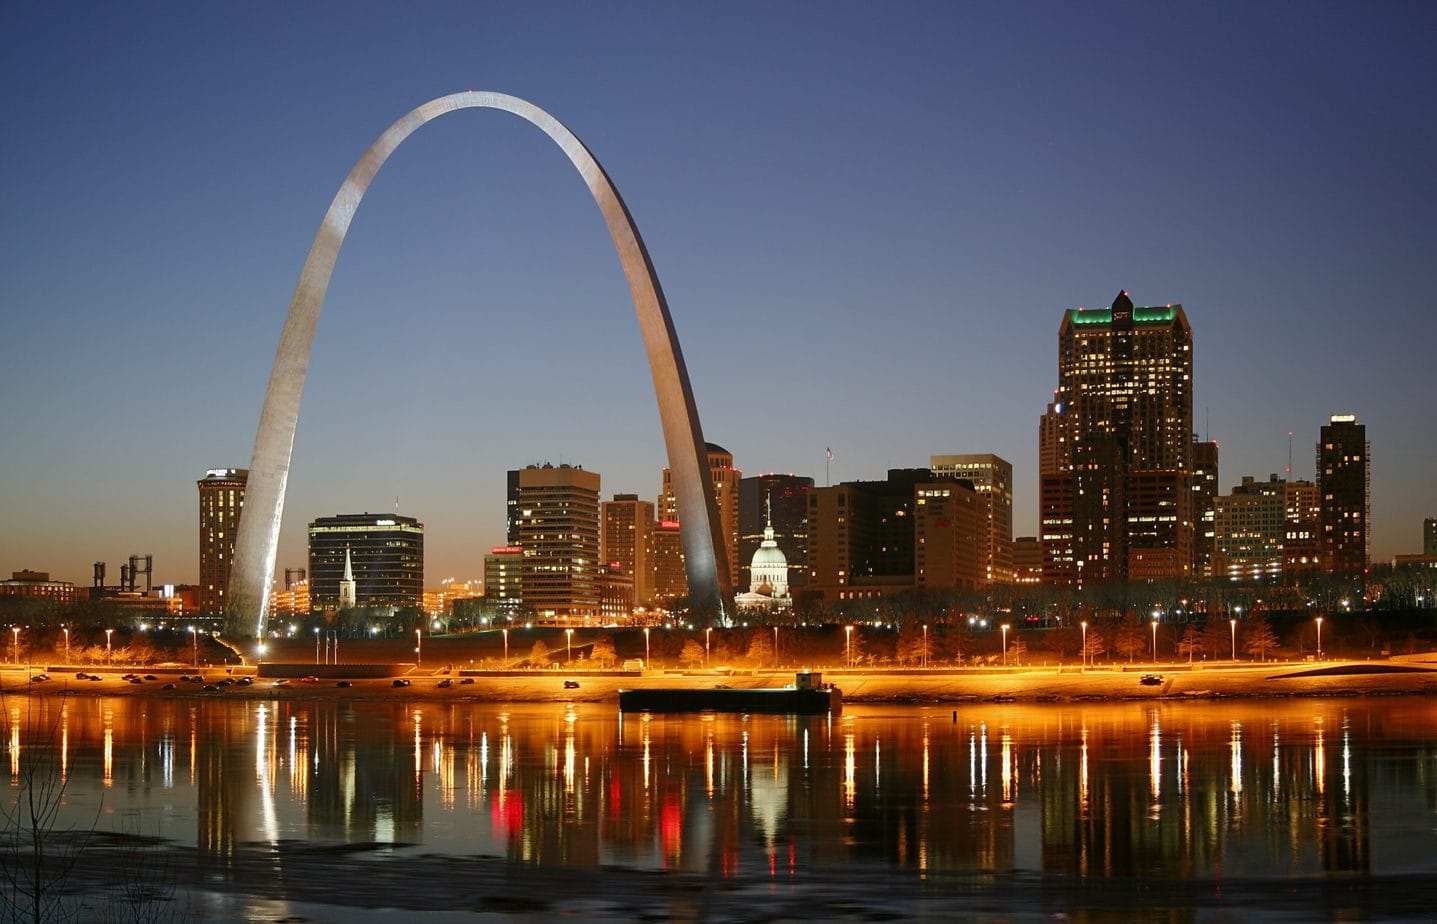
St. Louis
Serving St. Louis, Chesterfield, St. Charles, and surrounding areas.
View Local Services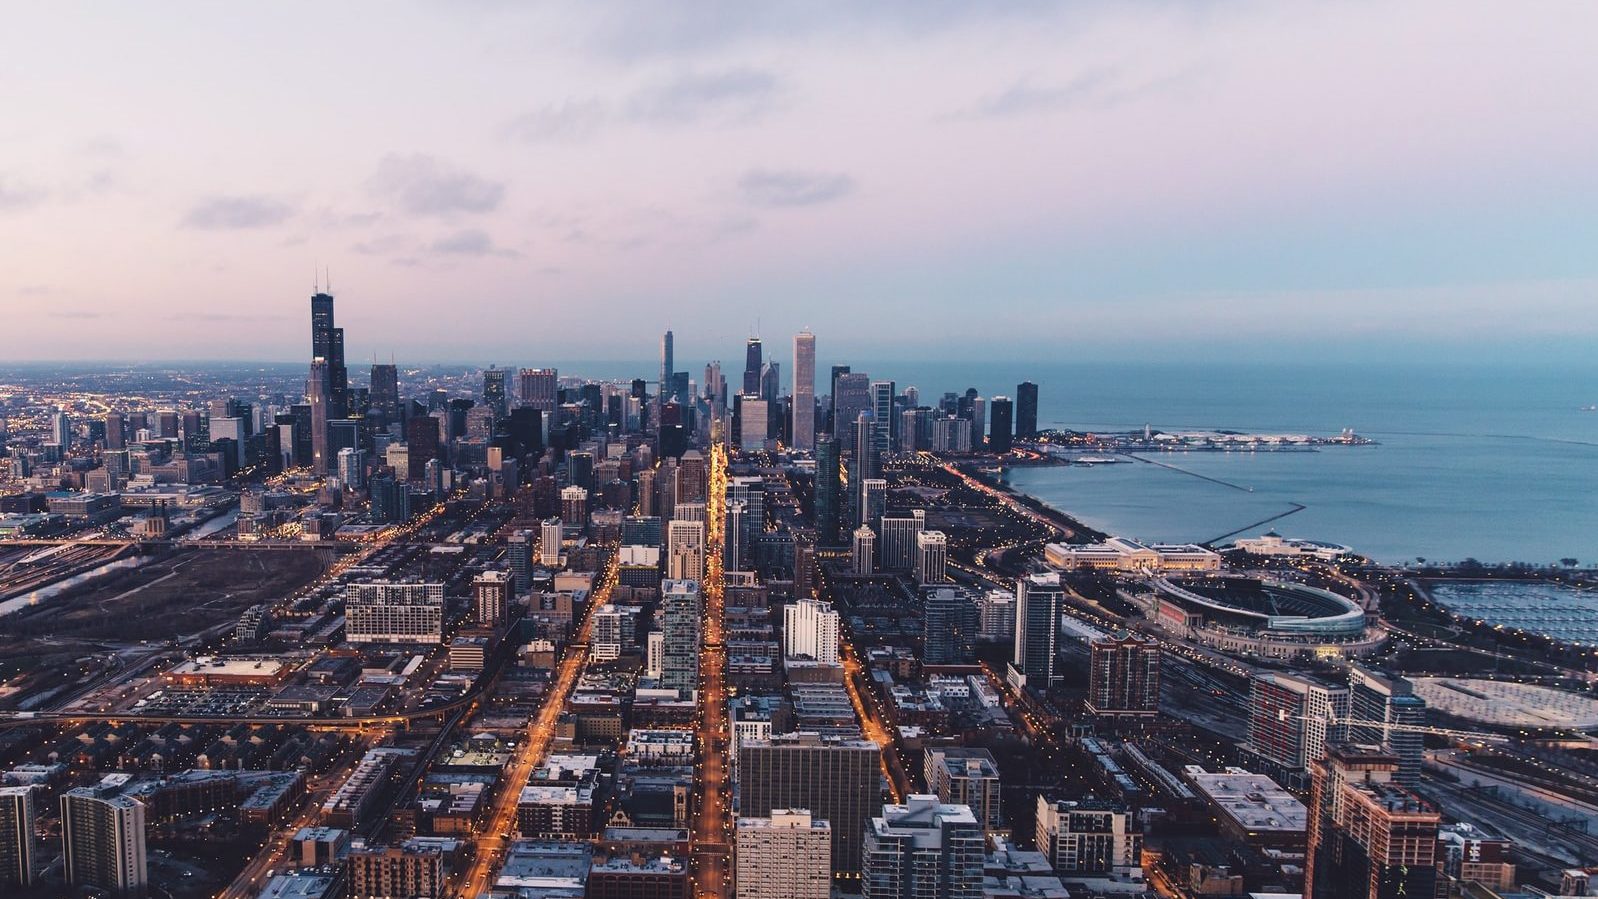
Chicago
Serving Chicago, Gurnee, Naperville, Oak Park, and the north shore.
View Local Services
Detroit
Serving Detroit, Troy, Royal Oak, Birmingham, and the greater metro area.
View Local Services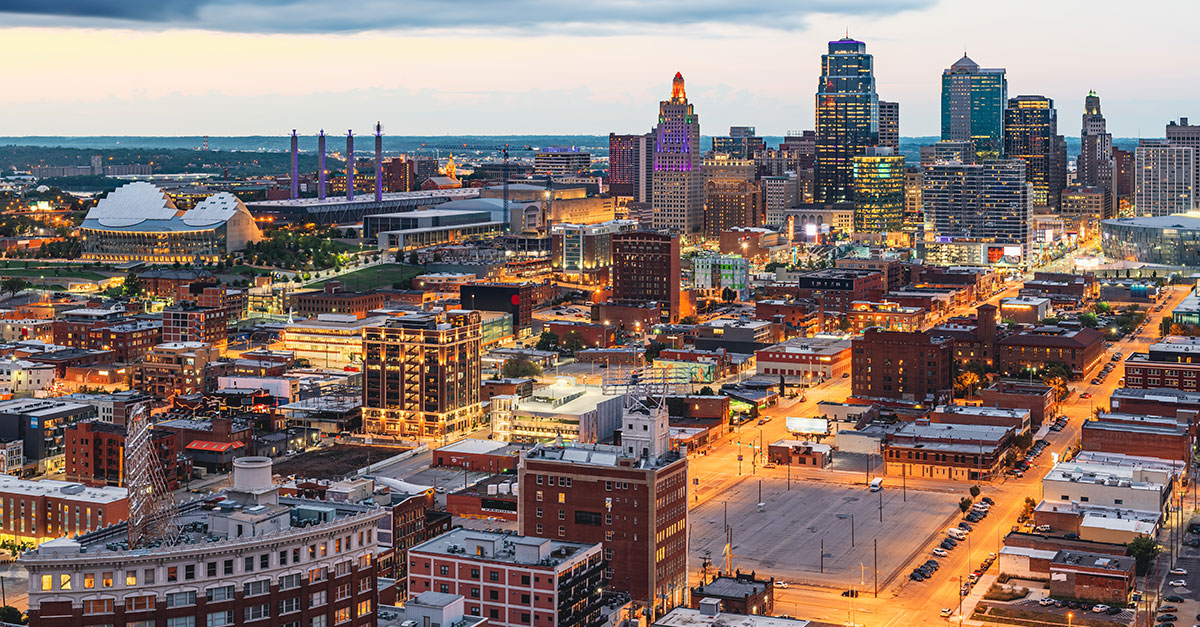
Kansas City
Serving Kansas City and the surrounding metro area.
View Local Services
Nashville
Serving Nashville, Brentwood, Franklin, and Middle Tennessee.
View Local Services
Brevard County
Two local crews serving the Space Coast from Merritt Island and Melbourne. Full coverage across Brevard County.
View Local Services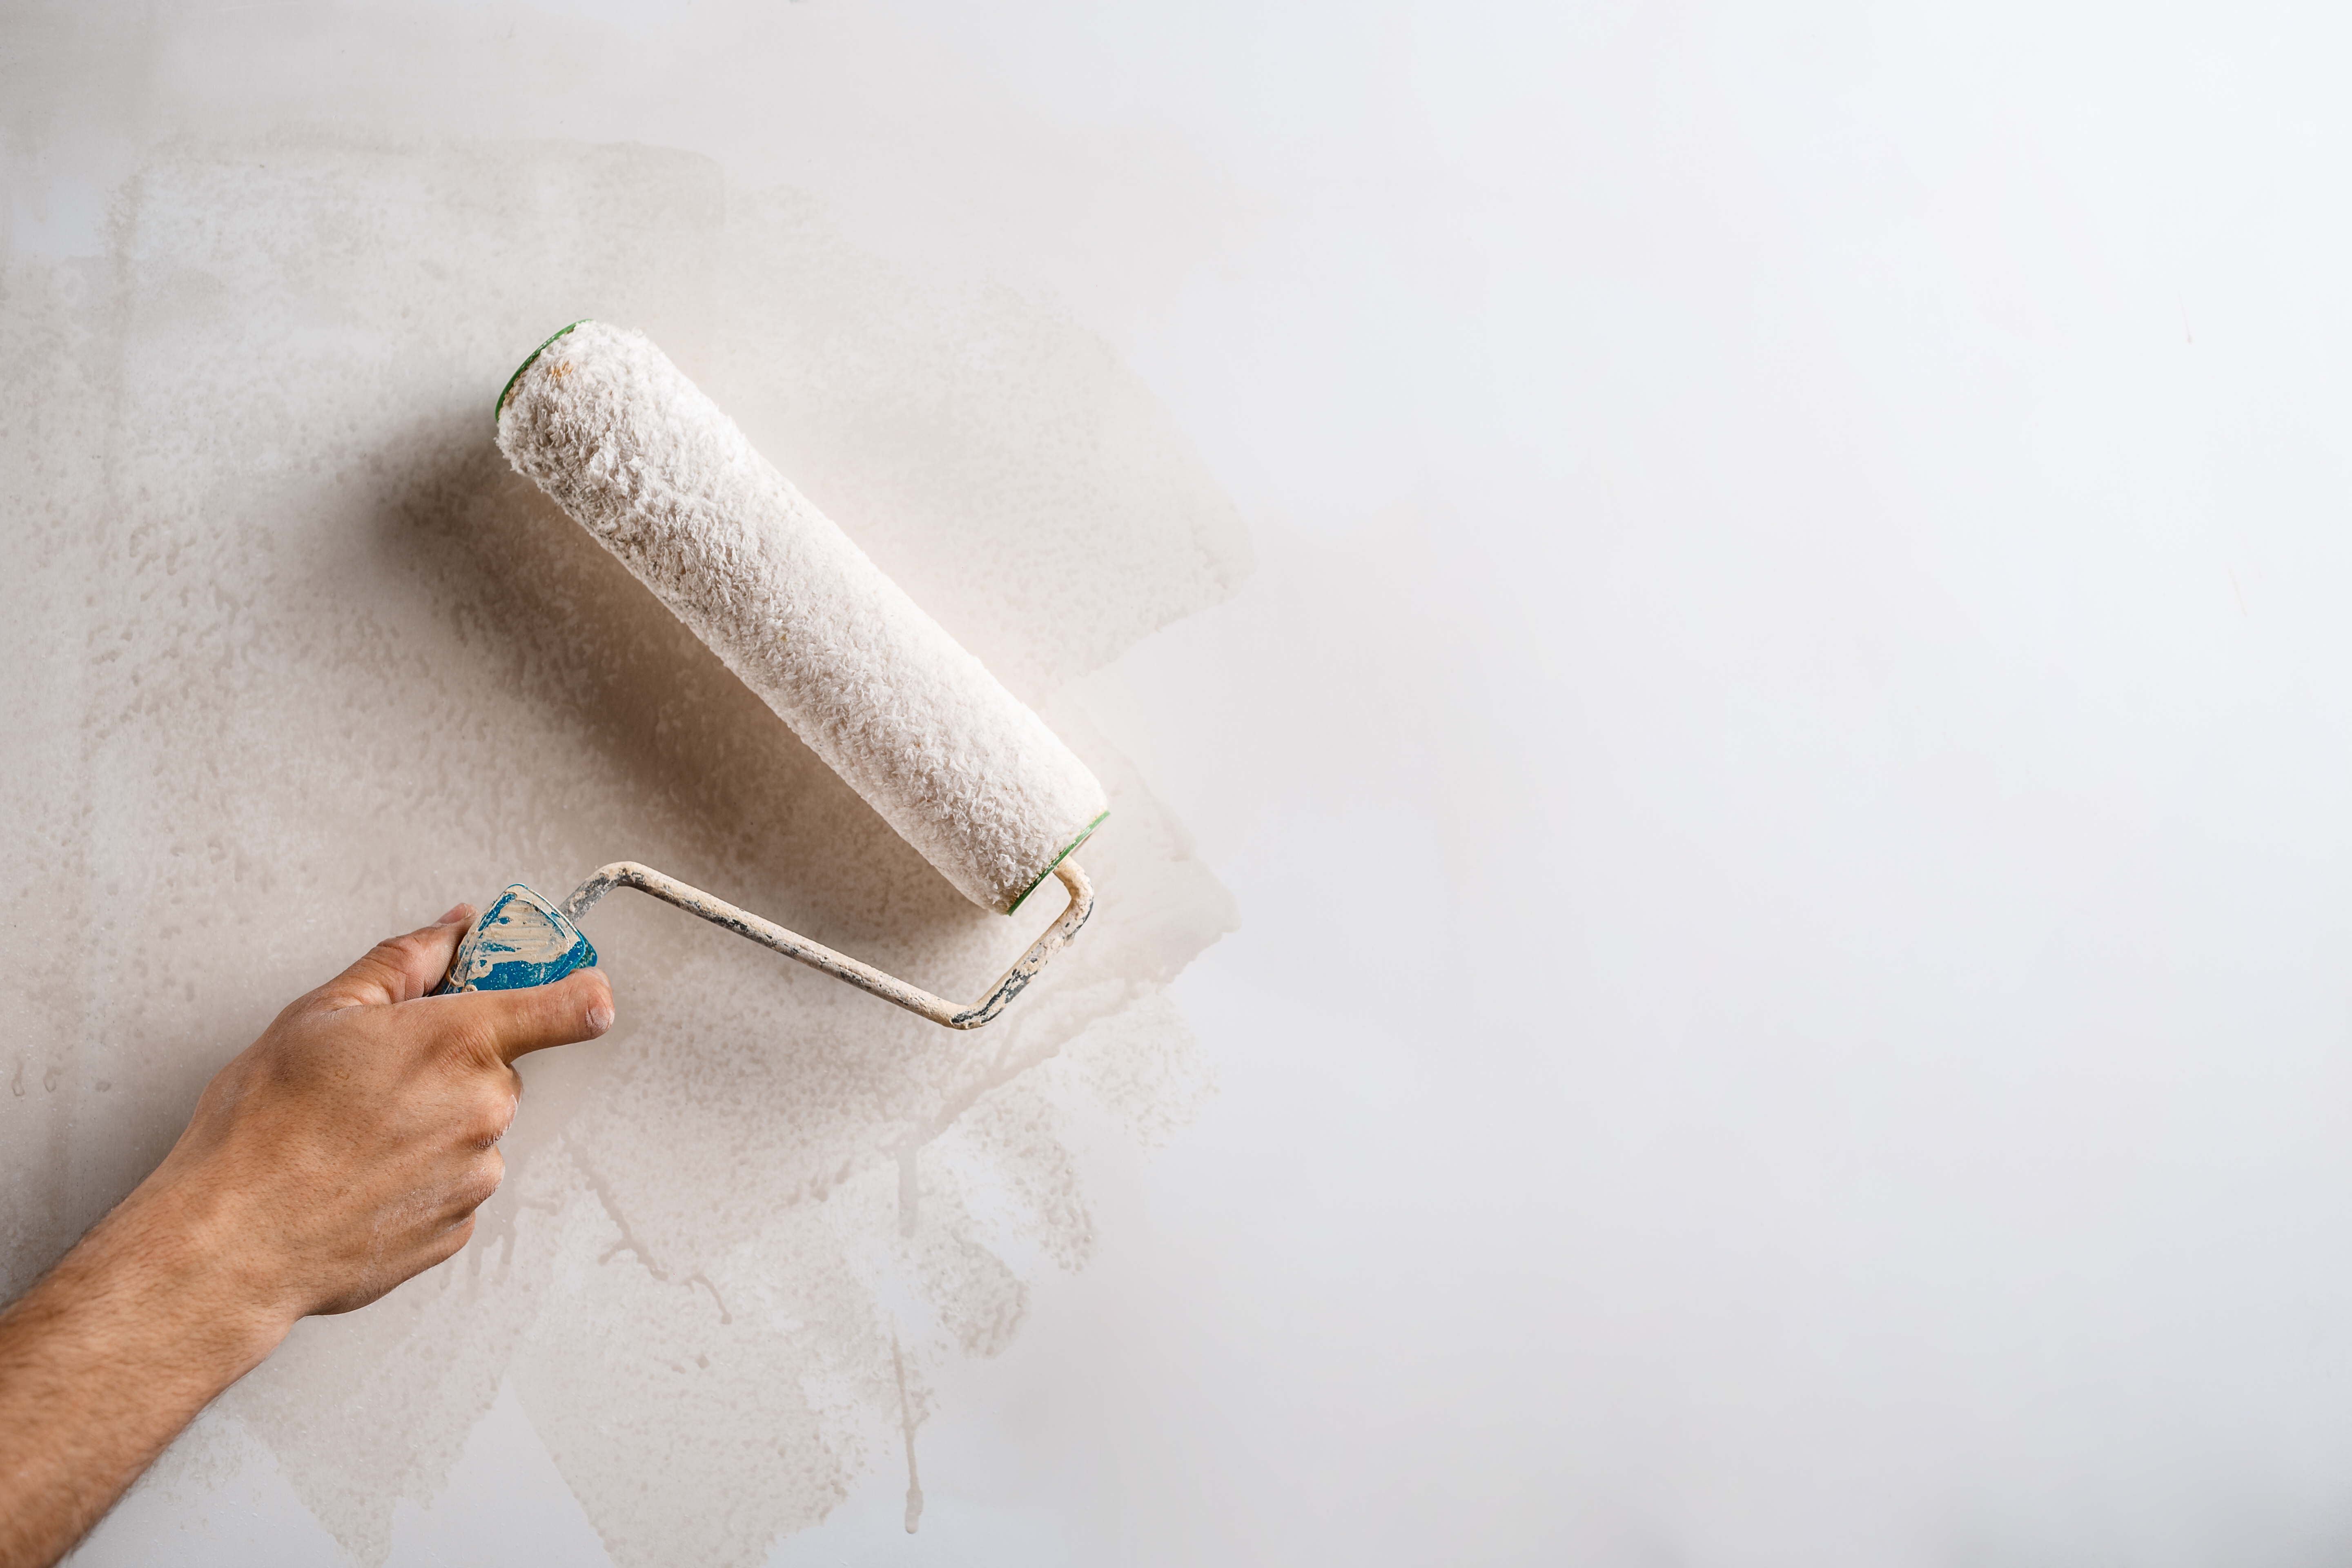
Premium Materials
Sherwin-Williams and Benjamin Moore exclusively.
10-Minute Quotes
No waiting days for an estimate. Detailed quotes in as little as 10 minutes.
Everything your home needs, one crew.
- house
Interior Painting
Professional interior painting for living rooms, bedrooms, kitchens, and commercial spaces. Clean prep, clean execution, zero mess left behind.
- foundation
Exterior Painting
Exterior painting built for midwest weather. Proper prep, premium paints, and a finish that holds up season after season.
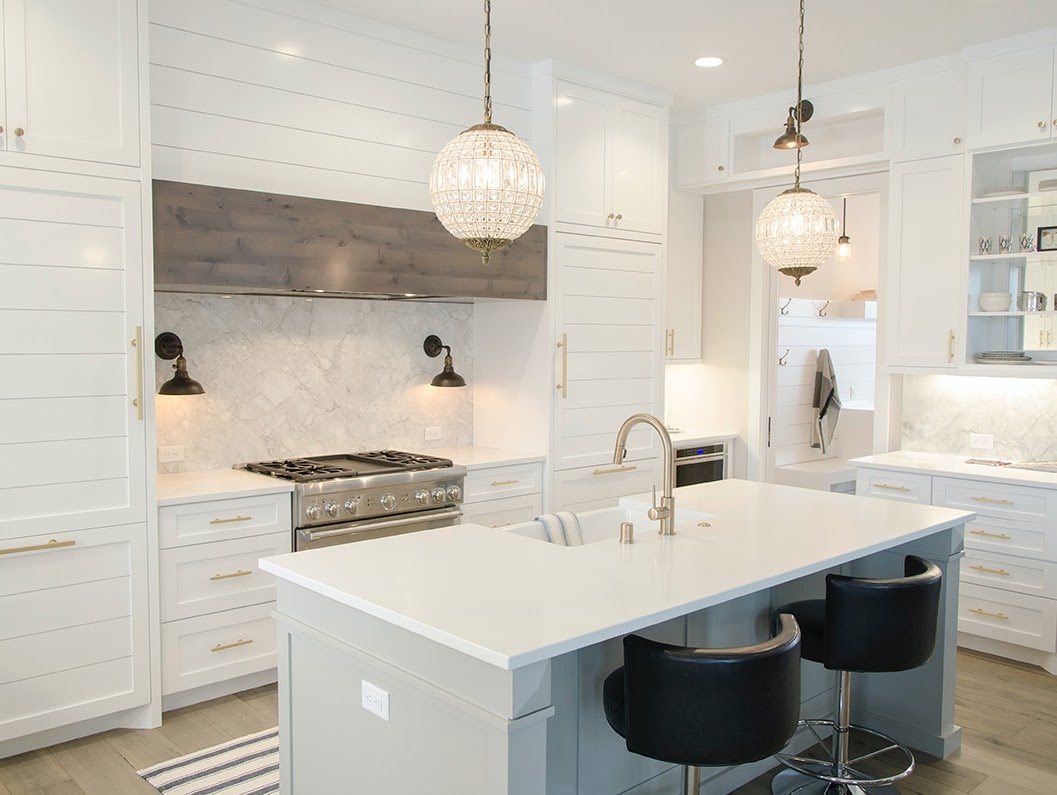
- kitchen
Cabinet Painting
Factory-smooth cabinet finishes at a fraction of replacement cost. The highest-detail service we offer. Done right or redone free.
- apartment
Commercial Painting
Office buildings, retail spaces, multi-family properties, and industrial facilities. We work around your schedule.
4.9 stars from 300+ reviews
Real Google reviews from homeowners across all six of our markets.
"We are so happy we chose OnDemand Painters for our home. Matt was fantastic to work with. His communication was consistent, timely, and made the entire process feel seamless. The finished paint job looks amazing, and you can really tell they care about the quality of their work. The new color has completely changed how I feel about our home."
Tiffany Jones
Brevard County, FL

"Chris was great to work with up front. Competitive, easy, efficient, responsive, and kept me up to date along the way. Jarrod and his team were great to work with on paint day. They took the time they needed to provide a good quality outcome, cleaned up well after themselves, and we walked the project at the end to review any comments. Would recommend this team."
Ryan Bader
Chesterfield, MO
"Jarrod and Michael were very professional and did an outstanding and exceptional job getting my ceiling back to its original state. I would highly recommend them if you need any drywall repairs and painting!"
Paula Wilson
St. Louis, MO
"We had an excellent experience from start to finish. The team was punctual, professional, and paid great attention to detail. They took the time to properly prep the space, kept everything clean, and delivered a flawless finish. The communication was clear throughout the entire process, and the final result exceeded our expectations."
Cleophus Walker
Brevard County, FL
"Matt is a highly credible business owner and an all around great person. His dedication to getting things done right truly sets him apart. I'd recommend him to anyone without hesitation!"
Tristan Whiteley
Kansas City, MO
"Chris has been extremely helpful with my painting project and very professional answering my many questions. After interviewing several painters and multiple companies I chose OnDemand Painters. I am very happy with the work that was done by Jarrod and Jennifer. They did an excellent job and were fast, detail oriented, and thorough. A joy to work with."
Charlene
Chesterfield, MO
How quickly can I get a quote? expand_more
We provide firm, written electronic estimates in as little as 10 minutes using satellite imagery of your property. No on-site visit needed. Our average callback time is 58 minutes, and responses come as fast as 60 seconds. We're available 14 hours a day, 7 days a week.
What is your warranty policy? expand_more
We provide a 3-year warranty on all two-coat painting jobs. That's a full year longer than the industry standard of 2 years. We emphasize proper prep work and premium paint quality specifically to deliver results that last.
How much does painting cost? expand_more
Interior painting typically runs $300–$850 per 12×12 room, or $1–$3 per square foot for whole-home projects. Exterior painting runs approximately $1.50–$4 per square foot. Pricing depends on project scope and surface condition. Contact us for a firm quote. Estimates are provided the same day.
What is your deposit policy? expand_more
We require only a 25% deposit upfront, with the balance due on completion. The industry standard is 50% or more. We accept all major credit cards. You're not locked in financially. The remaining 75% is due only when you're satisfied with the work.
What areas do you serve? expand_more
We operate in six metro markets: St. Louis MO, Chicago IL, Detroit MI, Kansas City MO/KS, Nashville TN, and Brevard County FL. Each market has a dedicated local crew with its own phone number. We do not operate outside these six specific areas.
Can I get an estimate without being home? expand_more
Yes. Our satellite imagery-based quoting system generates firm estimates without an in-person visit. This is particularly useful for property managers with multiple locations, out-of-state property owners, and busy professionals. If you prefer an in-person estimate, that option is also available.
What makes OnDemand Painters different from national franchises? expand_more
OnDemand is owner-operated. Chris Heerdegen personally answers calls and manages all crews. Specific differences vs. franchises like CertaPro: 3-year warranty (vs. 2-year), 25% deposit (vs. 50%+), 10-minute satellite quotes (vs. multi-day estimate process), and zero BBB complaints across both our Chicago and St. Louis offices.
Do you handle commercial projects? expand_more
Yes. We serve commercial clients including offices, retail spaces, and multi-unit residential buildings across all six markets. Commercial capabilities include after-hours and weekend scheduling, multi-location coordination, and the same 3-year warranty and communication standards applied to residential work.
Painting tips & expert advice
Guides and how-tos from 20+ years of professional painting experience.
Wood Porch Paint Ideas: Transform Your Outdoor Space
Discover inspiring wood porch paint ideas to refresh your outdoor space with style, charm, and lasting protection for a warm, inviting look.
Read more arrow_forward Feb 3, 2026Why Is My Paint Cracking?
Discover expert tips on paint cracking, why it happens, and how to fix it for a flawless finish every time. Don't miss out!
Read more arrow_forward Feb 2, 2026Why Use Primer: The Ultimate Guide to a Perfect Paint Job
You're about to embark on a painting project and you're faced with the crucial question "Do i really need to use primer?". Top tips from the pros.
Read more arrow_forward Jan 30, 2026Why is my Paint Bubbling?
Discover why your paint is bubbling and how to fix it. Learn tips to achieve a flawless, bubble-free finish. Read our guide to keep your walls beautiful!
Read more arrow_forward Jan 18, 2026What is a Commercial Painter and What Do They Do?
Uncover how commercial painters bring expertise to large projects, ensuring flawless finishes in commercial spaces!
Read more arrow_forward Jan 18, 2026When Not to Paint Outside: Avoid These Conditions
Never paint outside below 50°F, above 85% humidity, or if rain is forecast within 24 hours. Bad timing ruins even premium exterior paint. Find out.
Read more arrow_forwardReady to transform your space?
Get a detailed quote in as little as 10 minutes. No obligation, no pressure. Just honest pricing and quality work.