


Painting your bathroom can seem like a big task, but it’s one of those projects that can instantly refresh your space without a full remodel. Whether it’s the main bathroom or a small powder room, a fresh coat of paint on the walls can make a significant difference. To help you get started, here are some essential tips to ensure your bathroom painting project goes smoothly and achieves professional-looking results.
Key Takeaways
- Proper prep work ensures the paint adheres well to bathroom walls and lasts longer.
- Semi-gloss paint is ideal for bathrooms due to its moisture resistance.
- Use self-priming paint to save time and improve coverage.
- Painting the ceiling the same color as the walls can make small bathrooms feel larger.
- Remove painter’s tape while the paint is still slightly wet to achieve cleaner edges.
- Wait 24 hours before using a freshly painted bathroom to ensure durability.
Gathering the Right Supplies
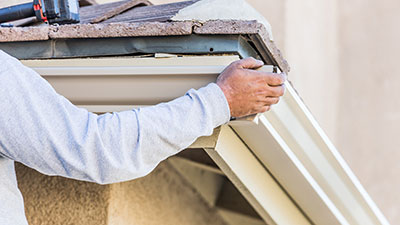
Before you start, it’s crucial to have all your supplies ready. Think of it like preparing for a journey; you wouldn’t set off without the right gear. You’ll need a high-quality paint brush, a reliable paint roller, and a sturdy paint tray. Don’t forget painter’s tape and plastic sheeting—these small items are essential for keeping paint exactly where you want it.
Choosing the right tools is especially important if you’re working in a small bathroom. Smaller spaces require more precision, so smaller brushes or mini rollers might be easier to handle in tight corners and around fixtures. If your bathroom has intricate trim or molding, a good angle brush will make painting those areas much easier.
Prepping Your Bathroom for Painting
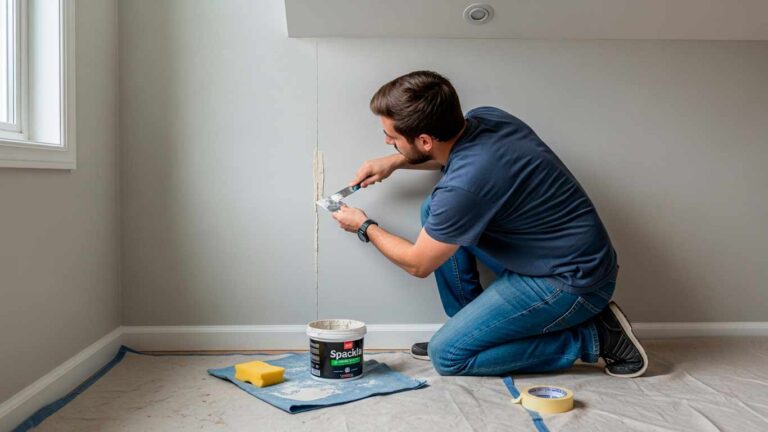
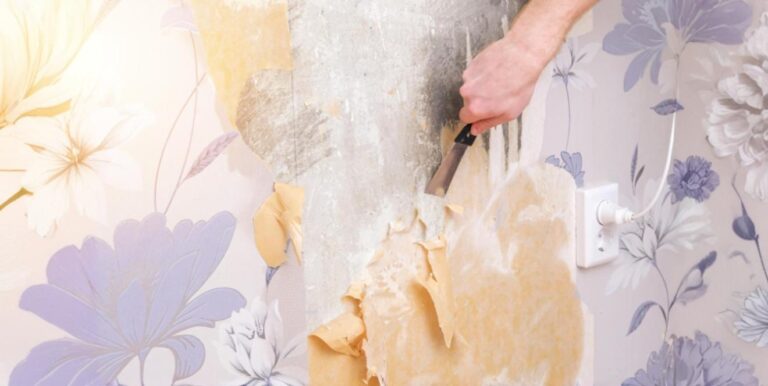
Prep work is just as important as painting itself. Start by thoroughly cleaning the bathroom walls. Bathrooms are high-moisture areas, which means walls can accumulate grime, dust, and even mold. These can prevent paint from adhering properly, leading to a finish that’s less than perfect.
Use a mild detergent or a mix of water and vinegar to clean the surfaces. If you encounter any mold, treat it with undiluted white vinegar and let it sit for at least an hour. For added effectiveness, mix baking soda with water and scrub the area after applying vinegar. Baking soda helps absorb moisture, which is essential for preventing mold regrowth. After cleaning, let the walls dry completely. This step is crucial—any remaining moisture can cause the paint to bubble or peel.
Taping and Protecting Fixtures
Once the walls are clean, it’s time to protect the areas you don’t want to paint. Use painter’s tape to cover the trim, edges of tiles, and any fixtures like towel racks, mirrors, and light switches. If you’re painting behind the toilet, cover the toilet tank with plastic sheeting to avoid any accidental splashes.
Don’t forget to protect the floor as well. Lay down a drop cloth or plastic sheeting to catch any drips or spills. Even if you’re careful, paint has a way of getting everywhere, so taking these precautions can save you from a major cleanup later. Drop cloths also protect the floors from scratches that can happen when moving a ladder or stepping stool around.
Choosing the Right Paint
Selecting the Perfect Paint Color
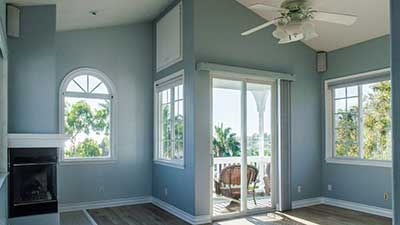
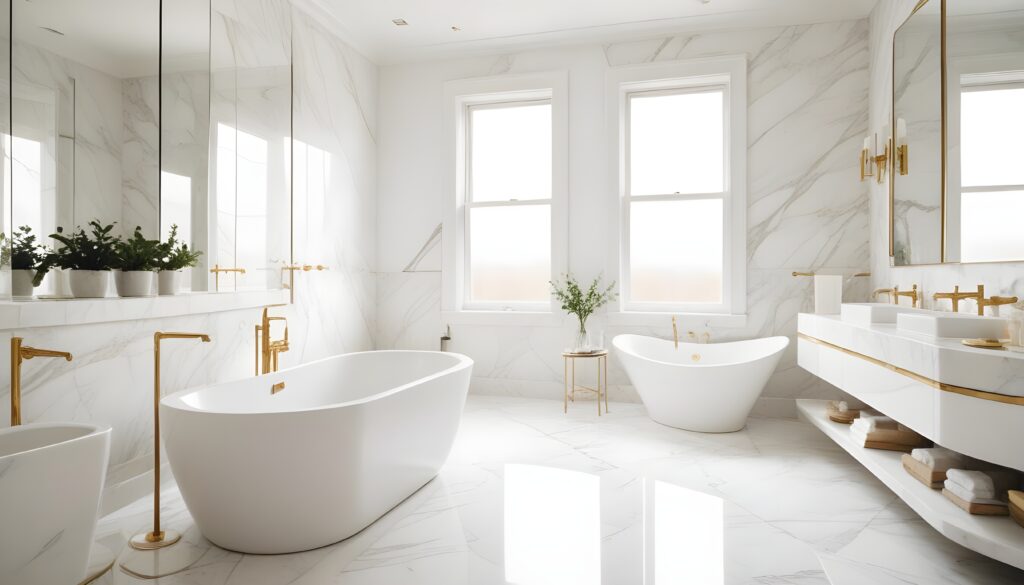
Choosing the right paint color can dramatically change the feel of your bathroom. For smaller bathrooms, lighter shades like soft blues, pale grays, or light greens are excellent choices. These colors reflect more light, making the bathroom feel larger and more open. If your bathroom doesn’t get much natural light, these lighter shades can help brighten the space. On the other hand, if you have a larger bathroom, bolder, darker colors like navy blue or charcoal gray can add a touch of drama and sophistication.
The Benefits of Semi-Gloss Paint
While color is crucial, the type of paint you use is just as important. Bathrooms are exposed to a lot of moisture, and this can impact how well your paint holds up over time. Semi-gloss paint is often recommended for bathrooms because it’s more durable and moisture-resistant than other finishes. It also reflects more light, making your bathroom feel brighter and more open.
Semi-gloss paint is also easier to clean, which is a big advantage in a bathroom where water splashes, soap scum, and grime are common. The durability of semi-gloss makes it a practical choice for high-traffic areas like bathrooms, where walls need to withstand frequent cleaning.
Considering Satin Finish and Self-Priming Paint
Satin finish paint offers a slightly softer sheen while still providing moisture resistance. It’s a good middle ground if you want the durability of semi-gloss but with a more subdued appearance.
Self-priming paint can save you time and effort, particularly in bathrooms. It combines primer and paint in one, eliminating the need for a separate priming step. This is especially useful when covering darker colors or painting over surfaces exposed to moisture. Self-priming paint ensures that your bathroom walls have a smooth, professional finish that lasts longer, even in a high-humidity environment.
Painting the Bathroom Walls
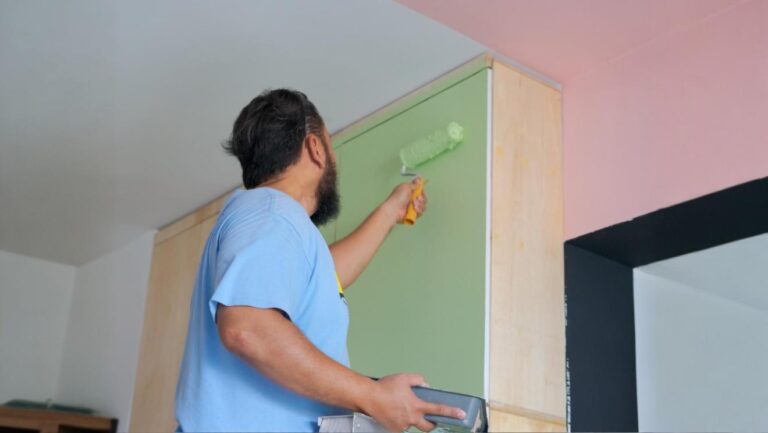
With your prep work done, it’s time to start painting. Begin by painting the edges, also known as “cutting in.” Use a high-quality paintbrush to carefully paint around the trim, ceiling, and fixtures. Painter’s tape can help ensure clean, crisp lines and a professional finish.
Once you’ve finished cutting in, move on to the larger areas with a paint roller. Apply the paint in even strokes, maintaining consistent pressure to avoid streaks or roller marks. Start at the top of the wall and work your way down, which helps to catch any drips before they dry.
In smaller bathrooms, be particularly methodical to ensure even coverage. Tight quarters can make it challenging to maneuver, but taking your time will pay off in the end. If a full-sized roller is too cumbersome in small spaces, consider using a mini roller or a large brush.
How to Paint Behind the Toilet
Painting behind the toilet is one of those tricky areas that can make or break the look of your bathroom. It’s a small space, but leaving it unfinished can make the entire room look incomplete. Start by shutting off the water supply and flushing the toilet to empty the tank. This step ensures you won’t have any water splashing onto your freshly painted walls.
Cover the toilet tank with plastic sheeting and secure it with painter’s tape. This protects the tank from accidental drips of paint. Use a smaller, angled brush to paint behind the toilet. The tight space makes it difficult to use a roller effectively, so a brush allows for more precision. Take your time to ensure a neat, polished finish.
Working Around Fixtures and Hardware
Bathrooms are full of fixtures and hardware—towel racks, mirrors, sinks, and shower tiles—all of which require careful attention during painting. Instead of removing everything, use painter’s tape to cover the edges of fixtures like towel racks, light switches, and electrical outlets. For larger fixtures like sinks or mirrors, plastic sheeting can protect them from splatters. Make sure surfaces are completely dry before painting near shower tiles, as moisture can interfere with the paint’s adhesion.
Painting Small Bathrooms
Small bathrooms present unique challenges. The limited space means that every decision, from color to technique, has a bigger impact on the bathroom’s overall feel. Lighter shades, like soft blues or pale grays, reflect light and make the bathroom feel larger and more inviting. Begin by painting the ceiling, which can be tricky in a small space but is an important step. Use a small roller or an angled brush for the corners and edges. Once the ceiling is done, move on to the walls, working from top to bottom to avoid drips and streaks.
Dealing with Moisture and Humidity
Bathrooms are notorious for moisture and humidity, which can wreak havoc on a paint job. Moisture can lead to mold growth, peeling paint, and other issues that can shorten the life of your bathroom walls. Ensure your bathroom is well-ventilated before you start painting. If you have an exhaust fan, turn it on to help reduce moisture. If not, use a portable fan or open a window to improve air circulation. Choose high-quality, moisture-resistant paint to prevent mold and mildew.
Applying the Second Coat
Once the first coat of paint has dried completely, it’s time to apply the second coat. A second coat ensures even coverage and enhances the durability of your paint job. Start by inspecting the walls for any areas that might need touch-ups. Lightly sand any imperfections before applying the second coat. Use the same method as before—begin with the edges and then move on to larger areas with a roller. The second coat will give your bathroom walls a vibrant, polished look.
Reinstalling Fixtures and Cleaning Up
With the painting process complete, focus on the finishing touches that will bring your bathroom back to life. Carefully remove the painter’s tape from the edges of fixtures, trim, and any areas you covered with plastic sheeting. Take down the plastic sheeting and drop cloths, being mindful of any wet paint. Inspect the bathroom to ensure you haven’t missed any spots. Once everything is dry, reinstall the fixtures and wall art to complete the transformation.
How Long to Wait Before Using the Bathroom
After all your hard work, it’s tempting to jump right back into using your bathroom, but patience is key. The drying and curing time of the paint is crucial for ensuring a durable finish. Wait at least 24 hours before using the bathroom, especially if you’re planning to take a hot shower. Humidity and steam can interfere with the drying process, leading to peeling paint. Keep the exhaust fan running during this time, and if possible, avoid closing the bathroom door to allow for maximum airflow.
Conclusion
A fresh coat of paint can do wonders for any room, but it’s especially transformative in a bathroom. Whether you’ve tackled a small bathroom or the main bathroom in your home, you’ve likely noticed how new paint can breathe new life into a space, make it feel more open, or add sophistication. By carefully choosing the right paint and taking the time to do the job properly, you’ve not only improved the look of your bathroom but also increased its longevity.
Your bathroom is one of the most frequently used spaces in your home and deserves as much attention to detail as any other room. From selecting the right supplies to dealing with tricky areas like behind the toilet, every step contributes to a final product you can be proud of.
If you ever feel that a DIY project is too much to handle or want professional results without the hassle, OnDemand Painters is here to help. We offer expert painting services that can transform your bathroom—and any other room in your home—into a space you’ll love. With OnDemand Painters, you can expect quality workmanship, attention to detail, and a fresh, professional finish every time.
Now that you’ve finished painting your bathroom, take a moment to admire your work. You’ve refreshed your space, added value to your home, and created a clean, welcoming environment for yourself and your guests. And the best part? You did it yourself—or you can always call OnDemand Painters to take your home improvement projects to the next level.
FAQ
What’s the best way to prepare bathroom walls before painting?
Ensure you clean the surface thoroughly, fill any nail holes or narrow cracks, and use a drop cloth to protect the floor and other fixtures.
How do I choose the right paint color for my bathroom?
Consider using a lighter shade to make the space feel larger, or a darker color to add drama, depending on the wall colors in other rooms.
Should I use a different paint finish on the trim and sink area?
Yes, a semi-gloss paint finish is ideal for trim and around the sink, as it’s easier to clean and highlights imperfections less than flat paints.
Can I paint my bathroom shower tile?
Yes, but make sure the tile is in good shape, cleaned thoroughly, and use interior paints specifically designed for high-moisture areas like shower tile.
How long should I wait before using the bathroom after painting?
Wait a few hours before using the bathroom, but allow at least 24 hours before exposing painted walls to steam or moisture from a shower.