


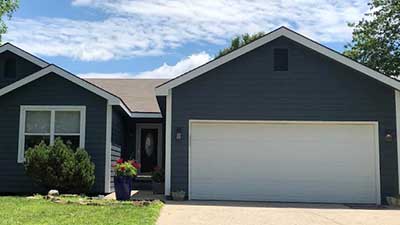


Refreshing a wood deck with a new coat of deck paint or solid stain enhances its appearance and protects it from harsh outdoor elements. Whether you’re working with an older deck or newly built one, applying the right products shields the wood from moisture, UV rays, and fluctuating temperatures.
Achieving a durable, long-lasting finish requires proper preparation, the right tools, and ideal application conditions.
Key Takeaways
- Proper preparation is essential for a long-lasting deck finish
- Sanding and cleaning the deck thoroughly prevents peeling and bubbling
- Choose between deck paint for full coverage or solid stain for a natural look
- Thin, even coats of paint or stain ensure a smooth, durable finish
- The best time to paint or stain is during mild temperatures with low humidity
- Regular maintenance, including cleaning and touch-ups, extends the life of your deck
Peeling Paint: A Common Problem
One of the most common issues with painted deck surfaces is peeling paint, typically caused by improper surface preparation or failure of the previous paint coat to bond with the wood. Loose paint and flaking paint not only look unattractive but expose the wood to elements, leading to rot and damage.
How to Address Peeling Paint
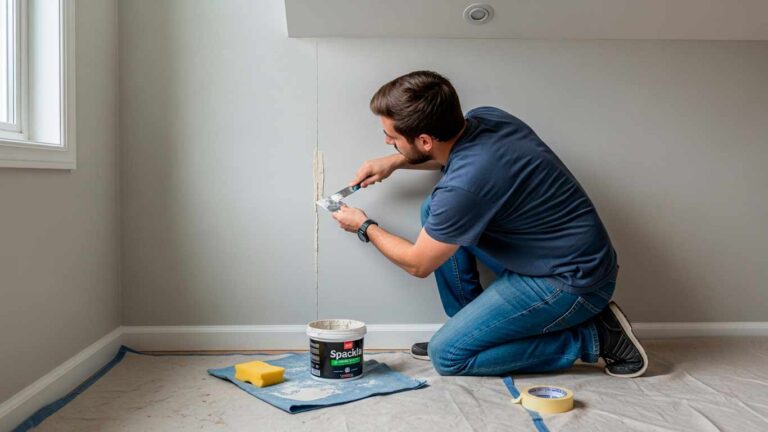
Start by inspecting the entire deck for areas where old paint is lifting. Use a paint scraper or wire brush to remove loose paint and smooth rough edges. Clean the deck thoroughly, especially spots like the deck floor where water collects. Removing all paint chips is crucial before proceeding to start painting.
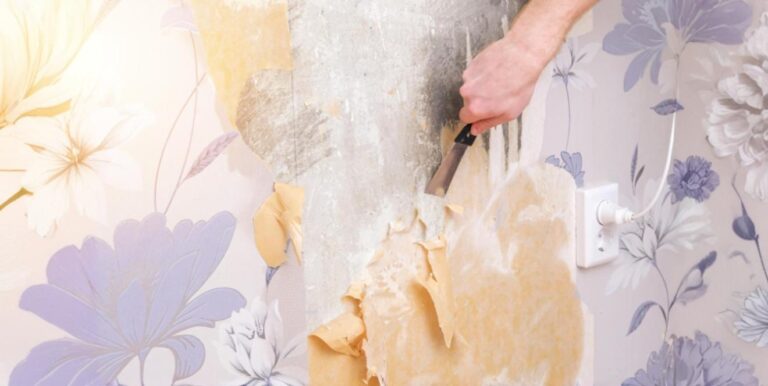
When dealing with an existing deck that has multiple layers of old paint, you may need to remove the current paint completely before applying new paint. This ensures better adhesion and prevents future peeling issues.
Essential Tools & Materials Checklist
Successfully completing deck painting as a weekend project requires having the right tools and materials. This checklist ensures professional results:
Essential Tools
– Paint roller with extension pole for large surface coverage
– Paint brush (2-3 inch angled) for detail work
– Paint edger for creating clean, sharp lines along railings and walls
– Paint scraper for removing loose paint
– Power sander or sanding blocks
– Pressure washer for cleaning (with proper nozzle)
– Airless paint sprayer (optional, for fastest coverage)
– Angle grinder with paint removal disc for stubborn areas
– Extension cord (heavy-duty, outdoor-rated) for power tools
– Leaf blower for clearing debris
– Drop cloths to protect surrounding areas
– Painter’s tape for masking
Materials & Supplies
– Sandpaper (80-100 grit for rough sanding, 120 grit for finishing)
– Wood putty for filling nail holes and small gaps
– Caulk (exterior-grade) for sealing gaps between boards
– Deck cleaner or mild detergent
– Primer (if needed for bare wood)
– Deck sealer (optional protective topcoat)
– Wire scrub brush for detailed cleaning
With proper tools, most deck painting projects can be completed as a weekend project, with spray application taking approximately 5 minutes per coat for average-sized decks.
Preparation: The Key to Success
Proper prep work ensures your deck painting or staining project succeeds. This involves cleaning, sanding, and repairing the deck so new deck paint or deck stain adheres properly and lasts for years.
Pre-Cleaning Inspection Process
Before beginning cleaning or preparation work, conduct a thorough inspection of your deck to identify problem areas:
Inspection Checklist
– Structural integrity: Check for loose boards, protruding nails, or damaged railings
– Paint condition: Identify areas with peeling, flaking, or chalky paint
– Wood condition: Look for rot, cracks, or splintered areas
– Gap assessment: Check spacing between boards and around railings
– Previous coating: Determine if the deck was previously painted or stained
When to Use Rotary Grinding
For decks with multiple paint layers or severely weathered surfaces, rotary grinding may be necessary. An angle grinder with paint removal disc can quickly strip stubborn coatings but should be used carefully to avoid damaging wood grain.
Removing Dirt and Grime
Before painting a deck or applying stain, ensure the wood surface is free from dirt, mold, and mildew. Even small particles can prevent paint from sticking properly. Start by clearing the deck of furniture and debris. Use a leaf blower to efficiently clear loose debris, sawdust from sanding, and paint chips.
Then use a pressure washer to pressure wash the deck and clear off dirt and grime. A power washer is the most effective way to remove dirt from the wood surface, but be careful when using a pressure washer, especially on softer woods like cedar or pine. Keep the nozzle at least 12 inches away from the deck surface to avoid gouging the wood.
When to Avoid Using a Pressure Washer
If you’re working with an older deck or softer wood, a pressure washer might not be the best option. High pressure can easily damage the wood grain, causing uneven surfaces. In these cases, use a garden hose with a wire scrub brush to gently scrub the surface.
Once finished cleaning, allow the deck to dry completely for at least 48 hours. Applying any type of floor paint, deck stain, or exterior paint to damp wood leads to peeling and bubbling when the paint dries.
Sanding and Repairing
After cleaning, inspect the deck for rough edges, cracks, or damaged areas. Sanding is essential to ensure a smooth finish for new paint or stain. Using a power sander speeds up the process for larger areas and helps achieve a more even surface.
Check for protruding nails and screws as well. Hammer down any nails that have popped up, or replace them with screws to secure the deck properly. When working with a previously painted deck, pay special attention to areas where new boards have been installed, as these may require additional prep work.
After sanding, fill nail holes, small cracks, or gaps with exterior-grade wood putty. For larger gaps between deck boards or around railings, apply exterior caulk to create a sealed, weather-resistant surface.
Choosing Between Deck Paint and Stain
Once the deck is clean and smooth, decide whether to use deck paint or solid stain. Both provide protection and durability, but differ in appearance, maintenance, and wood type compatibility.
Deck Paint
Deck paint offers full coverage, making it ideal for older deck surfaces with imperfections or areas where new boards have been installed. It hides flaws and provides a durable, protective layer that resists UV rays and moisture. This makes it perfect for pressure-treated wood, which needs added protection after proper drying (typically six months after installation). However, painted deck surfaces require more upkeep, as paint can chip or peel over time.
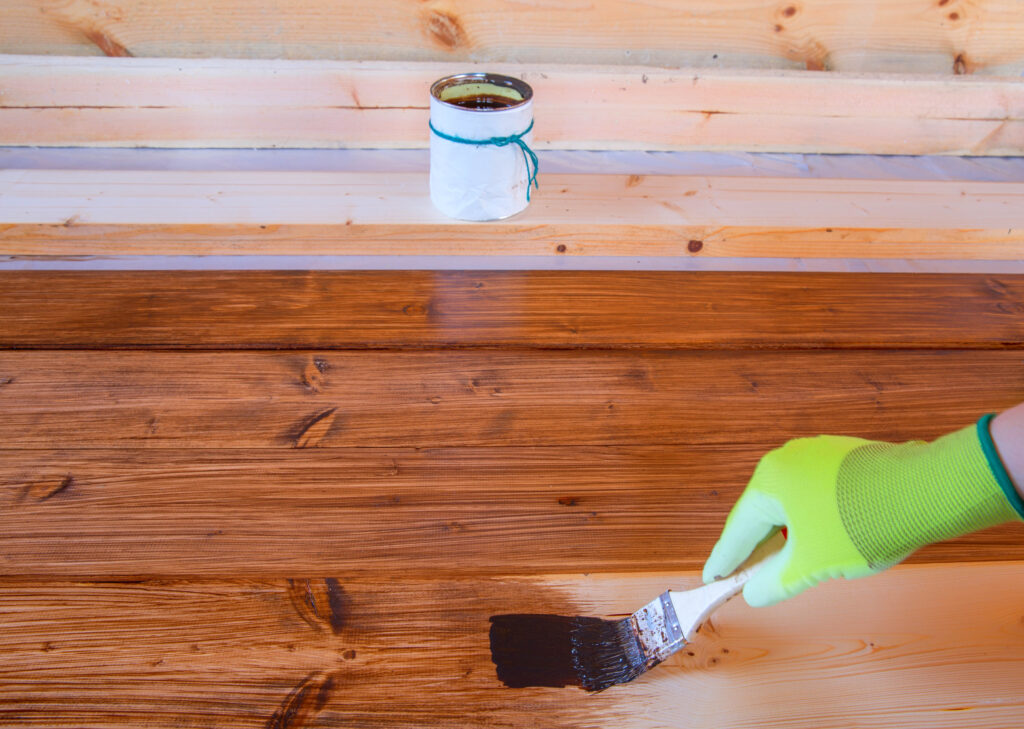
Solid Stain
Solid stain penetrates the wood rather than sitting on top like paint. This allows natural wood grain to show through while providing protection. Solid stains work best on newer decks or durable wood like cedar or redwood. For decks where you want to maintain the natural appearance of the wood underneath, consider semi transparent stains that provide protection while highlighting the wood’s natural beauty.
Composite Decks
If you have a composite deck, painting isn’t typically necessary, but you can apply specialized composite stain to refresh its appearance.
When selecting products, visit your local paint store to discuss the best options for your specific deck type and climate conditions. This can help you save money by choosing the right product the first time.
Professional Painting Techniques
Achieving professional-quality results requires mastering key techniques:
Always begin by “cutting in” – painting edges, corners, and detailed areas first with a brush before rolling or spraying main surfaces. Use a paint edger for the most precise results.
Maintain a wet edge by working in manageable sections and always painting into the wet edge of previously applied sections. Rather than applying one thick coat, use multiple thin coats for superior results with better penetration and adhesion.
Step-by-Step Application Process
Once the deck is prepped, you’re ready for the actual painting process or staining.
Priming the Deck
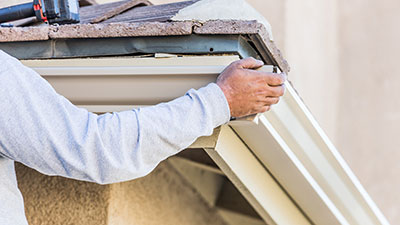
If your deck has bare wood areas or was previously painted, applying primer is essential. Primer helps new paint adhere properly and acts as a moisture barrier.
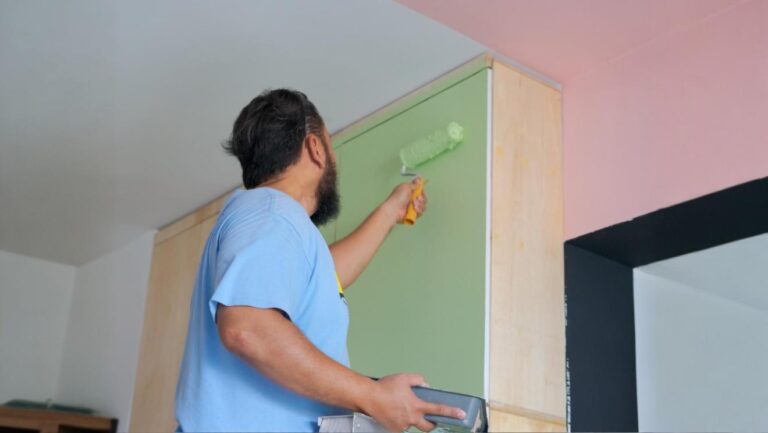
Applying Paint or Stain
For large areas, use a paint roller with extension pole to cover the deck quickly and efficiently. A paint brush works best for tight spaces, corners, and between boards. When applying paint with a brush, work the material into the wood grain for better adhesion.
For faster application, consider using an airless paint sprayer. For professional results, use a paint edger along railings, walls, and trim to create perfectly clean lines. When using a sprayer, you can complete most deck surfaces in approximately 5 minutes per coat, making this an ideal weekend project.
Thin Coats Are Key
Whether using a roller, brush, or sprayer, always apply paint in thin, even coats. Thicker coats are more prone to drips, streaks, and create an uneven finish. For most decks, one coat may not provide adequate coverage, so plan for applying paint in at least two thin applications.
Allow Proper Drying
After applying the first coat, allow it to dry completely before applying a second coat. For paint, this can take a few hours to a full day, depending on weather. The wood underneath must be completely dry before the paint dry process is complete. Plan for 24 to 48 hours of complete drying and curing time before the deck can handle foot traffic.
Best Time and Conditions
Weather conditions can make or break your deck project. The best time to apply deck paint or solid stain is when temperatures are between 50°F and 90°F. Direct sunlight can cause paint or stain to dry too quickly, leading to streaks or uneven coverage. Work in early morning or late afternoon when the deck is shaded.
Avoid painting during extreme weather conditions, as humidity and temperature fluctuations can affect how the paint dries and cures.
Common Mistakes to Avoid
Rushing through preparation or the painting process often leads to peeling, bubbling, or uneven finishes. Common mistakes include:
- Failing to allow the deck to dry completely after cleaning
- Applying too much product at once
- Skipping small details like tight spaces between boards
- Not allowing enough time for the existing paint to cure before applying new coats
Additional mistakes include skipping the cutting-in process, not maintaining wet edges, and inadequate surface preparation. Taking shortcuts during the painting process can compromise the entire project.
Annual Maintenance & Inspection Guide
Proper maintenance extends your deck’s life. Perform thorough inspection each spring looking for peeling paint, wood damage, and loose fasteners. Address minor issues immediately to prevent major problems.
Regular maintenance ensures your painted or stained deck stays in top condition. Clean the deck every few months using a garden hose or mild detergent to remove dirt and mildew. When you need to re-stain or touch up areas, use the same products as the original application for consistent color and protection.
Inspect your deck annually for signs of flaking paint, fading stain, or worn spots. Touch up small areas as needed and plan to reapply paint every three to five years and stain every two to three years.
For stained decks, consider applying a clear deck sealer as a protective topcoat to enhance water resistance and extend time between major refinishing. This is especially important for high-traffic areas that see more wear.
Conclusion
Whether you choose deck paint or solid stain, the key to a long-lasting, durable finish lies in proper preparation, right weather conditions, and routine maintenance. By cleaning, sanding, and repairing your deck before applying paint or stain, you’ll ensure a smooth and beautiful finish that protects your deck from the elements for years to come.
If you’re looking for expert advice or help with your project, OnDemand Painters is always here to guide you through the process, ensuring your deck looks great and stands up to the elements season after season.
FAQ
What tools do I need to paint a deck?
You’ll need a paint roller for large areas, a wire scrub brush for cleaning the wood surface, drop cloths, and painter’s tape to protect surrounding areas.
Can I paint over existing paint on my deck?
Yes, but make sure to remove loose paint chips, sand down rough spots, and clean the existing paint before you apply paint.
How many coats of paint should I apply when painting a deck?
For most decks, one coat may not be enough, so plan for at least two thin coats to ensure the new paint adheres well and provides full coverage.
What’s the best way to prep a deck before painting?
Start by cleaning the wood surface with a power washer or scrub brush, then sand any rough spots, and finish with proper prep work like applying painter’s tape around edges.
Can I use water-based paint for deck painting?
Yes, water-based paint works well for deck painting if you’re looking for easy cleanup and quick drying time, but make sure the wood underneath is dry before applying.
How long does it take to paint a deck?
Most deck painting can be completed as a weekend project. With an airless sprayer, you can apply paint in approximately 5 minutes per coat for an average-sized deck.
When should I use a paint edger?
Use a paint edger along railings, walls, and trim to create clean, professional lines without extensive masking.