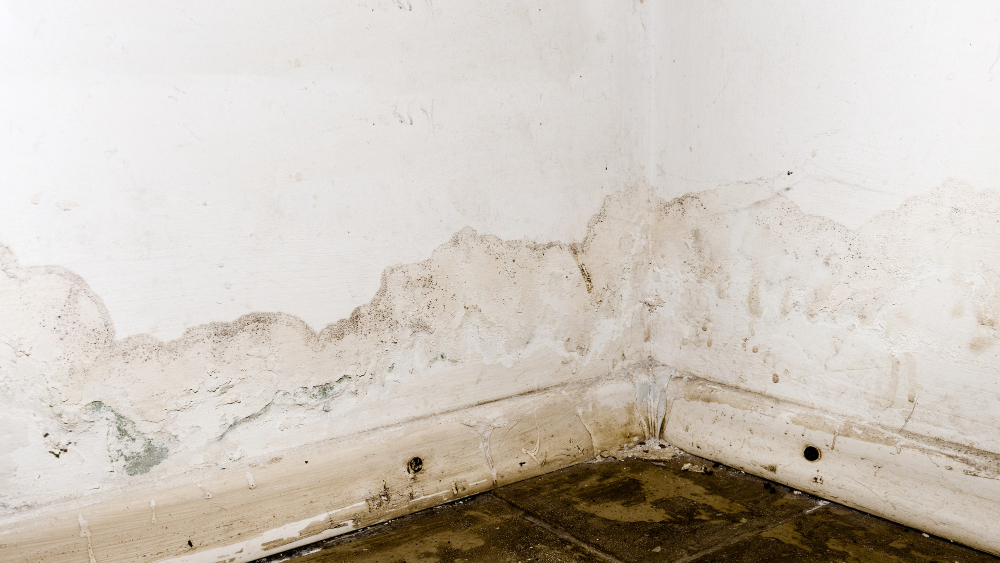
Water stains on walls and ceilings can be unsightly and frustrating. Whether caused by leaks, condensation, or other sources of moisture, these stains can ruin the appearance of your home.
The good news is that painting over a water stain is possible, but it requires careful preparation and the right materials to ensure a long-lasting and flawless finish.
Key Takeaways
- Ceiling stains require using a stain-blocking primer to ensure they don’t bleed through new paint.
- Stain-blocking primers are essential for covering water stains and achieving a flawless finish.
- A spray bottle is helpful for applying cleaning solutions to prepare surfaces before painting.
- Hiring a professional painter can guarantee expert handling of stubborn stains and high-quality results.
- Fix any leaking pipe to prevent new water stains from forming on your walls or ceiling.
- Latex paint is a durable choice for painting over water stains, providing a long-lasting finish.
How to Properly Paint Over Water Stains
This process involves drying the affected area, cleaning the stain, eliminating mold, and repairing any damage to create a smooth and durable finish.
Preparing and Drying the Surface
Before you begin any cleaning or painting, it’s really important to ensure the area is completely dry. Follow these steps to dry the affected area thoroughly:
- Remove Excess Water: Use towels or a wet/dry vacuum to remove any standing water from the surface.
- Dehumidifiers: Place a dehumidifier in the room to remove excess moisture from the air. This is especially useful in humid environments.
Cleaning the Water Stain
Once the area is dry, the next step is to clean the stained surface. Proper cleaning ensures that any dirt, grease, or residue is removed, allowing for better adhesion of primer and paint. Here are some techniques for cleaning the stained area:
- Bleach Solution: Mix one part bleach with three parts warm water. Use a sponge or cloth to apply the solution to the stained area, and let it sit for a few minutes. This will help lighten the stain and kill any mildew or mold spores.
- Rinse: After applying the bleach solution, rinse the area with clean water to remove any bleach residue.
- Dry Again: Make sure the cleaned area is completely dry before proceeding to the next steps.
Eliminating Mold
Mold needs to be addressed before painting over it to prevent health issues and further damage.
Use the bleach solution mentioned above to scrub the moldy area thoroughly. Let the solution sit for at least 15 minutes to ensure it kills the mold. Rinse the area with clean water and dry it completely.
NOTE: For severe mold infestations, consider hiring a professional mold remediation service.
Repairing the Damaged Surface
After cleaning and drying the area, you may need to repair any damage to the drywall or plaster.
To prepare the surface for painting, you’ll need to scrape off any loose paint and sand the area. Here’s how:
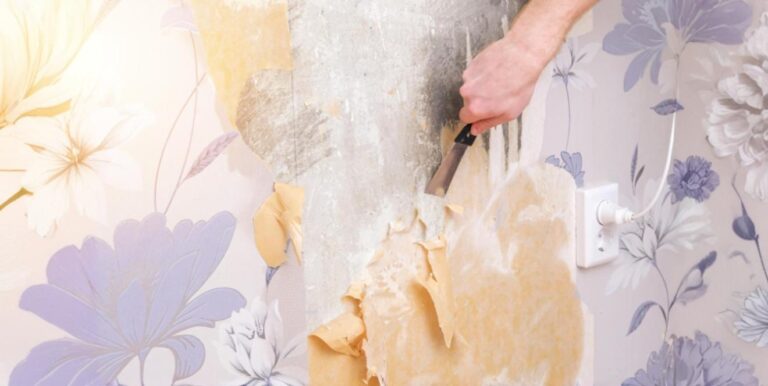
Use a paint scraper or putty knife to gently remove any loose or peeling paint from the stained area.
Use fine-grit sandpaper to smooth the surface. Sanding helps to create a level base for primer and paint, improving adhesion and the final appearance.
Repairing Drywall or Plaster
If the water stain has caused damage to the drywall or plaster, follow these tips for repairs:
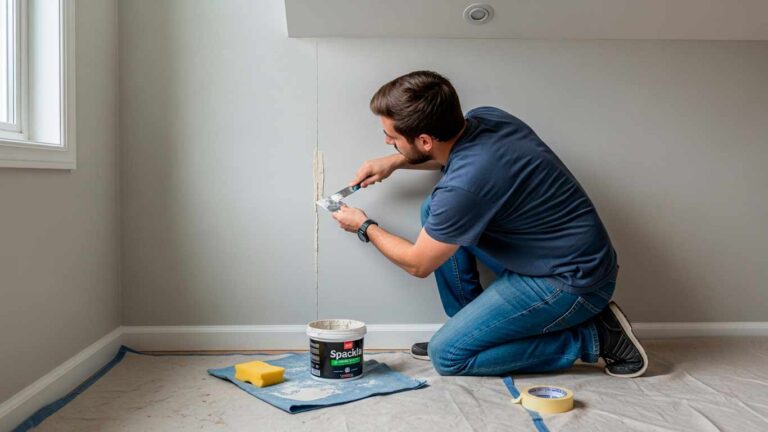
- Fill Cracks and Holes: Use a joint compound or plaster patch to fill any cracks or holes in the surface. Apply the compound with a putty knife, smoothing it out as you go.
- Let it Dry: Allow the compound to dry completely according to the manufacturer’s instructions.
- Sand Smooth: Once dry, sand the repaired area with fine-grit sandpaper until it is smooth and level with the surrounding surface.
Priming the Stained Area
Priming is a critical step in covering water stains effectively. The right primer will block stains and create a uniform base for paint.
Choosing the Right Primer
Select a primer that is designed to block water stains. Here are some options:
- Stain-Blocking Primer: These primers are specifically formulated to cover and seal stains, preventing them from bleeding through the topcoat.
- Oil-Based Primer: Oil-based primers provide excellent coverage and adhesion, making them ideal for severe stains and moisture-prone areas.
Painting Over Water Stains
After priming, it’s time to paint the area to restore its appearance. Choosing the right paint and applying it correctly will ensure a professional finish.
For the best results, choose a high-quality paint that matches the finish of the surrounding area:
- Water-Based Paint: Latex paints are easy to work with, dry quickly, and are less prone to yellowing over time.
- Oil-Based Paint: For areas prone to moisture, an oil-based paint can provide extra durability and resistance to water.
Painting Technique
Follow these steps for a seamless finish:
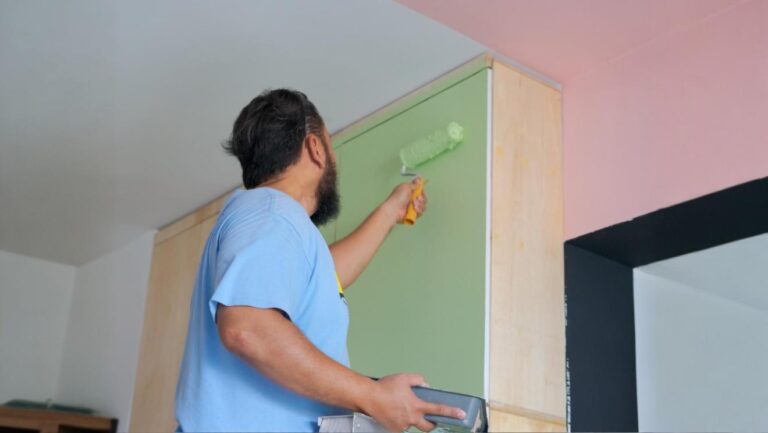
- Apply the First Coat: Use a brush or roller to apply the first coat of paint over the primed area. Make sure to cover the entire area evenly.
- Feather the Edges: Blend the paint into the surrounding area by feathering the edges.
- Let it Dry: Allow the first coat to dry completely according to the paint manufacturer’s instructions.
Multiple Coats
Applying multiple coats may be necessary for complete coverage:
- Second Coat: Apply a second coat of paint, ensuring even coverage and blending with the surrounding area.
- Additional Coats: If the stain is still visible or if the paint appears uneven, apply additional coats as needed, allowing each coat to dry fully before applying the next.
By following these steps, you can effectively prepare, prime, and paint over your water stain, restoring your walls and ceilings to their original, flawless appearance.
How to Identify the Cause of Water Stains
Water stains on your walls or ceiling can be more than just an eyesore; they often indicate underlying issues that need to be addressed. Properly identifying and fixing the source of the water stain is crucial to prevent future damage and ensure a successful painting job.
Finding the Source
The first step in addressing water stains is locating the source of the moisture. Here are some methods to help you identify and fix the leak or moisture source:
Visual Inspection
Begin with a thorough visual inspection of the area around the stain. Look for obvious signs of leaks or moisture, such as wet spots, dripping water, or discolored areas.
Check the Roof
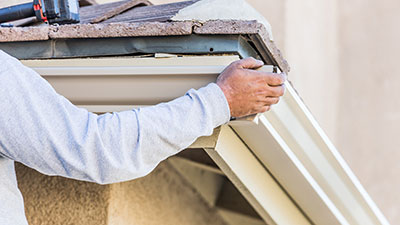
If the water stain is on the ceiling, it may be due to a roof leak. Inspect the roof for damaged or missing shingles, compromised flashing, or gaps around roof vents and chimneys. Roof leaks often occur near these features.
Inspect Plumbing
A water stain on walls or ceilings can also result from plumbing leaks. Check the pipes, joints, and fixtures in the area above or behind the stain. Look for signs of water accumulation or dampness.
Condensation Issues
In some cases, water stains are caused by condensation rather than leaks. Inspect areas around windows, doors, and HVAC systems for signs of condensation buildup. Poor insulation and ventilation can exacerbate this issue.
Common Causes of Water Stains
Understanding the typical reasons behind water stains can help you better identify and address the root cause. Here are some common causes of water stains:
Roof Leaks
Damaged or aging roofs are a frequent cause of water stains on ceilings. Water can seep through missing shingles, cracked flashing, or poorly sealed roof vents, leading to stains on the ceiling below.
Leaking Pipes
Plumbing issues, such as leaking pipes or faulty joints, can cause water stains on walls and ceilings. These leaks often occur in bathrooms, kitchens, or areas with extensive plumbing.
Condensation
Condensation can form on walls and ceilings when warm, moist air comes into contact with cooler surfaces. This is common in poorly insulated or ventilated areas, such as basements, attics, and around windows.
HVAC Systems
Air conditioning units and other HVAC systems can sometimes cause water stains due to leaks in the drain lines or excessive condensation. Check for standing water or dampness around these units.
Conclusion
So, can you paint over water stains? Absolutely, but it requires some careful steps and the right materials to get it right. Start by addressing the cause of the stain to prevent future issues. Make sure the area is dry, clean, and free of mold before repairing any damaged surfaces. Apply a high-quality stain-blocking primer to ensure those pesky stains don’t bleed through your fresh paint.
Believe it or not, with the right preparation and materials, you can achieve a flawless finish. Whether it’s condensation stains on the ceiling or marks from a leaking pipe, the steps outlined will help you restore your walls and ceilings to their original beauty. So grab your stain-blocking primer and ceiling paint, and get ready to cover those water stains for good. Happy painting!
FAQS
How can I fix a ceiling stain caused by water damage?
To fix a ceiling stain caused by water damage, first, ensure the area is dry and clean. Apply a stain-blocking primer to prevent the stain from bleeding through and then paint over it with your chosen ceiling paint.
Should I hire a professional painter for a large paint project?
Yes, hiring a professional painter for a large paint project can ensure high-quality results, proper surface preparation, and efficient completion of the job, especially when dealing with extensive water damage or large areas.
Is latex paint suitable for covering a water-stained area?
Yes, latex paint is suitable for covering a water-stained area when used with a stain-blocking primer. It provides a durable and long-lasting finish.
How many coats of paint are needed for a water-damaged ceiling?
Typically, two coats of paint are needed for a water-damaged ceiling. After applying a stain-blocking primer, apply the first coat of paint, let it dry completely, and then apply a second coat for an even finish.
Do I need to repaint the whole wall if there is a water-stained area?
You don’t necessarily need to repaint the whole wall if there is a water-stained area. Focus on treating and priming the stained area first, then blend the new paint into the existing wall for a seamless finish.


