Staining over paint can be a practical way to refresh painted wood and bring a new look to furniture, cabinets, and other surfaces. The question is, can you really achieve a stained look over paint? The answer is yes, but it does take some special preparation. Staining painted wood differs from working with bare wood, and the right steps are key to ensuring a smooth, durable finish. Here’s how to get started.
Key Takeaways
- Staining over paint is possible but requires thorough preparation of the painted surface.
- Gel stain is ideal for stained painted wood as it adheres well without needing to penetrate.
- Cleaning, sanding, and deglossing are key steps for preparing painted wood for staining.
- Always test stain on a small area to ensure compatibility with the painted wood.
- Alternatives like tinted polyurethane or faux wood techniques are great for a stained look without heavy sanding.
- For professional results, OnDemand Painters can handle your staining project from start to finish.
Understanding Wood Stain and Painted Surfaces
Why Wood Stain Matters
Wood stain is commonly used to bring out the natural character of wood. When applied to raw wood, stain penetrates the surface, highlighting the wood grain and adding warmth and depth. However, stained painted wood behaves differently. Painted wood has a solid layer on top that blocks stain from soaking in, which means that achieving the look of a stained surface requires different products and techniques.
Stain typically won’t penetrate through paint like it would on bare wood. However, it can still work on top of painted surfaces when the right approach is used. Staining painted wood can give older furniture a rich finish or add a unique effect to painted surfaces, so it’s a great option if you’re looking for something fresh.
Characteristics of Painted Wood
Painted wood is very different from bare wood when it comes to texture and finish, and this affects how stain will behave. Paint creates a smooth, sealed surface, particularly if it’s high-gloss or semi-gloss paint, which is why staining it can be a little tricky. The paint type matters, too: latex paint creates a flexible surface that stain might struggle to stick to, while oil-based paint can sometimes provide a more compatible base for the right type of stain.
If your goal is to achieve a classic stained wood look, then knowing these differences and preparing accordingly can help you reach that effect.
Challenges of Staining Painted Wood
Adhesion Issues on Painted Surfaces
Staining over paint involves a challenge with adhesion. Because stain is typically designed to soak into wood fibers, it doesn’t always bond well to painted surfaces. For painted surfaces, you’ll want to use stains that can coat the surface without needing to penetrate, such as gel stains. Gel stain is often a great choice for stained painted wood because it’s thick and designed to sit on top of surfaces rather than soaking in.
Latex paint can sometimes cause staining problems due to its water-based nature, which can resist certain types of stain. Oil-based paint, on the other hand, may make it easier to achieve a stained effect, especially when combined with the right preparation steps.
Considering Paint Types
Your choice of stain can make all the difference. Gel stains are specifically made to sit on top of painted surfaces, making them ideal for this kind of project. Traditional stains, which are usually thinner, are more suited to raw wood surfaces and might struggle on painted wood. With gel stain, you can get a rich, even color, making it an ideal choice when you’re looking to add depth to painted wood.
Preparing Painted Surfaces for Staining
Preparation is Key when staining over paint. Painted surfaces need specific prep work to help the stain adhere and look consistent. Skipping these steps can lead to an uneven finish or even peeling over time, so taking the time to properly prepare painted wood is essential.
Steps to Prep a Painted Surface for Staining
Cleaning
Begin by thoroughly cleaning the painted wood to remove any dirt, grease, or residue that can interfere with the stain’s adhesion. A gentle solution of soap and water works well. Rinse off any soap residue and let the surface dry completely. Clean surfaces make a big difference in how well the stain will stick.
Sanding Painted Wood
Sanding is one of the most effective ways to prepare painted wood for staining. Sanding helps to rough up the painted surface, allowing the stain to grip better. Use a fine-grit sandpaper, around 220-grit, and go over the entire surface lightly. The goal is to remove any glossiness, not necessarily all the paint. Once sanded, wipe down the surface with a damp cloth or tack cloth to remove any dust.
Deglossing Painted Surfaces
For high-gloss painted surfaces, deglossing can be a great alternative to heavy sanding, particularly if the surface is intricate or hard to sand evenly. Liquid deglossers are available at hardware stores and can be applied with a cloth. Follow the instructions on the product, and make sure to let it dry fully before moving on to staining. Deglossing will help the stain adhere better, especially on glossy finishes.
Testing the Surface
Once the surface is prepared, test a small, hidden area with your stain to see how it adheres. Painted wood can be unpredictable, so testing can help you confirm that the stain will look as expected. This is especially useful if you’re using a new product or staining a surface that may react differently.
Choosing the Right Stain for Painted Wood
Gel Stain for Painted Wood
For stained painted wood, gel stain is often the best choice. Unlike traditional wood stains that soak into the wood, gel stains are designed to sit on top, making them ideal for staining painted surfaces. Gel stains come in various colors and provide a richer, more opaque look. They’re often used for painted furniture or cabinetry when you want to refresh the look without completely stripping the paint.
Alternative Stain Types
Other types of stains, such as oil-based or water-based, can work on painted surfaces but may not provide as consistent a result as gel stains. Water-based stains, in particular, may have difficulty sticking to painted wood unless the surface is sanded and cleaned thoroughly.
Step-By-Step Guide to Staining Painted Wood
Now that you understand the preparation and stain options, let’s go over the exact steps to achieve a professional-looking finish. Following these steps will help ensure that your stain adheres properly and that the final result looks polished and lasts over time.
Step 1: Prep the Work Area
Before starting, set up your work area. Cover nearby surfaces with a drop cloth to protect them from sanding dust or stain spills. If you’re working indoors, ensure adequate ventilation by opening windows or using fans. This is particularly important if you’re using a stain with strong fumes. Gather all necessary materials, including your chosen stain, brushes, sandpaper, and any other prep tools you’ll need.
Step 2: Sanding the Painted Surface
As mentioned, sanding is a crucial step for helping the stain adhere to the painted wood. Use 220-grit sandpaper to lightly sand the entire surface. The goal isn’t to remove all the paint but to create a rougher texture that allows the stain to stick. Be careful to sand evenly to avoid any spots that are too thin or too rough. After sanding, clean off the dust with a damp cloth or tack cloth to make sure the surface is clean and ready for the stain.
Step 3: Apply the Deglosser
For glossy or semi-gloss painted surfaces, applying a deglosser will help improve stain adhesion. Apply the deglosser with a clean cloth, following the manufacturer’s instructions. Allow it to dry completely before moving to the next step. Deglossing helps create a matte, porous surface that allows the stain to stick more effectively. This step is especially helpful if you’re working with a painted surface that still has a shiny finish after sanding.
Step 4: Stain Application
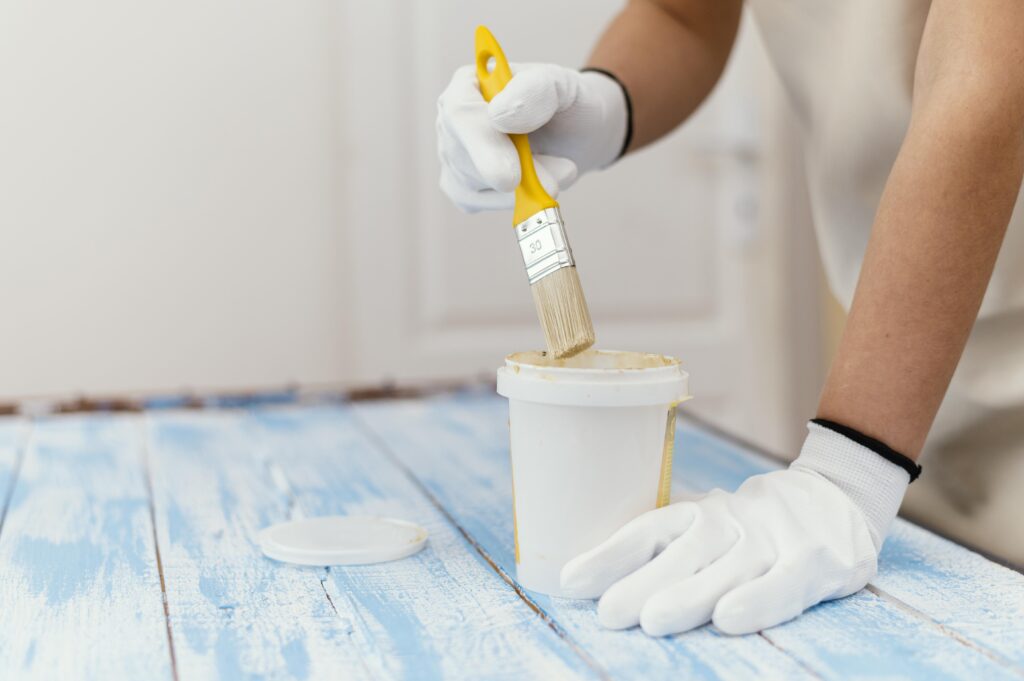
Now it’s time to apply your chosen stain. If you’re using gel stain, which is typically thicker, apply it with a clean brush or a lint-free cloth. Work in small sections, applying the stain evenly across the surface. Allow the stain to sit for a few minutes, then wipe off any excess with a clean cloth. For a darker look, you can apply additional coats, but make sure to let each coat dry thoroughly before applying the next.
When applying the stain, use smooth, even strokes in the direction of the wood grain (if visible). This technique will help you achieve a natural look even on a painted surface. Be sure to avoid leaving any streaks or blotches by wiping off excess stain quickly and evenly.
Step 5: Wiping and Finishing
After the stain has set for the recommended time (usually indicated on the product), use a clean cloth to wipe away any remaining excess stain. This final wipe will help ensure a smooth, even finish. Once wiped, let the stain dry completely based on the product’s drying time instructions. Gel stains may take longer to dry than traditional stains, so patience is key.
If you want added durability or a polished finish, you can apply a clear coat or polyurethane sealer once the stain is dry. A clear coat will not only protect your stained painted wood but also enhance the richness of the stain color, giving it a professional finish.
Alternatives to Staining Over Paint
Sometimes, staining over paint may not give you the desired look, or the surface may require more than just a simple stain application. In these cases, there are a few alternatives to consider.
Paint Stripping for Traditional Staining
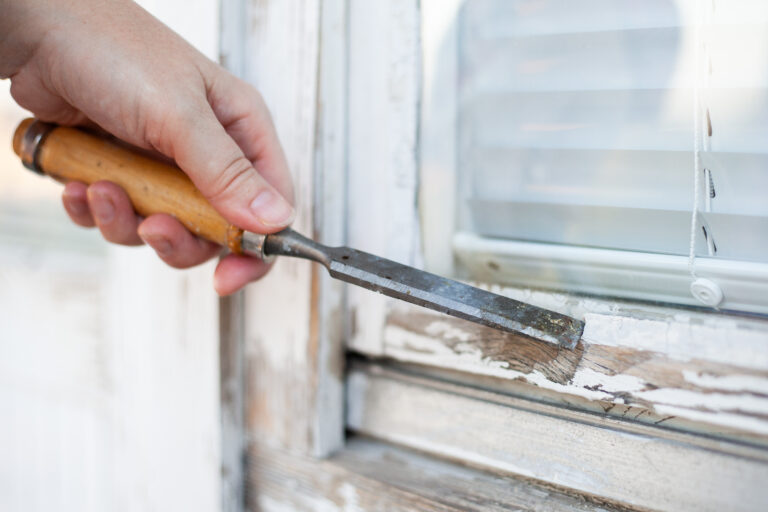
If you want a true wood-stained finish with a more natural look, stripping the paint entirely may be the way to go. Stripping involves using a paint stripper to remove the painted layer, exposing the raw wood underneath. Once the wood is bare, it’s ready for a traditional wood stain. Stripping is a more labor-intensive process but can be worth it if you’re looking for an authentic, rich wood finish.
Using Tinted Polyurethane for a Stained Look
For a simpler approach, consider using tinted polyurethane to achieve a stained appearance. Tinted polyurethane products combine a clear finish with a slight tint, giving the effect of stain without requiring stripping or heavy sanding. This is a popular option for pieces where you want a stained look without the effort of full refinishing.
Faux Wood Finishing Techniques
If you’re feeling creative, you can use faux wood finishing techniques to mimic a stained look on painted wood. Faux finishes typically involve layering different paint colors and using special brushes or tools to create a wood-grain effect. This technique is particularly helpful for those who want the look of stained wood without the mess of removing the existing paint. Faux wood finishing works well for decorative pieces and smaller surfaces where authenticity isn’t as critical.
Common Mistakes and How to Avoid Them
When staining painted wood, a few common mistakes can impact your results. Here’s how to avoid them to ensure a smooth, professional-looking finish:
Skipping Surface Preparation
Skipping prep work is one of the biggest mistakes you can make when staining painted wood. Neglecting to sand, clean, or degloss the surface can lead to peeling, uneven results, or a finish that won’t last. Take the time to prepare the surface thoroughly, as it’s the foundation of a successful staining project.
Choosing the Wrong Stain Type
Using the wrong type of stain can result in poor adhesion, streaks, or an unsatisfactory finish. Gel stain is the best choice for stained painted wood because it’s thick and designed to sit on top of surfaces. Traditional oil-based and water-based stains often won’t provide the same consistency and depth. Always choose a stain designed for painted surfaces or one specifically labeled as suitable for a variety of materials.
Not Testing First
Testing a small area is crucial, especially if you’re trying a new stain or working with a unique painted surface. Testing helps you see how the stain will look and whether any adjustments are needed before staining the entire piece. This step prevents costly mistakes and ensures that the final finish matches your expectations.
Conclusion
Yes, you can stain over paint with great results, as long as you properly prepare the surface and choose the right stain for the job. Gel stain, combined with careful preparation, allows you to transform painted wood with a rich, attractive finish. While staining painted wood does take a little more effort than bare wood, the payoff can be a stylish, refreshed look.
If you’re interested in achieving a flawless stained finish without the hassle of DIY, consider reaching out to professionals like OnDemand Painters. With expert techniques and high-quality products, professionals can handle everything from surface prep to application, saving you time and ensuring a long-lasting, polished result. Whether you’re working on a large furniture piece or just want to get a small project done perfectly, our team at OnDemand Painters can make it happen.
FAQs
Can I use horse hair brushes to apply wood stain on painted wood surfaces?
Yes, horse hair brushes work well for applying wood stain as they offer a smooth, even finish, especially on prepared painted surfaces.
What’s the best way to stain painted wood to bring out a natural grain effect?
To achieve a natural grain look, use a gel stain on the painted wood after sanding and deglossing, as gel stains adhere well to painted surfaces and enhance texture.
Does applying gel stain work well for stained wood with existing paint or an old stain?
Yes, gel stain is ideal for stained wood with existing paint or an old stain, as it’s designed to sit on the surface without needing to penetrate deeply.
How should I prep wooden furniture with flaking paint before applying a new wood stain?
Start by sanding off the flaking paint, clean thoroughly, and use a deglosser if needed to ensure the new stain adheres evenly to the surface.
Is a foam brush effective for staining wood, especially on exterior surfaces?
A foam brush can work for applying wood stain but may not offer as much control as a bristle brush, especially for detailed surfaces or larger exterior areas.
Will staining wood with old paint require extra sanding to achieve a smooth wood grain finish?
Yes, sanding is essential for removing old paint and creating a smooth wood surface for the stain, helping achieve a clean wood grain effect.
Can you stain painted wood without fully removing the old paint?
Yes, you can stain painted wood without completely removing old paint by preparing the surface properly through sanding and using a gel stain that sits on top, giving it a refreshed look without full stripping.
Can you stain painted wood without fully removing old paint?
Yes, you can stain painted wood without completely removing old paint by properly preparing the surface through sanding and using a gel stain that sits on top, allowing you to stain wood without full stripping.


