


Painting new drywall is like giving your garage a fresh lease on life. It’s not just about slapping on a coat of paint; it’s an art that demands attention to detail, patience, and a bit of know-how. Let’s dive into the world of painting new drywall, shall we?
Understanding New Drywall
New drywall is a blank canvas, but it’s not as forgiving as you might think. This porous material can drink up your paint, leading to uneven coverage and a less-than-ideal finish. That’s why understanding its characteristics and challenges is crucial. A smooth base isn’t just about aesthetics; it ensures durability and a professional-looking outcome. And that begins with the unsung hero of the painting world: primer.
The Essential First Step: Cleaning and Prepping
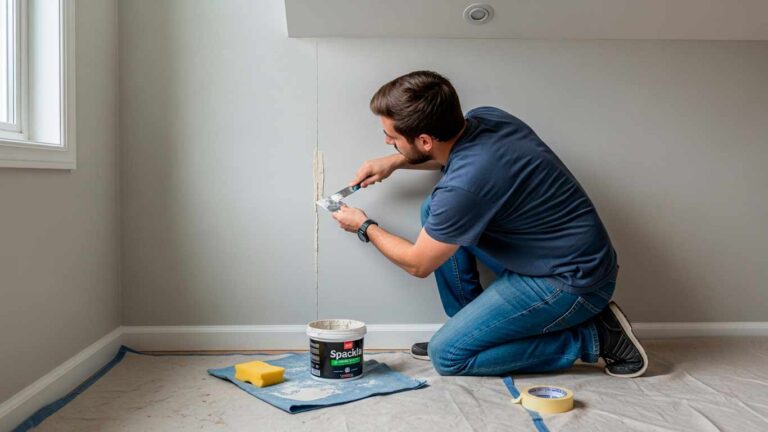
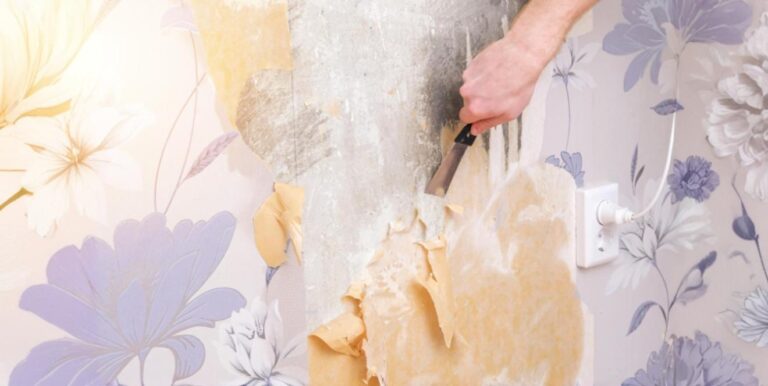
Imagine trying to paint over a surface covered in dust, dirt, or worse, oil stains. It’s a recipe for disaster. Cleaning and prepping your walls is like laying the groundwork for a masterpiece. From a thorough cleaning with a mild mixture of Dawn dish soap to sanding for that smooth finish, every step is vital. And remember, a dust-free wall is non-negotiable before moving on to priming.
Drywall Primer: The Foundation of a Great Paint Job
Skipping primer on new drywall? Think again. Primer is what ensures your paint doesn’t just look good on day one but stands the test of time. It’s the foundation that enhances paint adhesion, making sure your effort and investment pay off. Whether it’s a PVA primer for that perfect base or tackling stains with a product like Kilz, choosing and applying the right primer sets the stage for everything that follows.
Selecting the Right Primer
Not all primers are the same. Your choice should depend on the condition of your drywall and the finish you’re aiming for. Tinted primers can be a game-changer, especially when aiming for vibrant or dark colors. And while it might seem like a small detail, opting for a quality primer can make all the difference in the long run. It’s about more than just coverage; it’s about creating a durable, flawless finish.
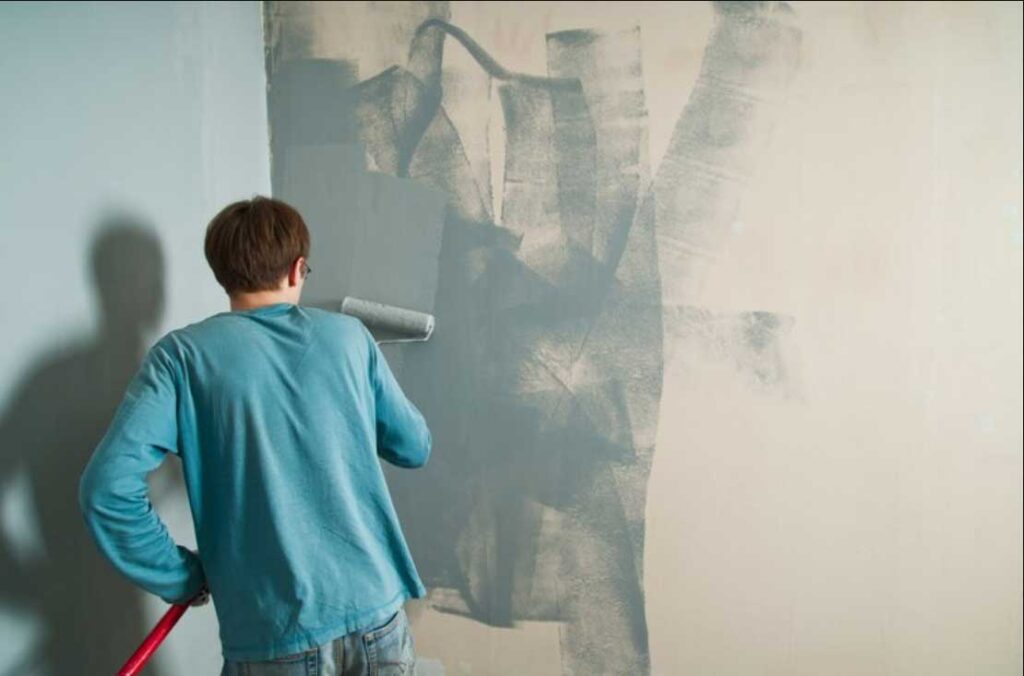
Applying the Primer
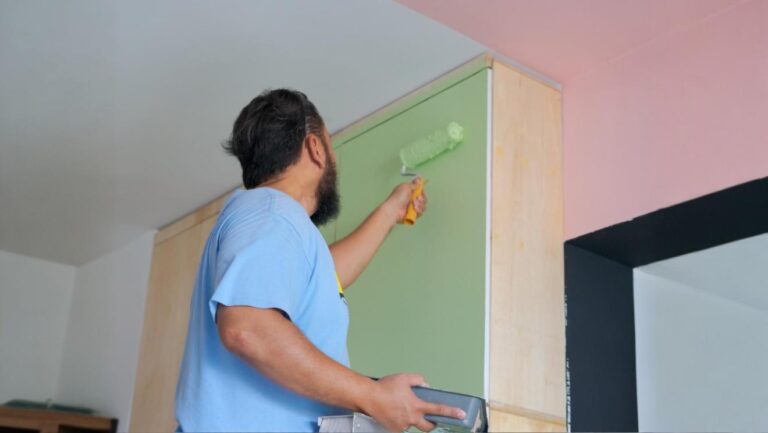
Now, let’s get down to business. Applying primer might seem straightforward, but technique matters. Whether you’re team roller or team sprayer, achieving even coverage is key. And don’t forget about drying times; environmental factors can play a significant role here. Once your primer is set, you’re ready for the main event: painting.
Choosing the Best Paint for Your Garage Walls
When it comes to selecting paint, some are definitely better than others, especially for garage walls. Interior latex paint is your best bet, offering quick drying times, minimal odor, and ease of cleanup. For a space like a garage that might face fluctuating temperatures and moisture, opting for a semi-gloss or satin finish can provide durability and ease of maintenance, hiding those inevitable scuffs and stains.
How Many Coats of Paint Are Necessary?
This is the million-dollar question. The short answer: it depends. Factors like the paint color, primer used, and painting method all play a role. Generally, two coats of quality paint over a well-prepped and primed surface should do the trick, ensuring even coverage and true color. However, don’t shy away from a third coat if you’re seeking perfection or working with bold colors.
Advanced Painting Techniques for Flawless Walls
Achieving a professional-grade finish is all in the technique. From the lighting you use to inspect your work to the way you handle your brush and roller, every detail matters. Techniques such as back rolling after spraying can ensure a uniform texture, while maintaining a wet edge helps avoid lap marks. And remember, patience is key; allowing each coat to dry fully before the next will result in a smoother finish.
The Role of Ventilation and Safety
Paint fumes can be more than just unpleasant; they can be harmful. Ensuring proper ventilation is crucial, not just for your comfort but for your health. Open windows, use fans, and take breaks to ensure you’re not overwhelmed by fumes. And always, safety first: wear protective gear as necessary.
Final Touches and Clean Up
The final inspection of your work can be satisfying. Look out for any touch-ups needed and address them promptly. Cleaning up your tools and space promptly can save you from a headache later. Properly dispose of or store any leftover paint and enjoy the fruits of your labor in a freshly painted garage that feels brand new.
Common Mistakes to Avoid:
1. Always use a good primer made for new drywall.
2. Let each coat dry properly.
3. Get the right brushes and rollers for the job.
4. Give your primed walls a quick sand to knock down any texture.
5. Spend a bit more on high-quality paint.
6. Wait for a day that’s just right, or adjust the room’s temperature and humidity if you can.
Conclusion: The Journey to Perfectly Painted Drywall
Painting new drywall in your garage might seem daunting at first, but with the right preparation, tools, and techniques, it’s a task well within reach. Remember, a flawless paint job is not just about the painting itself but the care and preparation that goes into it. From choosing the right primer to applying those final coats of paint, each step is a building block to a beautiful and durable finish. So, roll up your sleeves, and let the transformation begin.
Step by Step Guide
Preparing the Surface: Start by applying a primer coat to address any porous surfaces. This ensures a uniform absorption of the paint, providing a solid foundation for the topcoat. Drywall primer is specifically designed for this task, offering optimal coverage on new drywall.
Choosing the Right Primer: Opt for a drywall primer sealer if you’re working over old paint or on new drywall to ensure the best adhesion and coverage. This type of primer is excellent for creating a non-porous layer that prepares the wall for the paint.
Applying the Primer: Ensure the primer coat is evenly applied across all areas. This step is crucial for covering old marks and stains, making sure they don’t bleed through the new paint. Allow the primer to fully dry as per the manufacturer’s instructions.
Selecting Your Paint: For the topcoat, a flat latex paint is a good choice for ceilings and areas where a matte finish is desired. For walls, consider a lighter paint color to open up the space and reflect light better.
First Coat of Paint: Once the primer is dry, apply the first coat of your finish paint. This layer will start to bring the color to life. Even with high-quality paint, don’t be surprised if this first coat doesn’t completely cover the primer. Allow it to dry thoroughly.
Assessing Coverage: After the first coat has dried, check for any spots where the old paint or primer shows through. This will help you determine if one coat is sufficient or if additional coats are needed.
Applying Additional Coats: If necessary, apply a second or even third coat of finish paint. Multiple coats may be required for complete coverage, especially when transitioning to a significantly lighter paint color or when covering dark or vibrant old paint.
Final Touches: After the last coat of paint has dried, inspect your work for any missed spots or uneven areas. A well-applied finish coat will leave your walls looking fresh and professionally done.