


Painting brick exteriors is a great way to give your home a fresh look, boost curb appeal, and add a layer of protection to your brickwork. However, painting brick isn’t as simple as applying a coat of paint—it requires proper preparation, the right materials, and attention to detail. Getting it right can make the difference between a lasting finish and one that flakes away in a year. Here’s how to paint brick exteriors the right way.
Key Takeaways
- Always apply primer to masonry surfaces before painting brick walls for better adhesion.
- Use a wire brush to clean exterior brick and remove debris before applying primer.
- Choose acrylic latex or elastodynamic paint for durability and a fresh coat on brick walls.
- Apply paint with a spray gun for large areas, using brushes for details.
- For best results, apply at least two coats of paint on your home’s brick.
- Regular maintenance, including touch-ups and occasional power washing, will help extend the life of your paint job.
Can You Paint Exterior Brick?
If you’ve ever wondered whether painting brick is possible, the answer is yes! Brick, like most exterior surfaces, can be painted with the right preparation and materials. However, bricks are porous, meaning they absorb moisture and paint, so you can’t treat them like wood or vinyl. The type of brick—whether it’s newer or older—will also influence the paint’s durability. Painting older brick can help preserve it, while new brick might absorb paint more unevenly. It’s all about knowing your surface and prepping accordingly.
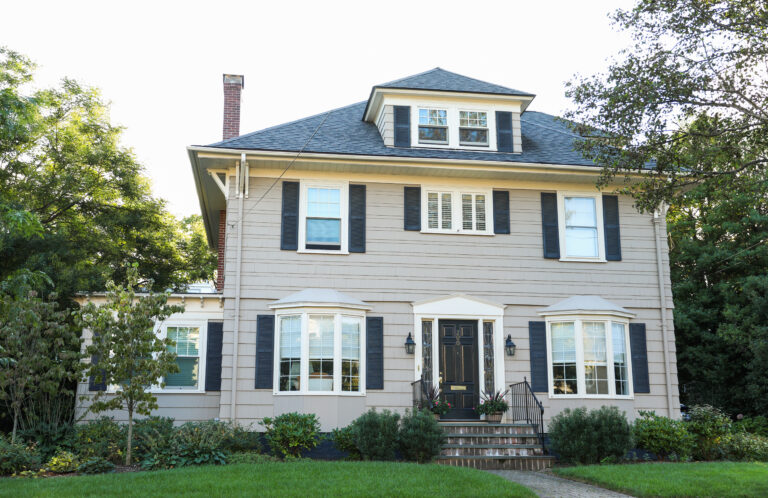
Benefits of Painting Brick Exteriors
Why would anyone paint their brick exterior in the first place? Well, the answer is twofold: aesthetics and protection. Painted brick looks modern and can transform your home’s exterior, making it stand out on the block. It’s especially appealing for those who love bold colors or want to hide aged or weathered brick.
Painting brick also has practical benefits. It adds an extra layer of protection to your brick surface, preventing moisture from getting into cracks and mortar joints. This protection can extend the life of your brick, especially in areas with harsh weather conditions. Plus, painted brick is easier to clean! Dirt and grime can wash off more easily, especially if you’ve used a high-quality, water-repellent masonry paint.
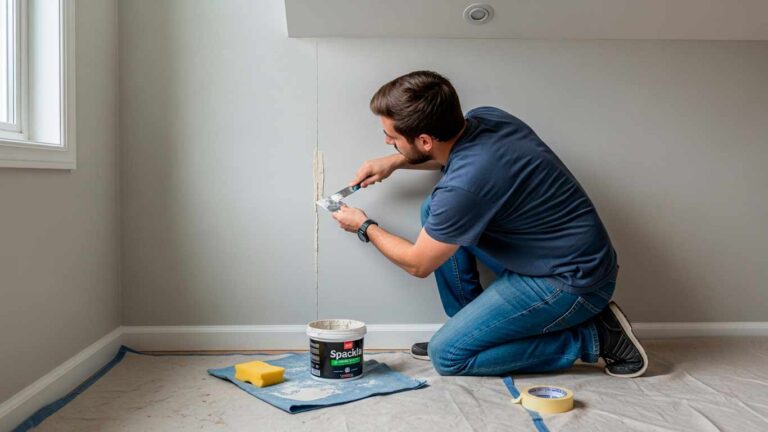
Essential Preparations Before Painting Brick
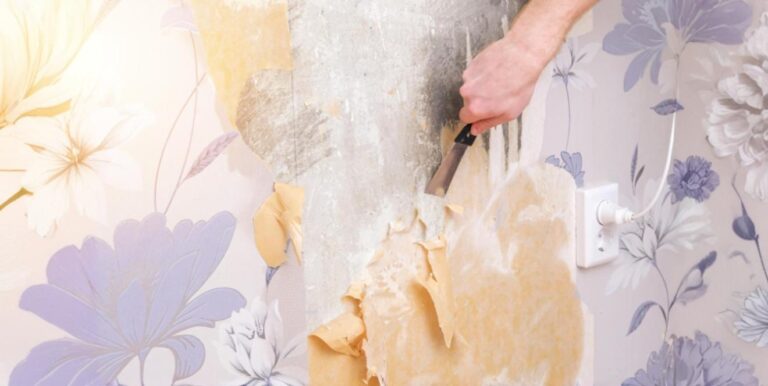
Before you pick up a paintbrush, preparation is key. Skipping this step can turn your dream paint job into a nightmare, with peeling paint or uneven coverage. The first thing you’ll want to do is clean the brick thoroughly. Use a pressure washer or a stiff scrub brush to remove dirt, grime, and any loose debris that might interfere with paint adhesion. For stubborn stains or efflorescence, you can use acid cleaning solutions, but be sure to rinse thoroughly and let the brick dry completely before proceeding.
Next, inspect the mortar joints for any cracks or gaps that need filling. You can use a masonry filler for this task, ensuring that all holes are sealed properly. The goal is to create a smooth, stable surface for the paint. Remember, brick is a porous material, so letting the brick dry completely after cleaning is crucial. If moisture is trapped in the brick, it could cause the paint to bubble or peel later on.
Choosing the Right Paint and Tools
When it comes to choosing the right paint, not all paints are created equal. For brick, you’ll need to use a masonry primer to help the paint stick to the surface. This step is vital because the primer creates a smooth layer that fills the pores in the brick, preventing the paint from being absorbed too quickly.
For the topcoat, acrylic latex paint is often the go-to option because it’s durable and weather-resistant. Another excellent choice is elastodynamic paint, which is thicker and provides better protection against cracking, making it ideal for older or damaged brick surfaces.
In terms of tools, a combination of paint sprayers and brushes works best. A paint sprayer will give you an even coat over large areas, while a brush can help with detailing and touch-ups around windows, doors, and trim. Don’t forget to tape off these areas with painter’s tape to ensure clean lines and protect surfaces you don’t want to paint.
Priming the Brick Surface
Priming is arguably the most critical step in the process. Without a masonry primer, the paint might not adhere properly, leading to peeling or uneven coverage. Apply a generous coat of primer using a long-pile roller or sprayer to make sure it penetrates all the nooks and crannies of the brick. If you’re working with a heavily textured brick surface, you may need to go over the area with a brush to ensure complete coverage.
Be sure to allow the primer to dry completely before moving on to the next step. Depending on the weather, this could take anywhere from a few hours to a full day. If you rush this process, your topcoat could fail to adhere properly.
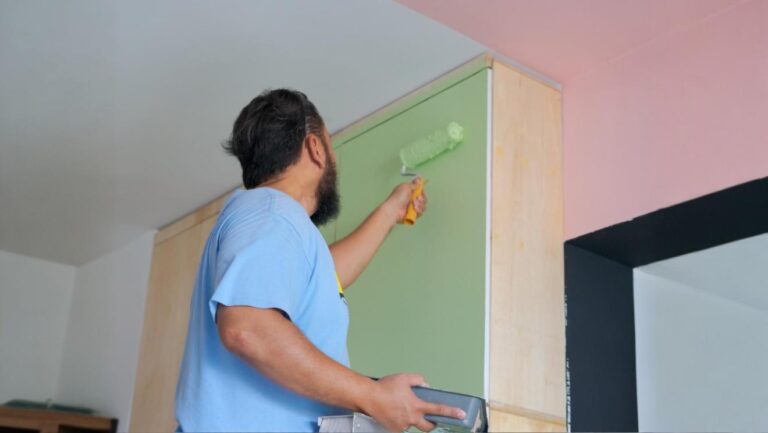
Applying the First Coat
Once the primer is dry, it’s time to apply the first coat of paint. Start by cutting in around windows, doors, and edges using a brush. This ensures a clean finish and helps the larger areas blend seamlessly. For the main surface, use a paint sprayer or roller to cover the entire brick wall evenly. Be sure to apply a thin, consistent layer to help the paint bond properly with the brick surface.
If you’re working with an entire brick wall, patience is key. This first coat isn’t about achieving full opacity; it’s about building a strong foundation for the second layer. After finishing, let the paint dry completely before moving on to the next step.
Using a Paint Sprayer for Large Areas
If you’re tackling large surfaces, a paint sprayer is your best friend. It speeds up the process and provides a more even coverage compared to brushes or rollers, especially on textured surfaces like brick. However, using a sprayer requires some skill. Make sure to keep the sprayer moving to avoid overloading any single area with too much paint. Also, don’t forget to mask off nearby areas with painter’s tape to avoid overspray on windows, doors, or other trim.
Remember, it’s crucial to follow the manufacturer’s instructions for the paint sprayer to ensure proper application. Different sprayers and paints may require slightly different techniques, so double-check everything before you start.
Applying the Final Coat
After the first coat has dried, it’s time to apply the final coat. This layer is all about achieving the rich, finished look you want for your brick exterior. Like the first coat, you’ll want to start with the details using a brush and then work your way to the larger surfaces with a sprayer or roller.
This second layer should be slightly thicker than the first, providing full coverage and a smooth finish. If you’re using high-quality paint, two coats are usually enough to achieve a professional look. Be sure to check for any missed spots or thin areas before the paint dries. You can easily touch up those sections to ensure an even appearance.
Touching Up and Inspecting the Paint Job
Once the final coat is applied and fully dry, take a step back and inspect your work. Look for any areas that may need a little extra attention, like corners or edges that might have been missed during spraying. This is the perfect time to touch up any uneven spots or areas where the coverage isn’t as solid.
While you’re at it, don’t forget to check for any paint drips or streaks that may have formed. Catching these early allows you to fix them before the paint hardens. Lastly, inspect the trim and windows for overspray. Carefully remove the painter’s tape and clean up any spots that might have been accidentally painted.
Maintaining Painted Brick Exteriors
Painting your brick exterior isn’t a one-and-done deal—it requires some maintenance to keep it looking fresh over the years. The good news is that with proper care, your new paint job can last over a decade. Occasionally, you may need to apply additional coats to areas that face the harshest weather conditions, like direct sunlight or heavy rain. High-traffic areas, such as around doors or the front porch, might also need more frequent touch-ups.
To maintain the painted surface, you can occasionally power wash the exterior to remove dirt and grime. However, avoid using harsh cleaning chemicals or abrasive scrub brushes, as they can damage the top coat.
By following these steps, you’ll not only have a beautiful, long-lasting finish but also protect your brick home from the elements. If you’re ever in doubt or need professional help, don’t hesitate to reach out to OnDemand Painters. We’re here to ensure your brick home looks its best for years to come.
FAQ
Do I need more than one coat when I paint brick?
Yes, applying at least a second coat makes a huge difference in durability and finish when you paint brick.
What type of paint is best for an exterior brick house?
For a brick house, acrylic latex paint is ideal because it’s durable and weather-resistant.
How long should I wait for the primer to dry completely?
Let the primer dry completely for at least 24 hours before you start painting your brick walls.
How long should I wait between coats when painting a brick wall?
It’s essential to let the first layer dry completely before applying a second coat, and drying times can vary depending on temperature and humidity, but generally, you should wait 24 hours.
Can I paint the bricks on my house and fireplace the same way?
Yes, you can paint both, but for a brick house, you’ll want exterior acrylic latex paint, while for a brick fireplace, heat-resistant paint is recommended to handle high temperatures.