Covering up a drywall patch with paint? No sweat. It’s way simpler than it sounds, and it’s all about making your wall look untouched again. Whether you’re fixing up after some bumps or just refreshing the scene, hiding those patches is your ticket to a slick finish. I’ll walk you through getting your wall ready, choosing the perfect paint, and applying it so smoothly, you’ll wonder where the patch went. By sticking to a couple of easy steps, you’re going to nail a look that’s as good as any pro’s. Ready to make those patches vanish?
Let’s get started on transforming those patched areas into invisible, flawless finishes on your entire wall.
Understanding How to Paint a Drywall Patch
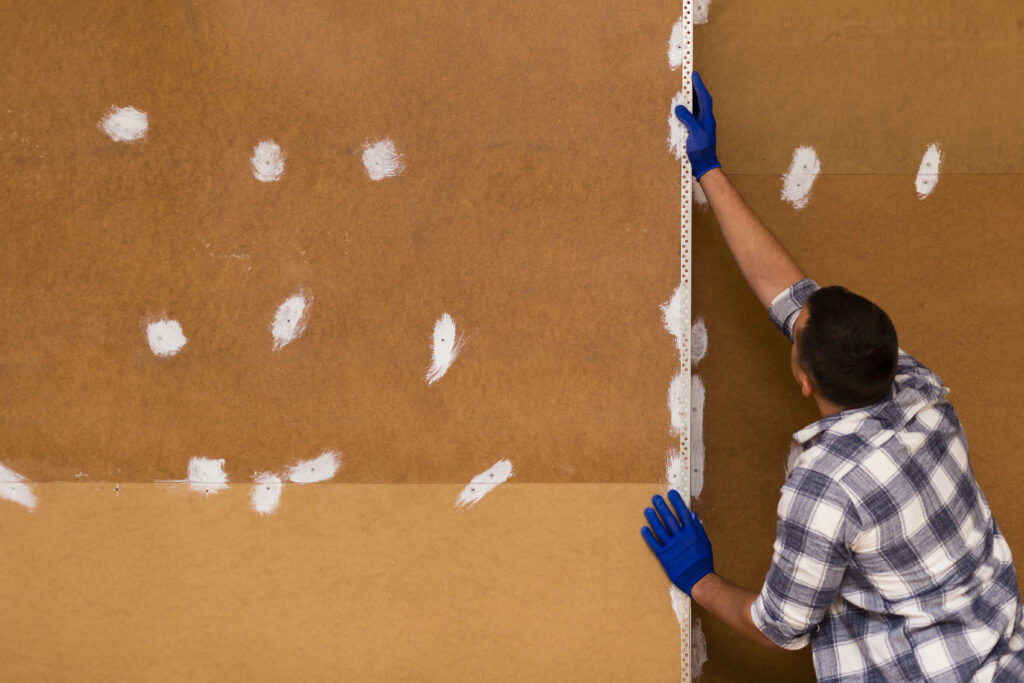
Drywall patches are a must-have for fixing parts of drywall damaged by things like holes, cracks, water issues, or dents. Putting in a drywall patch not only fixes the wall but also keeps it looking good. Situations that commonly require drywall repairs include fixing damage from door knobs, hanging hardware, moisture, and after plumbing or electrical work. A self-adhesive mesh patch can be particularly useful in these repairs.
Selecting the Right Materials for Drywall Patches
Choosing the right materials, such as joint compound and paint, is crucial for a successful drywall repair:
- Primer: A high-quality primer suitable for drywall or a high-build primer to fill any wall texture differences is essential.
- Paint: Matching the existing paint on the surrounding wall ensures that the painted wall looks uniform.
Techniques for Painting Drywall Patches
For a painting process that blends seamlessly with the rest of the wall surface:
- Use a wall texture spray and a small roller to apply paint in a way that matches the wall’s texture.
- Apply primer and paint in thin, even coats.
- Feather the edges of the paint to blend the entire patch with the surrounding wall surface, achieving a smooth finish.
Tools, Equipment, and Techniques for Drywall Patch Painting
Essential Tools and Equipment for Preparing and Painting a Drywall Patch
- To achieve a professional-quality paint job on a drywall patch, having the right tools and equipment is crucial. Here is an expanded list of essentials:
- Sandpaper or a Sanding Block: Necessary for creating a smooth surface on the drywall patch. Use varying grits to gradually achieve a perfectly smooth finish.
- Tack Cloth or Damp Rag: These are used for cleaning the wall surface after sanding, ensuring it’s free of loose debris and dust. A tack cloth is especially effective at picking up fine particles.
- Drywall Primer: A high-quality primer is essential for sealing the wall surface and ensuring uniform paint absorption.
- Paintbrushes and Rollers: Choose brushes and rollers based on the texture of your existing wall surface. A small roller can help achieve a texture similar to that of the rest of the wall surface.
- Paint Tray: For holding and rolling out paint and primer.
Drop Cloths or Plastic Sheeting: These materials protect the floor and furniture from paint spills and splatters.
Drying and Reapplication Process
After applying primer, allow it to dry thoroughly as per the manufacturer’s instructions. This is critical for paint adhesion and a smooth finish.
Apply paint in multiple thin coats rather than a single thick one. This technique allows for better control over the painting process and reduces the risk of drips or texture differences. Ensure each coat has adequate drying time as recommended.
Blending the Patch with the Existing Wall
Feathering the edges of both paint and primer beyond the patch helps integrate the repair into the existing wall surface. This technique softens the transition between the entire patch and the surrounding paint.
Replicating the original wall’s painting method (whether using a roller or brush) is crucial for matching the texture and ensuring the patch blends seamlessly.
Common Mistakes to Avoid
- Skipping primer: This can lead to uneven paint absorption and color mismatch.
- Applying thick coats of paint: Results in visible seams or ridges.
- Insufficient drying time between coats: Can lead to sags or bubbles in the painting process.
Post-Painting Care
Avoid cleaning the painted wall for at least two weeks to let the new paint fully cure. When it’s time to clean, opt for mild cleaning agents and soft cloths to ensure the paint finish remains undamaged.
Troubleshooting Tips for Common Issues
Cracking or Peeling: This usually points to moisture problems or the paint not sticking well. Make sure the drywall is dry and primed right before you paint again.
Color Mismatch: To get the color right, stir the paint well.If the issue keeps up, a second layer or a tinted primer might help even things out.
Conclusion:
Patching drywall is an essential trick in your home maintenance toolkit. It’s all about fixing those pesky wall damages before giving them a fresh coat of paint, so everything looks as good as new. . The whole game changes when you’re looking at repairing damage to the drywall surface before slapping on some paint. And here’s the kicker: achieving that seamless painted surface isn’t just nice to have; it’s what separates the rookies from the pros.
With that in mind, let’s roll up our sleeves and dive into the nitty-gritty of prepping that damaged area, selecting the right gear for the job, and mastering the art of smooth application. Because, at the end of the day, it’s all about making those walls look like nothing ever happened. That being said, are you ready to turn that patch into perfection? Let’s get to work and make those walls flawless again!


