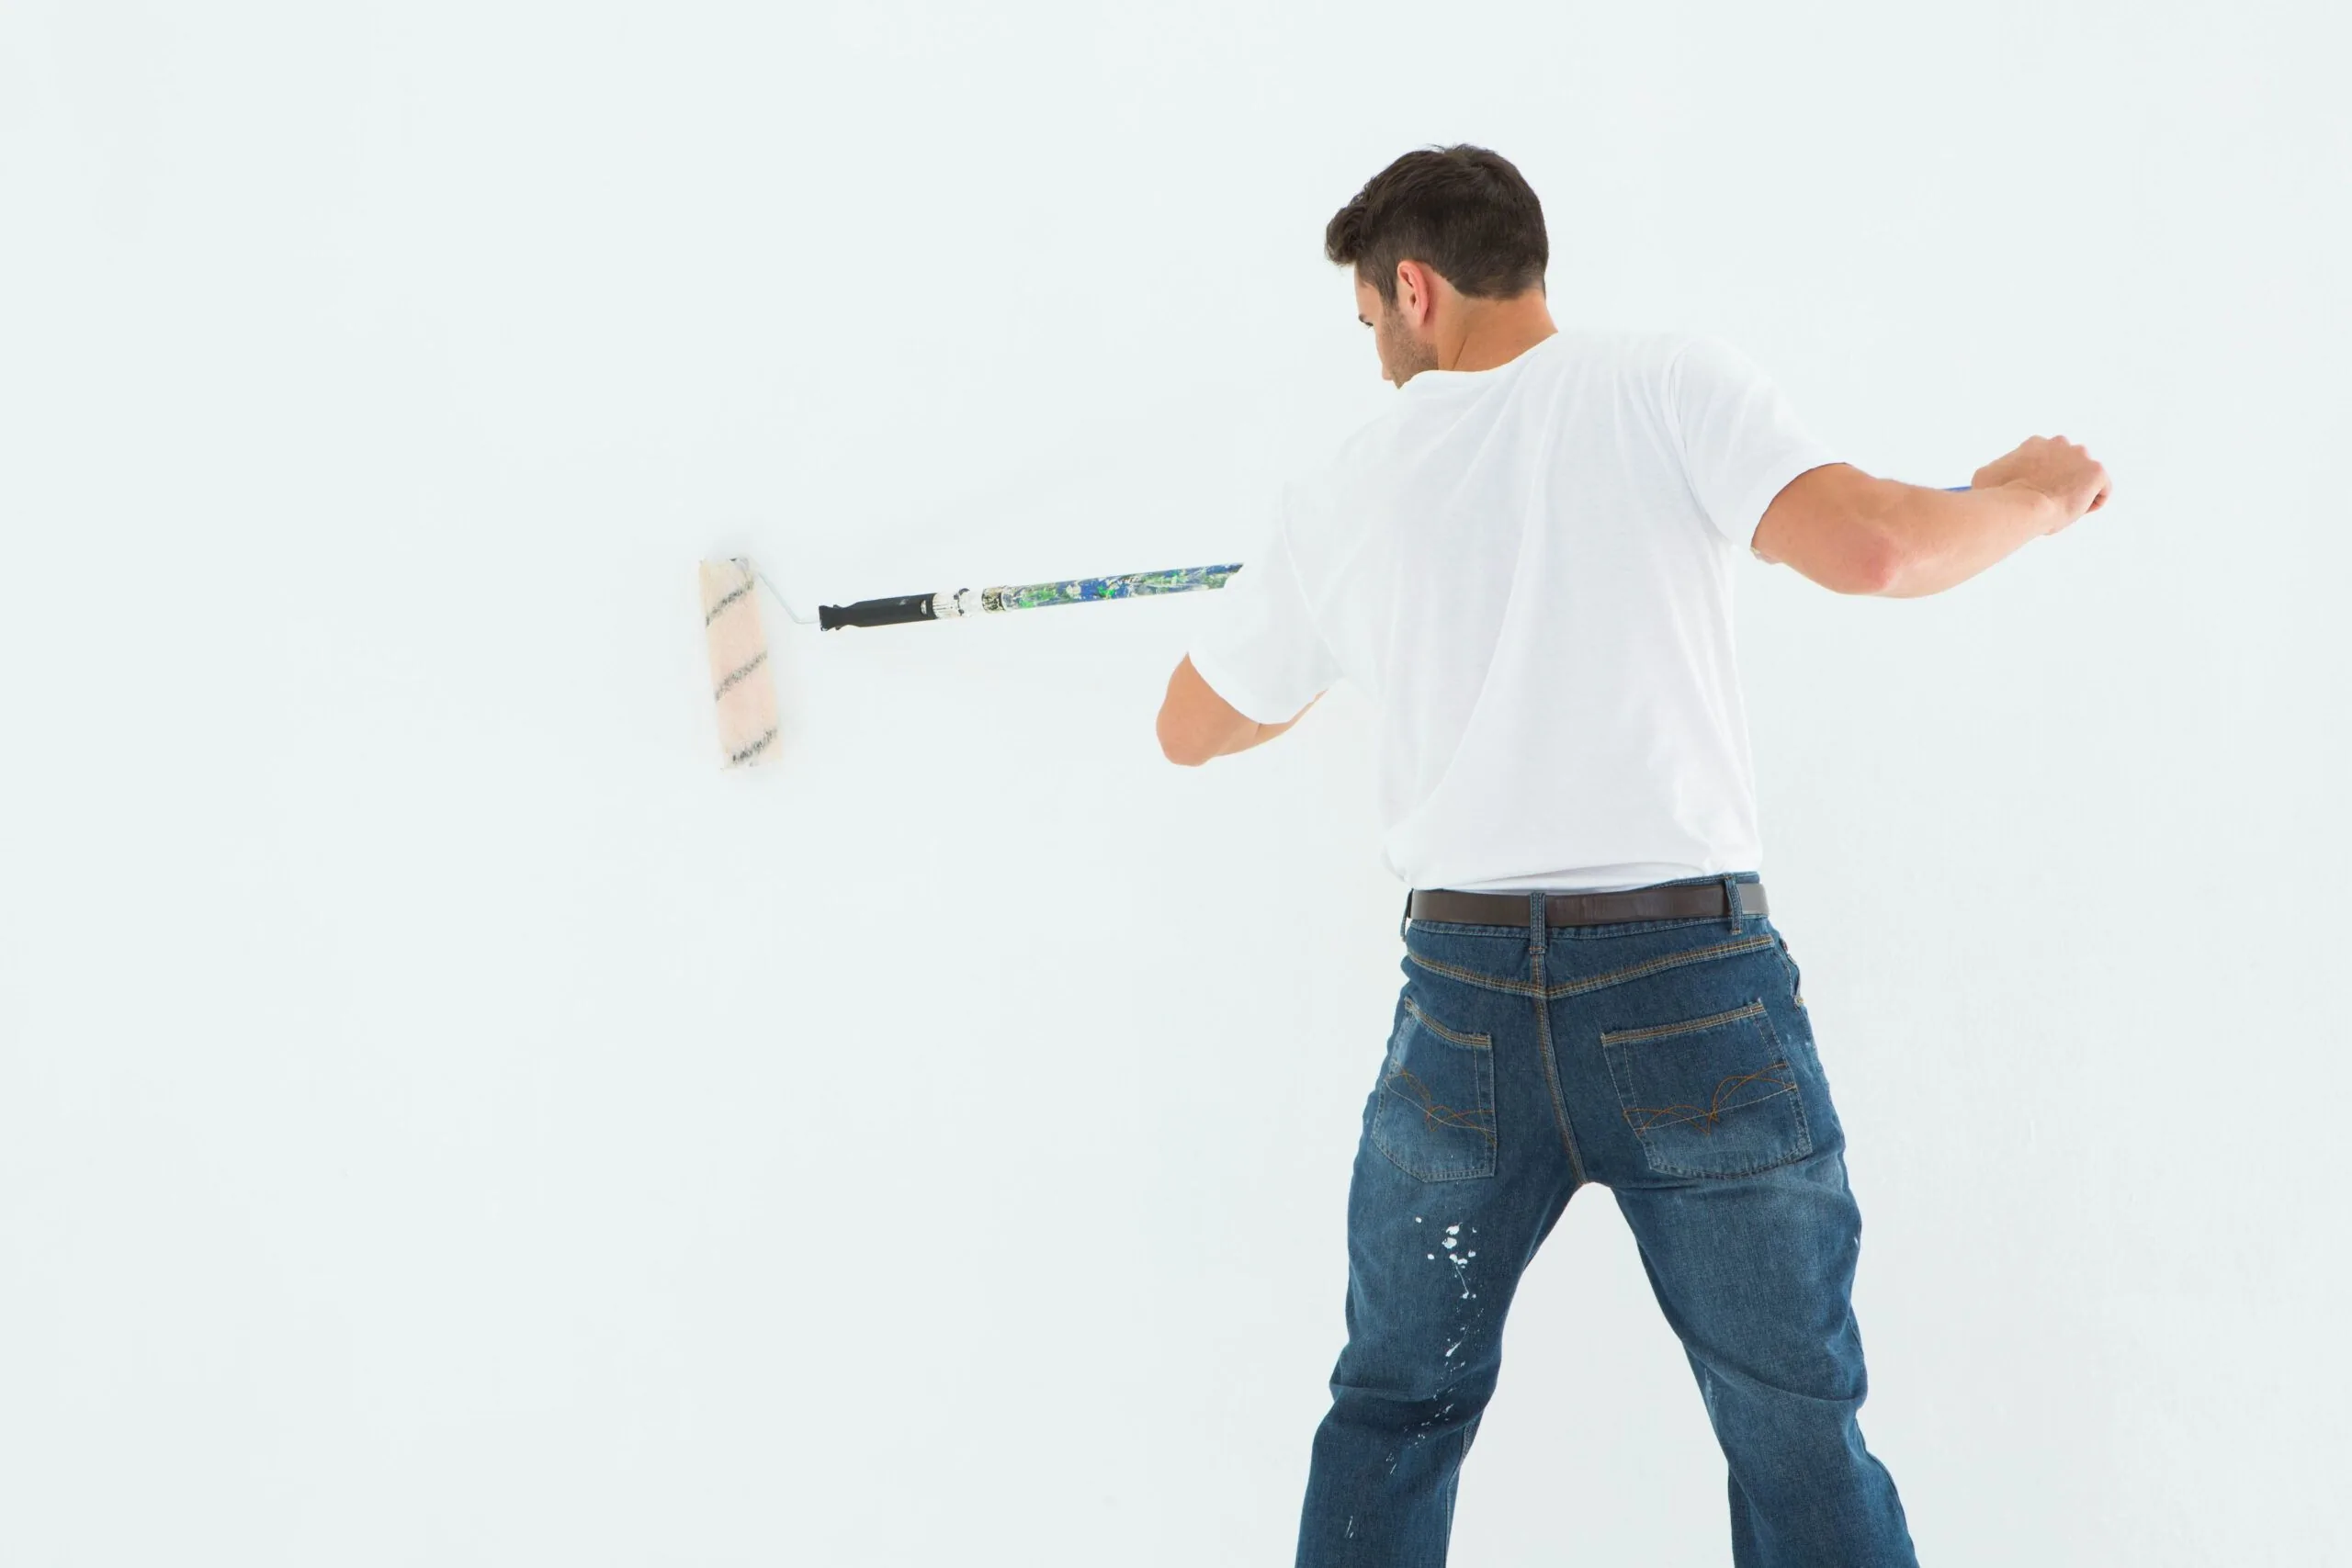
How To Paint Paneling To Look Like Drywall
Painting wood paneling to achieve a smooth wall that looks like drywall is a popular home renovation project. This trend is part of a shift towards minimalist and modern interiors, where traditional wood paneling may not match the desired design. OnDemand Painters is ready to help you through this process smoothly and confidently.
Understanding Wood Paneling
Wood paneling was a popular choice in mid-century home design due to its warmth, cost-effectiveness, and simple installation process. However, as home design preferences have changed, so too has the way people view wood-paneled walls. Some homeowners still appreciate its rustic look, but many others are now looking for ways to update their rooms to a more modern style.
The Challenges of Outdated Paneling
Despite its benefits, outdated paneling can make a room feel dark, cramped, and stuck in a bygone era. The textured surface and dark tones often associated with old wood paneling can limit decorating options and detract from the overall brightness of a space. However, with a bit of paint and some elbow grease, it’s possible to transform these walls into a smooth canvas that invites modernity and light.
Evaluating the Project: Pros and Cons of Painting Paneling
Before diving into the project, it’s essential to weigh the advantages and disadvantages.
The Pros:
- Cost-Effective Update: Painting paneling is significantly less expensive than replacing it with drywall or another wall treatment.
- Quick Transformation: A fresh coat of paint can quickly change the room’s look, making it brighter and more contemporary.
- Versatility in Design: With paint, the color and finish options are nearly endless, allowing for greater creativity in home decor.
The Cons:
- Labor-Intensive Preparation: Achieving a smooth surface requires thorough prep work, including cleaning, sanding, and filling grooves.
- Potential for Imperfections: If not done carefully, painted paneling can show signs of its previous texture through the paint.
- Temporary Solution: While painting can drastically improve the appearance, it doesn’t change the fact that the underlying material is still paneling.
Comprehensive Step-by-Step Transformation Guide
Preparing the Paneling
Success starts with preparation. Here’s how to ensure your paneling is ready for its makeover:
- Sanding: Begin by lightly sanding the paneling’s surface. This step is crucial for breaking down the glossy finish of the wood, allowing subsequent materials to adhere better.
- Cleaning: After sanding, wipe down the walls with a damp cloth to remove dust and debris. For more stubborn grime, a diluted solution of TSP cleaner can effectively etch and clean the surface, ensuring a clean slate for painting.
- Safety First: Remember to wear protective gear, such as gloves and a mask, during this process to safeguard against dust and chemicals.
This preparation sets the stage for a smooth painting process, ensuring the final result looks professional and polished.
Filling the Grooves: Achieving Smoothness
Once your paneling is clean and sanded, the next step is to tackle those characteristic grooves that are the hallmark of paneled walls. This is where the magic of joint compound, also known as drywall compound, comes into play.
- Choosing the Right Compound: For filling in paneling grooves, a lightweight joint compound is your best friend. Its smooth consistency makes it easy to work with, ensuring you can achieve a flat surface without adding too much bulk to your walls.
- Application Technique: Armed with a putty knife, apply the joint compound into the grooves of your paneled wall. The trick here is to apply enough pressure to fully press the compound into the grooves, ensuring there are no air pockets that could lead to cracking or unevenness later on.
- Let It Dry, Then Sand: After filling the grooves, give the compound ample time to dry completely. This could take anywhere from a few hours to overnight, depending on humidity levels. Once dry, sand the area smooth, blending the filled grooves seamlessly with the rest of the wall.
- Address Nail Holes: Don’t forget those tiny but noticeable nail holes! A dab of joint compound smoothed over each hole with your putty knife will make them disappear under your new paint job.
- A Second Look for Perfection: Sometimes, one layer of compound isn’t enough to achieve that perfectly smooth surface. If you notice dips or imperfections after your first round of sanding, don’t hesitate to apply a second coat of joint compound. Remember, patience is key to a flawless finish.
Priming and Painting: The Final Touches
With your paneling now smooth and free of grooves and nail holes, it’s time to bring your vision to life with primer and paint.
- Prime for Adhesion: Applying a high-quality primer is crucial for ensuring your paint adheres well and provides a durable finish. Opt for a shellac-based stain-blocking primer to cover any residual stains or color differences in the wood paneling, ensuring a uniform base for your color.
- Painting Your Paneled Wall: When it comes to painting paneled walls to look like drywall, applying two coats of paint is non-negotiable. The first coat might look promising, but it’s the second coat that brings the depth, evenness, and richness that truly transforms your space. Use a roller for broad strokes and a brush for detailed areas around trim and corners.
- Choosing the Right Paint: The finish of your paint can dramatically affect the perception of your walls. A matte or eggshell finish will help conceal any minor imperfections and give your walls that sought-after drywall appearance. However, if you’re after durability, especially in high-traffic areas, a satin finish might be the way to go.
Conclusion
By following these steps and embracing the journey of painting your paneling, you’ve not only updated your space but also added value and beauty to your home. Whether it’s a single paneled wall or an entire room, the satisfaction of achieving this transformation is significant. Enjoy your newly refreshed space, knowing that you’ve mastered the art of making paneling look like drywall.
FAQs
Can I use any type of paint on wood paneling?
Absolutely, you can paint wood paneling with both latex and oil-based paints, just ensure the surface is properly prepped first.
Is drywall mud the best option for filling in the grooves of wall paneling?
Yes, drywall mud is ideal for filling in the grooves of wall paneling, creating a smooth surface ready for painting.
How do I prepare wall paneling before painting?
To prepare wall paneling for painting, clean it thoroughly, sand down the glossy finish, and fill any grooves with drywall mud.
Can I achieve a smooth wall finish by painting over paneling?
Definitely, with proper preparation and filling grooves with drywall mud, you can achieve a smooth wall finish by painting over paneling.
Will painting my wood paneling make it look like drywall?
Painting your wood paneling, especially after filling the grooves with drywall mud, can indeed give it a look similar to drywall.
Chris Heerdegen
Chris Heerdegen is the founder and owner of OnDemand Painters, a painting and finishing company serving six metro markets across the Midwest and Florida. With over 20 years in the industry since 2001, Chris built OnDemand around a simple idea: answer the phone, show up when you say you will, and do the kind of work that earns a review.
All Posts