


If you’ve ever noticed bubbles or blisters forming on your freshly painted walls, you’re not alone. Paint blistering, also known as paint bubbling, is a pretty common issue. It can lead to peeling if not addressed promptly. By understanding the causes, preventive measures, and solutions, you can keep your painted surfaces looking great for years to come.
Key Takeaways
- Paint blistering occurs when air or moisture gets trapped under the paint, causing paint bubbles.
- Moisture causes paint blistering; ensure surfaces are dry and improve ventilation.
- Avoid painting in extreme temperatures or high humidity to prevent blistering.
- Clean surfaces thoroughly and use high-quality primer for good adhesion.
- Apply thin, even coats of paint, allowing each to dry completely to avoid trapping moisture.
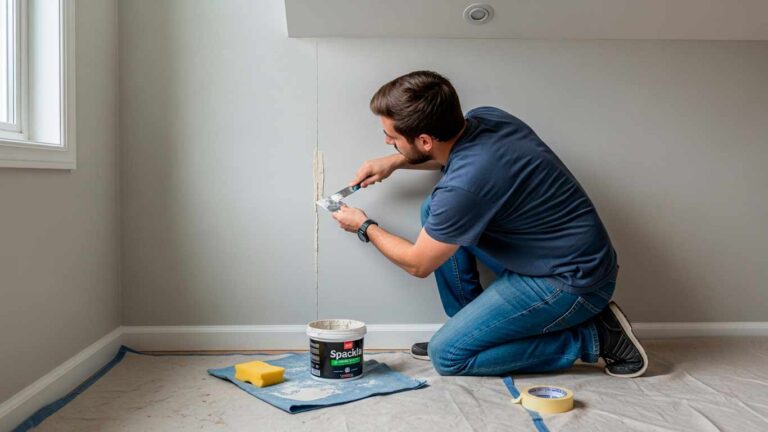
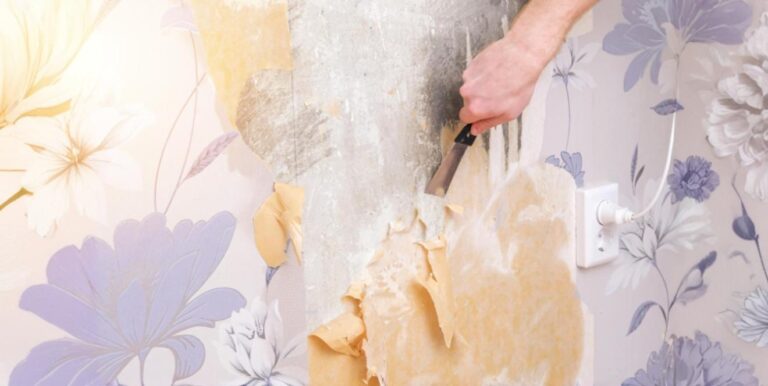
- Fix small blisters by sanding, cleaning, priming, and repainting; for widespread blistering, scrape off damaged paint and address moisture issues.
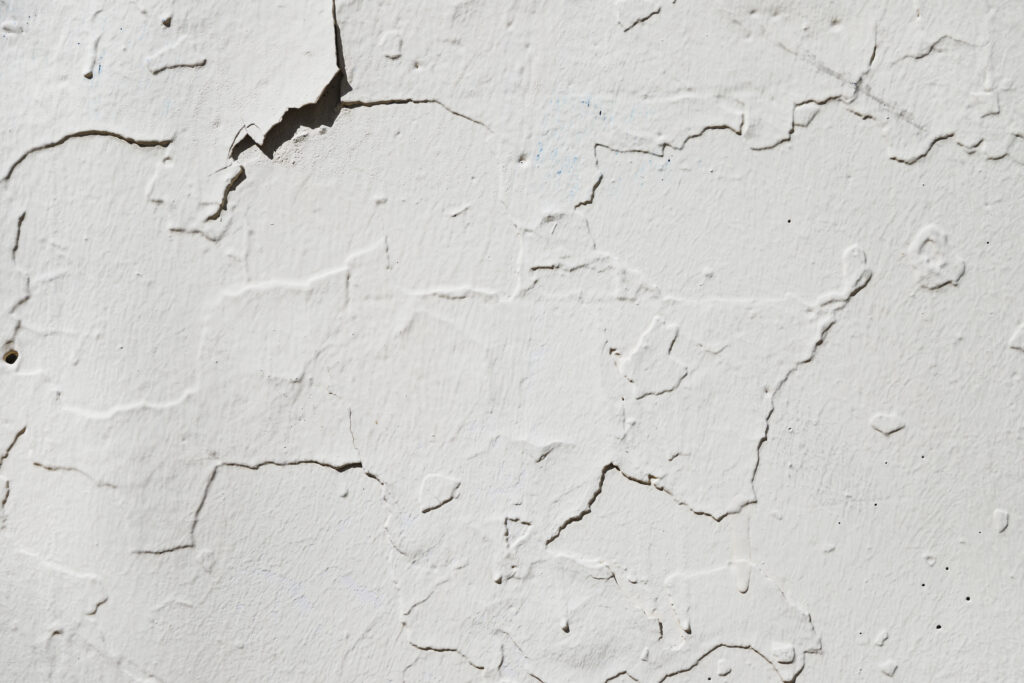
What is Paint Blistering?
Paint blistering happens when pockets of air or moisture get trapped under the paint layer. This causes the paint to lift from the underlying surface, leading to bubbles or blisters that can appear long after the paint has dried.
Why Paint Blistering Happens
Moisture Issues
Moisture is a major reason for paint blistering. Water can get into the surface underneath the paint, causing the paint film to lift and form bubbles. This is especially common in areas where humidity is high, like bathrooms and kitchens. Painting over damp walls can also lead to blistering because the moisture trapped inside prevents the paint from adhering properly. Make sure walls are completely dry before painting. If you paint on wet surfaces, whether due to recent cleaning or rain, the trapped liquid can cause the paint to bubble.
Painting in Tough Conditions
Prepping and Painting the Right Way
Proper surface preparation is crucial for a smooth paint job. If walls aren’t cleaned well, dirt and grime can stop the paint from sticking properly, leading to bubbles and blisters. Always clean the surface thoroughly before painting. Skipping the primer or using a low-quality one can also cause paint blistering. A good primer helps the paint stick to the surface and prevents moisture from seeping through and causing blisters.
High levels of humidity can affect how paint dries. Moisture in the air can get trapped in the paint, preventing it from sticking properly to the surface. This can lead to paint bubbles, particularly if the surface is exposed to dew or rain soon after painting. Painting in extreme temperatures is another common cause of blistering paint. Painting in direct sunlight or on hot surfaces can make the paint dry too quickly, causing bubbles. On the other hand, painting in cold conditions can slow the drying process, trapping liquid and leading to blistering.
Mixing the Wrong Paints
Using incompatible paints, like putting latex paint over alkyd or oil-based paint, can cause blistering. The different chemical compositions can stop proper bonding, leading to a compromised paint film and blisters.
Overworking the Paint
Overworking the paint by stirring it too long or too fast can introduce air bubbles. These bubbles can get trapped under the paint film and cause blistering as the paint dries.
Applying Paint Too Thickly or Too Quickly
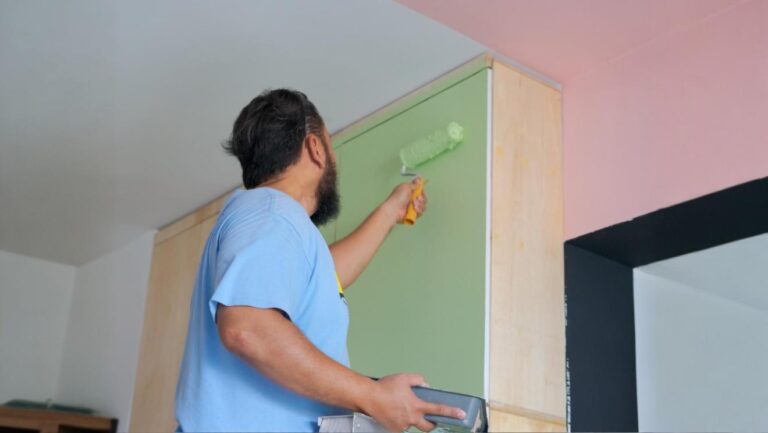
Applying paint too thickly or too quickly can prevent proper drying between coats, trapping liquid and causing bubbles. It’s essential to apply thin, even coats and allow enough drying time to avoid blistering.
Using the Wrong Type of Roller Cover
Using the wrong roller cover for the surface can cause an uneven application of paint. This can result in areas where the paint film is too thick, causing it to blister as it dries. Choosing the right roller cover ensures a smooth, even finish and helps prevent bubbles.
How to Fix Paint Blisters
Small, Isolated Blisters
- Sand the Blistered Area
- Use fine-grit sandpaper to carefully smooth the blistered paint film. Make sure to remove the bubbles without damaging the underlying surface.
- Clean the Surface
- Wipe down the sanded area with a damp cloth to remove dust and debris. Ensure the surface is clean and dry before proceeding.
- Prime the Surface
- Apply a good-quality primer to seal the surface and enhance paint adhesion. Allow it to dry completely.
- Repaint the Area
- Apply thin, even coats of paint. Allow each coat to dry completely before adding the next. This method helps prevent new blisters and ensures a smooth, durable finish.
Widespread Blistering
- Remove Blistered Paint
- Use a paint scraper or putty knife to scrape off the blistered paint layers. Ensure you remove all damaged paint down to a stable layer or the bare substrate.
- Identify and Address Moisture Issues
- Check for sources of moisture, such as leaks or damp walls, and repair any problems. Improve ventilation in high-humidity areas by installing exhaust fans.
- Prepare the Surface
- Sand the surface to ensure it is smooth and even. Clean it thoroughly to remove any dust or debris.
- Prime the Surface
- Apply a quality primer to seal the surface and enhance paint adhesion. Allow it to dry completely.
- Repaint the Area
- Apply thin, even coats of paint. Allow each coat to dry completely before applying the next. Avoid painting in extreme temperatures or direct sunlight to prevent future blistering.
Conclusion
Believe it or not, tackling paint blistering isn’t as daunting as it seems. By identifying the root causes and following the right steps, you can fix those pesky bubbles and prevent them from coming back. Whether it’s ensuring proper surface preparation or using the right painting techniques, a little effort goes a long way in maintaining the beauty and durability of your painted surfaces. Happy painting!
FAQs
What is alkyd paint and when should I use it?
Alkyd paint is an oil-based paint known for its durability and smooth finish, ideal for high-traffic areas and trim.
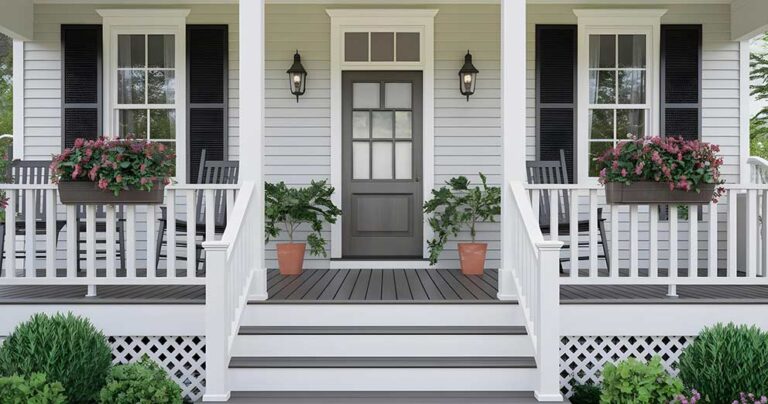
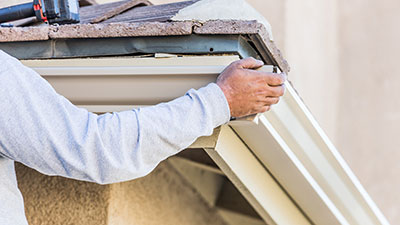
How do I repair loose caulking on exterior walls?
To repair loose caulking on exterior walls, remove the old caulk, clean the area, apply new caulk, and ensure it cures properly.
Why is applying a top coat important?
Applying a top coat is crucial for protecting the paint job, enhancing durability, and achieving a smooth finish.
How can exhaust fans help prevent paint bubbling?
Exhaust fans help reduce humidity in areas like bathrooms and kitchens, preventing paint bubbles caused by humid conditions.
What should I do if I notice paint bubbling on my walls?
If you notice paint bubbling, identify the moisture source, fix any leaks, and ensure the surface is dry before repainting with a clear coat for protection.
Can humid conditions cause paint bubbles on exterior walls?
Yes, humid conditions can trap moisture under the paint, leading to bubbles, so it’s essential to paint in optimal weather conditions.