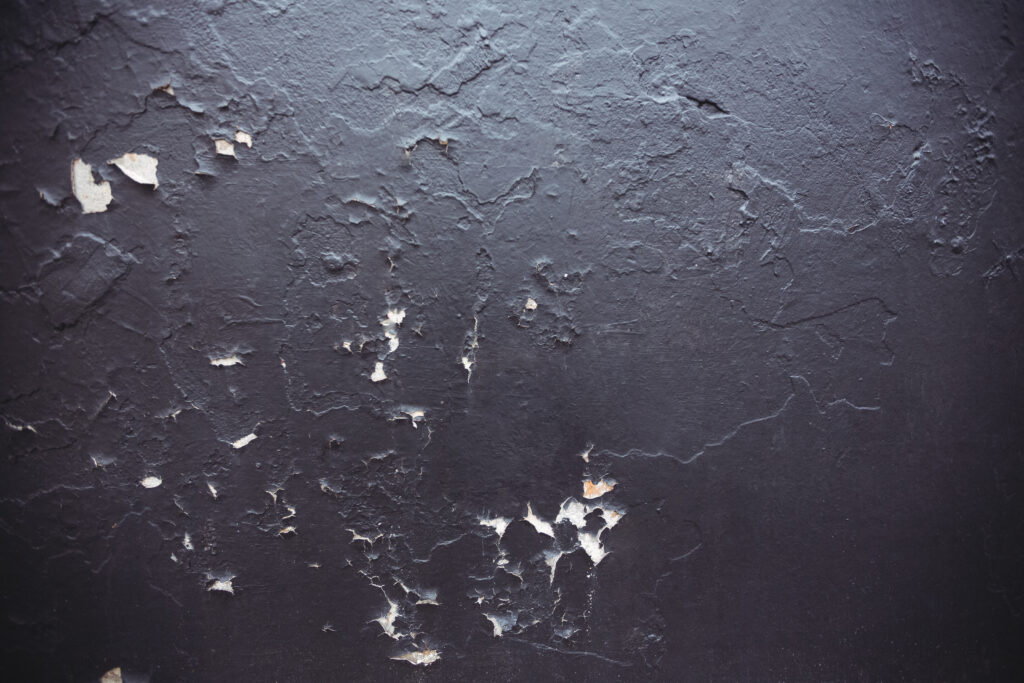
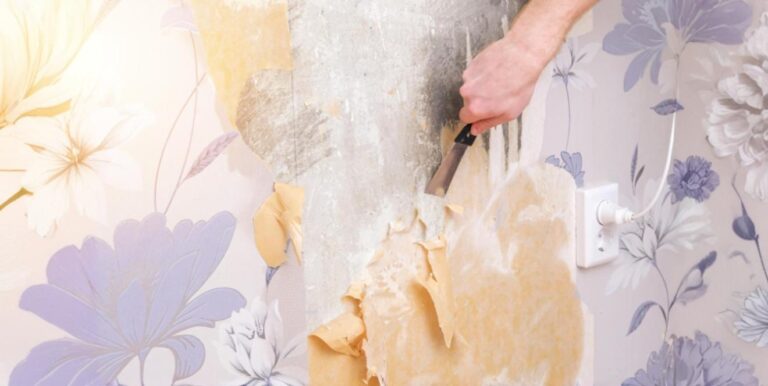
Peeling and cracked ceiling paint is a common issue that many homeowners face. Not only is it an eyesore, but it can also signal deeper problems within your home. Imagine looking up at your ceiling and seeing unsightly patches of flaky paint – it’s not the most welcoming sight. Fixing this issue not only improves the look of your home but also maintains its value. In this guide, we’ll dive into the causes of ceiling paint cracking, how to fix it, and ways to prevent it from happening in the future.
Key Takeaways
- Proper surface preparation is crucial to prevent ceiling paint peeling.
- Moisture control helps avoid cracked and flaking paint.
- Use high-quality paint and primer for a durable finish.
- Address underlying issues like water leaks before repainting.
- Consider professional painters for extensive ceiling repairs.
- Regular maintenance can prevent most common causes of paint peeling and cracking.
Causes of Ceiling Paint Cracking
Poor Paint Adhesion
Believe it or not, one of the main culprits of ceiling paint cracking is poor paint adhesion. This often happens when the surface wasn’t properly prepped before painting. If you’ve ever painted over a dirty or dusty surface, you might have noticed the paint peeling off sooner rather than later. Using incompatible paint types, such as applying oil-based paint over latex paint, can also lead to this issue. Low-quality paint or paint that’s not designed for ceilings can struggle to stick, resulting in cracks and flakes.
Moisture Issues
Moisture is another major factor that can cause your ceiling paint to crack. High humidity levels, especially in rooms like bathrooms and kitchens, can wreak havoc on your ceiling paint. Water leaks from the roof or plumbing issues can seep into the ceiling, causing the paint to bubble and peel. If your attic isn’t properly ventilated, moisture can accumulate and slowly make its way into your ceiling, leading to paint cracking over time.
Age of the Paint
Like all things, paint has a lifespan. Over time, the paint on your ceiling can degrade due to exposure to temperature fluctuations, UV light, and general wear and tear. Older paint layers may begin to separate from the ceiling, especially if they’ve been painted over multiple times without proper surface preparation. This natural degradation can lead to peeling and cracking, making your ceiling look less than its best.
Removing Peeling Paint
Preparation
The first step in fixing peeling paint is proper preparation. Start by clearing the room of furniture or covering everything with plastic sheets to protect them from falling paint particles. Gather your tools: a putty knife, paint scraper, gloves, safety glasses, and a dust mask. Proper ventilation is crucial, so make sure the area is well-ventilated. This process can be labor-intensive, but it’s a necessary step to ensure a smooth finish.
Scraping Off the Paint
Once you’re prepped, it’s time to remove the peeling paint. Begin at the edges of the peeling areas and work your way inward, using gentle but firm pressure to avoid damaging the ceiling. Collect the paint debris safely and dispose of it properly. If you encounter stubborn spots, a paint remover might come in handy. During this process, check for any underlying damage or imperfections that need to be addressed before repainting.
Repairing and Prepping the Ceiling
Fixing Imperfections
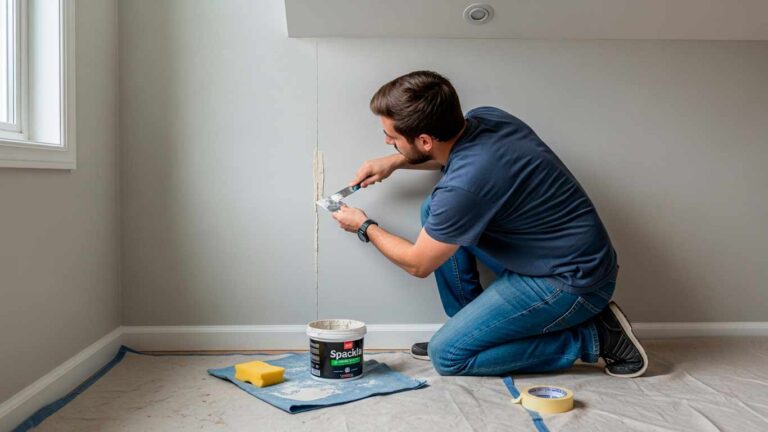
After you’ve removed the peeling paint, it’s time to fix any imperfections. Identify and fill cracks or holes with a patching compound. Once the compound is dry, sand the area to create a smooth surface, and wipe away any dust with a damp cloth. Inspect the surface for uniformity and repeat the filling and sanding process if necessary. Ensuring a smooth, even surface is key to achieving a professional-looking paint job.
Applying Primer
Applying a high-quality primer is a crucial step in prepping your ceiling. The primer creates a uniform base, enhances paint adhesion, and helps prevent future paint cracking. Make sure the primer is suitable for ceilings and allow it to dry completely before applying paint. Priming not only masks stains but also provides a solid foundation for your topcoat, ensuring that the paint adheres well and looks smooth.
Choosing the Right Paint
Types of Paint
Selecting the right type of paint for your ceiling can make a significant difference in the final result. Flat or matte finishes are typically preferred for ceilings as they help hide minor imperfections and don’t reflect light directly. For high-moisture areas like bathrooms, semi-gloss or gloss paint is recommended due to its moisture-resistant properties. Additionally, mold-resistant paint can be a great option to prevent mold or mildew buildup in wet areas, extending the life of your paint job.
Painting Techniques
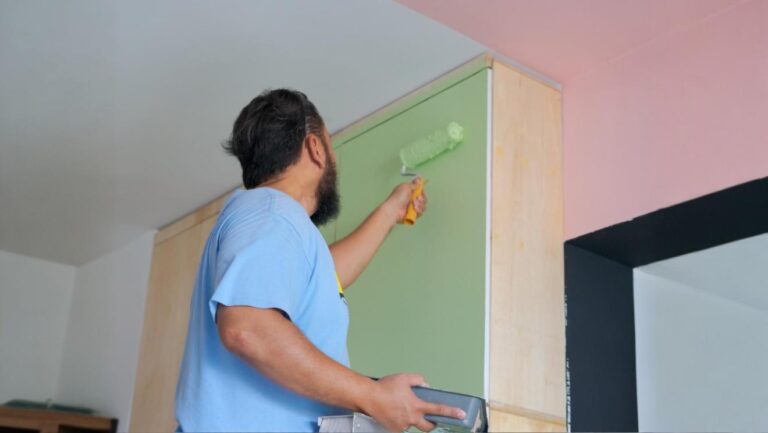
When it comes to painting techniques, a few professional tips can go a long way. The cut-in technique involves painting the edges and corners with a brush before using a roller for the larger areas. This ensures a smooth, professional finish. Overlap each stroke slightly to avoid lap marks and apply consistent pressure for uniform coverage. Applying at least two coats of paint will ensure full coverage and a more durable finish.
Fixing Cracked Ceiling Paint
Identifying Causes
When it comes to fixing cracked ceiling paint, it’s crucial to identify and address the root causes first. Moisture infiltration from the attic is a common culprit. Check for any leaks or inadequate insulation that might be allowing moisture to seep in. Incompatible paint layers, such as applying oil-based paint over latex, can also cause cracking. Poor surface preparation, environmental factors, and even temperature fluctuations contribute to the problem. Addressing these underlying issues is essential before you start the repair process.
Repair Options
There are two main options for repairing cracked ceiling paint: patching small areas or repainting the entire ceiling. For minor cracks, use a patching compound to fill the cracks and smooth out the area. After the compound dries, sand it down to create an even surface. Applying drywall tape to larger cracks can help reinforce the area before painting. Always start with a high-quality primer to ensure the new paint adheres well and prevents future cracking. If the damage is extensive, consider repainting the entire ceiling for a uniform look. For this, using high-quality primer and paint is crucial for a durable finish.
Preventing Future Paint Issues
Moisture Control
Controlling moisture is key to preventing future paint issues. Ensure proper ventilation in high-moisture areas like bathrooms and kitchens by using exhaust fans or dehumidifiers. Fix any leaks or plumbing issues promptly to prevent moisture buildup. Proper attic insulation can also help reduce moisture infiltration from above. Installing attic fans can further aid in reducing moisture levels by improving airflow and reducing humidity.
Surface Preparation
Thorough surface preparation is vital for a long-lasting paint job. Before you repaint your ceiling, make sure it’s clean and free from dirt, dust, and grease. Use appropriate cleaning solutions to remove any contaminants. Prime the surface adequately to create a solid foundation for the paint. Allow each layer of primer and paint to dry fully before applying the next to ensure a smooth, even finish.
Conclusion
Restoring a peeling or cracked ceiling can breathe new life into your space. It’s not just about improving aesthetics; it’s also about maintaining the value and integrity of your home. By understanding the causes of ceiling paint cracking and following the right steps to fix and prevent it, you can achieve a beautiful, long-lasting finish. Remember to use high-quality materials, take your time with preparation and painting, and address any underlying issues to prevent recurrence. If the task seems daunting, don’t hesitate to seek professional help from OnDemand Painters. A well-maintained ceiling not only looks great but also enhances the overall ambiance of your home, making it a place you can truly be proud of.
FAQs
What are the most common causes of ceiling paint peeling?
Peeling paint on ceilings is often caused by poor surface preparation, moisture issues like a water leak, and using low-quality or incompatible paint.
How can I fix peeling paint on my ceiling?
To fix peeling paint, remove the flaking paint, repair any cracks or imperfections, and apply a high-quality primer and paint.
Why does paint crack or peel after it’s been applied?
Paint can crack or peel if the surface wasn’t properly primed or if there were underlying issues like moisture or poor adhesion between layers.
Is it better to use oil-based paints or latex paints for ceilings?
Latex paints are generally better for ceilings as they are easier to work with and dry faster, but oil-based paints can be more durable for high-traffic areas.
Should I hire professional painters for fixing flaking paint on my ceiling?
Hiring professional painters is recommended for extensive damage or if you want to ensure the whole ceiling is properly primed and painted, especially using brands like Benjamin Moore.


