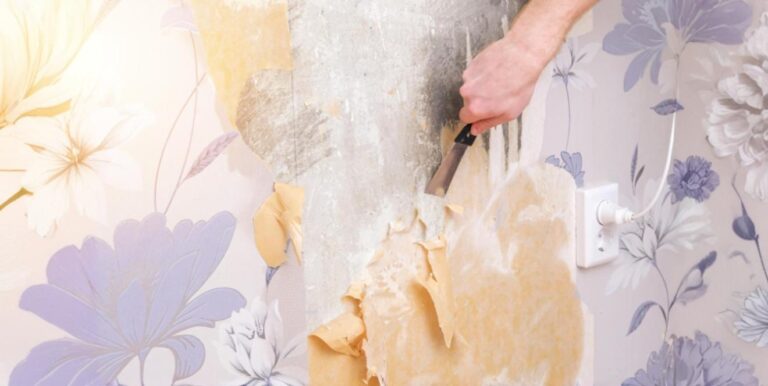


Priming walls is one of the final steps before painting, but proper preparation is essential for a professional finish. After drywall installation and joint compound application, sanding creates fine dust that must be addressed. This guide explains the importance of cleaning drywall dust and the best methods to achieve professional results.
Key Takeaways
- Thorough removal of drywall dust is essential for proper paint adhesion and a smoother surface that won’t show imperfections later.
- New drywall installation creates significant amounts of dust from joint compound and drywall mud that must be completely cleaned before any primer is applied.
- Professional contractors use specialized equipment like HEPA vacuums and leaf blowers to ensure surfaces are dust-free, particularly when dealing with an entire house renovation.
- The two-coat cleaning process—first dry then damp—ensures dust remaining from drywall sheets and skim coat application is fully removed.
- Professional services like OnDemand Painters bring expertise and specialized equipment to ensure proper dust removal, especially crucial for large-scale projects.
- Creating a clean, dust-free environment with controlled humidity and temperature is crucial for achieving a durable paint finish that will last for years.
Why You Need to Clean Drywall Dust Before Priming
Drywall dust poses several challenges for paint adhesion and finish quality. The fine particles create a barrier between the primer and wall surface, leading to peeling and flaking paint over time. Professional painters know that skipping this crucial step can result in costly repairs later.
Paint Adhesion Issues
Paint adhesion relies on direct contact with the wall surface. Dust particles prevent this contact, similar to trying to stick tape to a dusty surface. The primer needs a clean surface to bond properly and create a lasting foundation for paint.
Surface Quality Problems
The texture of drywall dust also affects the final appearance of painted walls. Even small amounts of dust can create bumps and imperfections in the paint finish. These flaws become more visible in certain lighting conditions and mar the professional look of the paint job.
Additionally, drywall dust mixed into wet primer or paint can change its consistency. This altered mixture won’t provide the smooth, even coverage needed for a professional finish. Professional painters, like OnDemand Painters, always ensure surfaces are properly cleaned to avoid these issues.
Long-term Issues
- Uneven paint sheen across wall surfaces
- Visible lines where joint compound was applied
- Rough texture in previously smooth areas
- Paint bubbling or separating from the wall
- Increased maintenance and touch-up needs
Understanding Drywall Dust and Joint Compound
Drywall dust comes from sanding joint compound, also called drywall mud, which covers seams and screw holes. This fine, white powder consists of gypsum and other materials used in joint compound manufacturing. The dust particles are so fine they can remain airborne for hours and settle on all surfaces.
Types of Joint Compound
Joint compound creates dust during the sanding process required to achieve smooth walls. Different types of joint compound exist:
- All-purpose compound for most drywall tasks
- Topping compound for final coats
- Quick-setting compound for repairs
- Lightweight compound for easier sanding
Each type produces varying amounts of dust during sanding. The dust settles in corners, on window sills, and along baseboards. It also clings to wall surfaces, especially in textured areas and around electrical outlets.
The challenge with joint compound dust lies in its composition. When the dust gets wet, it can reactivate and create a paste-like substance. This reaction makes cleaning methods crucial, as using too much water can create new problems instead of solving existing ones.
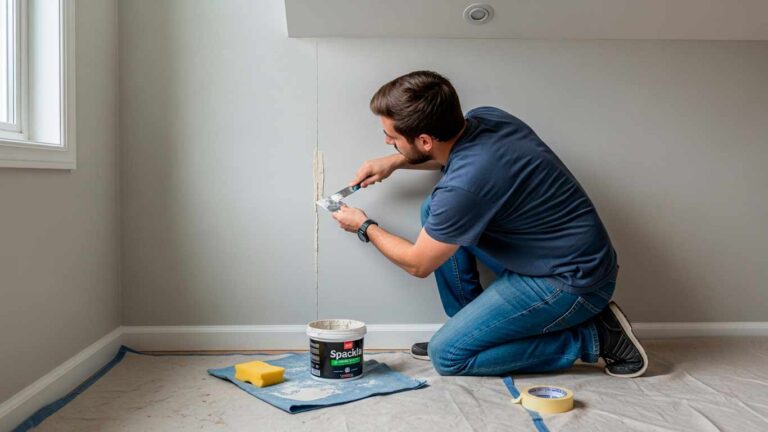
Essential Steps for Cleaning Drywall Dust
Proper cleaning requires specific steps and safety equipment to protect both workers and surfaces. Always wear a dust mask, safety goggles, and gloves when cleaning drywall dust to prevent respiratory issues and skin irritation.
Initial Dust Removal
Begin by using a soft-bristled broom to sweep walls methodically from top to bottom. Next, thoroughly vacuum floors and corners using a HEPA-filtered vacuum to capture fine particles. It’s crucial to allow dust to settle between cleaning passes to ensure thorough removal. After the initial cleaning, wipe all surfaces with a slightly damp microfiber cloth to catch remaining particles. Finally, allow walls to dry completely before beginning any priming work.
Handling Problem Areas
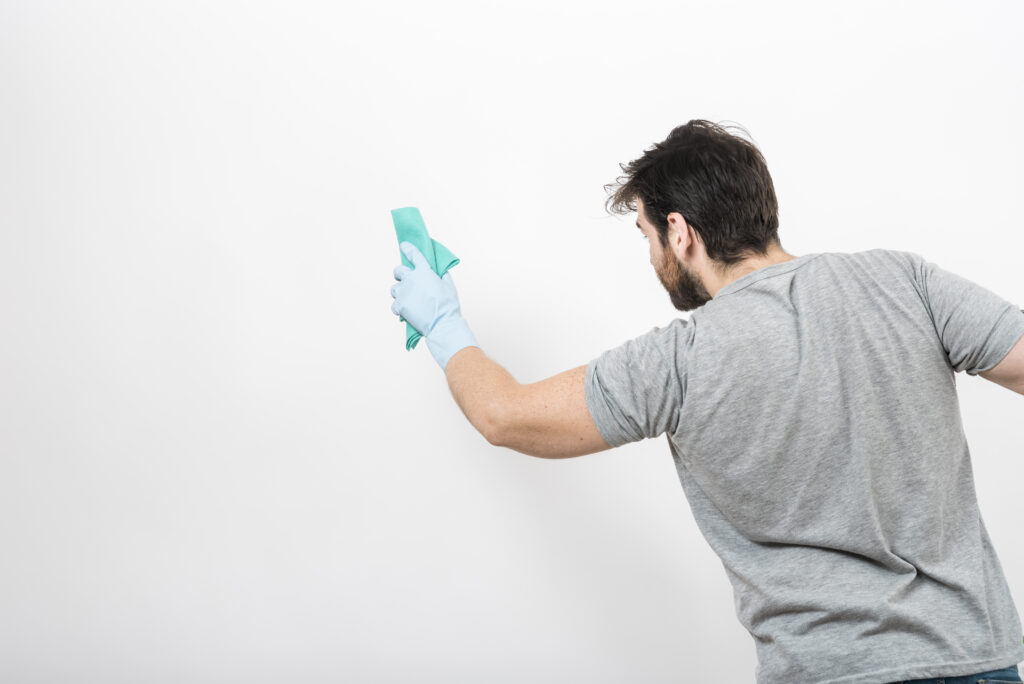
Start problem area cleaning with a dry microfiber cloth to remove loose particles. Once loose dust is removed, follow up with a barely damp cloth to catch embedded particles. Take care to avoid saturating the drywall surface as this can damage the material. Corners and edges require special attention as dust tends to accumulate in these areas. Use good lighting throughout the process to ensure no dust patches are missed.
Room Preparation
Begin preparation by removing all furniture from the space or covering it completely with protective materials. Cover floors thoroughly with plastic sheeting to protect surfaces and make cleanup easier. All doorways should be sealed off to contain dust within the work area. Proper ventilation must be established and maintained throughout the cleaning process. Set up adequate lighting to help spot remaining dust deposits.
Environmental Factors
Temperature and humidity significantly affect dust cleaning effectiveness. The ideal room temperature should be maintained between 60-80°F for optimal results. Keep humidity levels below 50% to prevent moisture-related issues. Good air circulation helps remove airborne particles while adequate lighting reveals dust accumulation. Minimize air movement during settling periods to prevent dust redistribution.
Surface-Specific Techniques
For smooth walls, use gentle, straight strokes avoiding circular motions that can redistribute dust. Work systematically from top to bottom in overlapping sections to ensure complete coverage. Regular checks with angled lighting help identify missed areas. When dealing with textured surfaces, employ soft-bristled brushes and apply minimal pressure to prevent damage. Clean in the direction of the texture pattern and allocate extra time for cleaning deeper grooves. For corners and edges, utilize specialized corner tools designed for detailed cleaning. Clean both sides of corners simultaneously for efficiency, paying extra attention to ceiling corners where dust accumulates heavily. Remove built-up dust deposits with particular care to avoid damaging surfaces.
Equipment Maintenance
Regular equipment maintenance is essential throughout the cleaning process. Rinse cleaning cloths frequently to maintain their effectiveness and prevent dust redistribution. Vacuum filters should be changed as needed to maintain suction power. Empty dust collection bags before they become full to maintain optimal performance. Clean all tools thoroughly between rooms to prevent cross-contamination. Replace any worn-out materials promptly to ensure effective cleaning continues.
Tools and Materials for Effective Cleaning
Professional drywall dust cleanup requires specific equipment to ensure thorough removal. Using the right tools prevents damage to surfaces and improves cleaning efficiency.
For essential equipment, you’ll need a HEPA-filtered vacuum equipped with a wall brush attachment, along with microfiber cloths and mop heads for thorough cleaning. Soft-bristled brooms and brushes are necessary for initial dust removal, while damp cleaning sponges help with stubborn areas. Extension poles allow access to high areas, and proper protection requires drop cloths and plastic sheeting. Tack cloths are essential for final dust removal steps.
Safety equipment is equally important during the cleaning process. Workers should wear N95 or better dust masks, safety goggles with side protection, and disposable gloves. Long-sleeved clothing protects skin from dust exposure, and hair coverings are necessary for extensive cleaning projects.
Professional Methods for Cleaning Drywall Dust
Professional painters follow systematic approaches to ensure complete dust removal before priming. These methods save time and guarantee better results.
Vacuum-First Method
- Start with dry vacuum cleaning
- Use wall attachments for vertical surfaces
- Clean from ceiling to floor
- Pay special attention to trim and corners
- Repeat process in problem areas
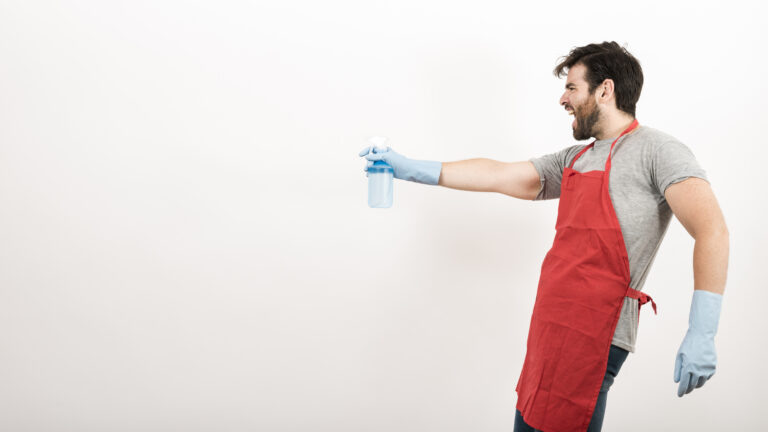
Damp Cleaning Process
The damp cleaning process begins with mixing an appropriate cleaning solution if needed. Cloths should be wrung until nearly dry to prevent wall damage. Working in small sections ensures thorough cleaning, while frequent cloth rinsing prevents dust redistribution. All surfaces must dry completely before proceeding to the next step.
Professional cleaners employ several advanced methods for optimal results. They use tack cloths for final cleaning and employ air scrubbers in large spaces. Creating negative air pressure helps contain dust, while specialized drywall vacuum attachments ensure thorough cleaning. Throughout the process, humidity levels are carefully monitored to prevent moisture-related issues.
Advanced Techniques
Professional cleaners employ several advanced methods for optimal results. They use tack cloths for final cleaning and employ air scrubbers in large spaces. Creating negative air pressure helps contain dust, while specialized drywall vacuum attachments ensure thorough cleaning. Throughout the process, humidity levels are carefully monitored to prevent moisture-related issues.
Common Mistakes to Avoid
Many DIY painters make errors during the cleaning process that affect paint quality. The most common cleaning errors include using excessive water, rushing through the process, and missing hard-to-reach areas. Proper drying time is often overlooked, and inappropriate tools can damage surfaces rather than clean them effectively.
Timing issues frequently arise when priming begins before thorough cleaning is complete. Dust must be allowed to settle fully, and rushing between cleaning steps leads to poor results. Poor lighting conditions make it difficult to spot remaining dust, and high humidity can interfere with proper cleaning and drying.
To prevent these issues, plan adequate time for cleaning and check weather conditions before starting. Proper ventilation is crucial throughout the process. Always test cleaning methods in small areas first and document problem areas that may need extra attention.
When to Call Professional Painters
Some projects benefit from professional cleaning and priming services. Professional teams like OnDemand Painters bring specialized equipment access, experienced cleaning techniques, and proper safety protocols to every job. Their time-efficient processes and guaranteed results often justify the investment.
When considering professional services, evaluate several project factors. The size of the area and height of walls and ceilings affect complexity. Time constraints, surface conditions, and budget requirements all play crucial roles in the decision-making process. Cost factors include square footage, surface complexity, time requirements, material costs, and labor needs.
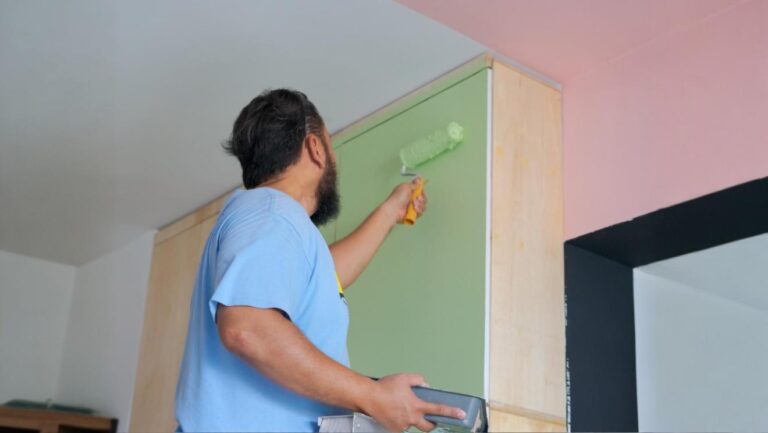
Final Steps Before Priming
Before beginning the priming process, a thorough surface inspection is essential. Check all areas with bright lighting and run your hand over surfaces to feel for remaining dust. Carefully inspect corners and edges where dust often accumulates. Verify complete surface dryness and document any remaining issues that need attention.
Environmental control remains crucial during this final stage. Maintain proper temperature and humidity levels throughout the space. Ensure adequate ventilation while minimizing air movement that could redistribute dust. All clean surfaces must be protected until priming begins.
Conclusion
A clean surface forms the foundation of any quality paint job. The proper removal of drywall dust before priming prevents common issues like poor adhesion, uneven finishes, and premature paint failure. Following professional cleaning methods and using appropriate tools ensures the best possible results.
For small projects, careful attention to cleaning techniques and proper safety equipment can achieve good results. However, larger projects or challenging spaces often benefit from professional services. Companies like OnDemand Painters bring expertise, specialized equipment, and proven methods to ensure thorough dust removal and proper surface preparation.
Remember that investing time in proper cleaning saves money and frustration in the long run. Whether choosing DIY methods or professional services, thorough drywall dust removal remains essential for achieving a durable, professional-quality paint finish that lasts for years.
FAQs
How long should I wait after installing new drywall before priming?
Allow at least 24 hours after cleaning the entire surface to ensure all moisture has evaporated and the walls are completely dry.
Can I use a leaf blower to clean drywall dust indoors?
While a leaf blower can effectively remove dust, it’s best used in well-ventilated spaces or when you can direct the dust outdoors through windows to avoid spreading it throughout the house.
Why does my drywall contractor recommend a skim coat after sanding?
A skim coat helps create smoother surfaces by filling minor imperfections and providing an even base for paint, especially in areas with challenging lighting.
Is using a sanding block better than power sanders for final touches?
A sanding block offers better control for detail work and creates less airborne dust, making it ideal for touch-ups and achieving a smoother finish.
Do I need two coats of primer on new drywall?
Most new drywall requires two coats of primer to properly seal the surface and provide an even base for paint, especially over joint compound areas.
How can I tell if my walls are clean enough for priming?
Run your hand over the wall surface and shine a bright light across it at an angle – you shouldn’t feel any grit or see any dust particles catching the light.