How Long Does Spackle Take to Dry? Quick Guide
Spackle takes anywhere from 15 minutes to 24 hours to dry depending on the type you use. Quick dry spackle can be ready in 15-30 minutes, while standard spackle needs 1-2 hours to dry and a full 24 hours to cure completely. Environmental factors like humidity, temperature, and air circulation also impact spackle drying time.
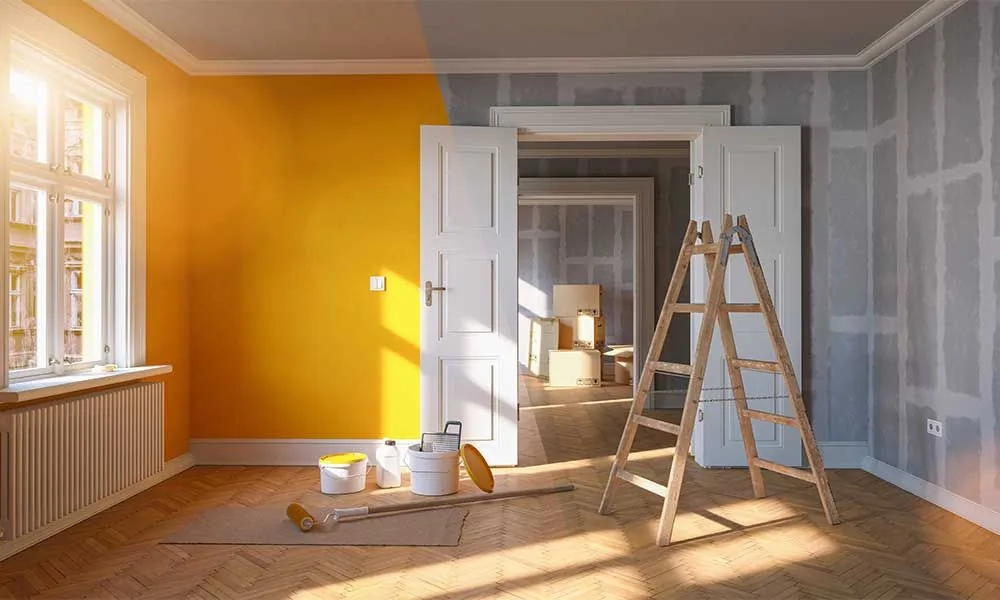
Wall repair is a very useful skill every homeowner needs. When you find holes in your walls, you need to know how long spackle takes to dry before moving forward with painting projects.
Understanding spackle drying time matters for planning your DIY project tasks. Let’s look at what affects drying time and how you can speed things up.
Key Takeaways
- Quick dry spackle needs just 15-30 minutes while standard spackle requires 1-2 hours to dry and 24 hours to cure.
- Holes deeper than ¼ inch need multiple thin coats with each layer allowed to fully dry before applying the next.
- Temperature between 50-90°F and low humidity create the best conditions for spackle to dry quickly.
- Always sand the repaired area smooth and prime before painting to prevent patches from showing through.
- Never paint over wet spackle as it causes bubbling, peeling, and cracking on your drywall.
- OnDemand Painters handles spackle application professionally so you don’t have to worry about the drying process or joint compound repairs.
Learn how longspackle will last when stored
Understanding Spackle and Joint Compound
What Is Spackle?
Spackle is a putty-like compound for minor repairs. It comes as premixed spackle or powdered compound. Most people prefer to buy premixed spackle for convenience.
You can buy spackle at any home improvement store. It’s designed for small holes and surface imperfections.
Spackle vs. Joint Compound
Joint compound (also called drywall compound or drywall mud) serves different purposes. Joint compound takes longer drying time than spackle.
Drywall compound works better for large holes. Spackle handles screw hole repairs and small holes more effectively. Understanding the type of spackle versus compound helps you choose correctly.
Types of Spackle and Their Drying Times
Different spackle types have varying dry times based on their composition.
Standard Spackle
Standard spackle is gypsum-based and the most common option. It takes 1-2 hours to dry but needs 24 hours to fully dry and cure.
This works best for everyday repair on walls and drywall surfaces. You’ll find it throughout the Sacramento area at convenient locations.
Quick Dry Spackle and Fast Drying Spackle
Quick dry spackle dries in 15-30 minutes. You can start sanding in 1-2 hours.
Both fast dry and quick dry formulas work great for nail holes and tiny dings.
Lightweight Spackle
Lightweight spackle is easier to work with for beginners. It dries faster than standard options and is great for DIY project work.
Epoxy Spackle
Epoxy spackle offers higher adhesive strength. It takes 24 hours to completely dry.
This is best for large holes and deeper damage. The higher adhesive strength means longer-lasting results.
Acrylic Spackle
Acrylic spackle works on multiple surfaces and takes 2-4 hours to dry. This is perfect for deep gouges.
It works on drywall, wood, plaster, and stone. It doesn’t crumble when dry but requires more powerful sanding tools.
Factors That Affect Spackle Drying Time
Several factors impact how long spackle takes to dry beyond just the product type.
Size and Depth of Your Repair
Holes deeper than ¼ inch need multiple applications. Large holes take longer than small holes.
Deep gouges trap moisture longer. Shallow repairs expose more surface area, which helps spackle dry faster.
Temperature in Your Project Space
Temperature affects how spackle takes to dry. The ideal range is 50-90°F.
Extreme hot or extreme cold slows things down. Cold air holds less moisture, which actually helps.
Humidity and Moisture Levels
High humidity is your enemy. Moisture in air prevents spackle moisture from evaporating.
High humidity extends drying time significantly. The Sacramento area has different humidity than coastal regions. Environmental factors matter for controlling the drying process.
Air Circulation Around the Repaired Area
Moving air makes spackle dry faster. Good air circulation reduces wait time.
Ventilation matters for both small and large repairs. Other factors like room size also play a role.
How to Apply Spackle the Right Way
Having proper tools and technique helps your repairs dry correctly.
Tools You Need
- Putty knife (your main tool)
- Sandpaper for finishing
- Damp cloth for cleanup
- The right type of spackle for your job
Everything is available at home improvement store locations.
Step-by-Step Application Process
Step 1: Prepare the Surface
Clean around holes. Remove loose material and wipe away dust.
**Step 2: **
Load Your Putty Knife Get enough on the blade without overloading it.
**Step 3: **
Apply in Downward Motion Starting at the Top Fill until completely filled. Press firmly but don’t pull putty from the hole. Work in downward motion for best results.
Step 4: Clean Up Residual Compound
Wipe excess immediately. Use a damp cloth around edges.
Step 5: Check and Reapply if Needed
Spackle takes time to settle. Holes deeper than ¼ inch often need a second coat.
Step 6: Wait for It to Dry Completely
Follow the times mentioned earlier for your spackle type. Do a touch test before moving forward.
Step 7: Lightly Sand the Repaired Area
Sand smooth and flush with the wall. Wipe away dust before painting.
How to Make Spackle Dry Faster
When you’re short on time, try these methods to speed up spackle drying time.
Use a Dehumidifier
A dehumidifier removes moisture from the air. It’s essential in high humidity conditions and helps spackle dry faster indoors.
Turn On Your Air Conditioner
An air conditioner does double duty. Cold air reduces humidity while controlling project space temperature.
This works well for larger painting projects.
Increase Air Circulation with Fans
Position fans strategically. Blow air across the repair surface to create consistent airflow.
This works for walls and ceiling painting prep. It helps everything dry faster.
Use a Blow Dryer for Quick Fixes
A blow dryer works for small repairs. Keep it on low or cool setting. Move constantly and don’t hold too close.
This is great for screw hole repairs.
Apply Thin Coats
Multiple thin layers beat one thick application. Each layer should be fully dry before the next.
This prevents cracking and speeds overall drying time.
How Soon Can You Paint Over Spackle?
Timing depends on several factors. The type of spackle you used determines wait time:
- Quick dry spackle: 1-2 hours minimum
- Standard spackle: 24 hours recommended
- Epoxy spackle: Full 24 hours required
Do a touch test. It should feel dry to the touch.
Prime Before Painting
Always prime spackled areas first. This prevents “flashing” where patches show through. Don’t skip this even on small repairs.
Professional interior painting services like OnDemand Painters serving the Sacramento area understand these timing requirements and plan accordingly for quality results.
What Happens If You Paint Over Wet Spackle?
Don’t make this mistake. Painting over wet spackle causes serious problems:
- Paint bubbling and peeling
- Uneven finish
- Visible patches even after multiple coats
- Moisture trapped beneath the surface
- Cracking as spackle continues drying
Always wait for spackle to dry completely and fully before you start sanding or painting. Check that it’s completely dry by touch before moving forward.
Can You Spackle and Paint the Same Day?
Only under specific conditions.
When It ‘s Possible
You can do same-day work when using fast drying spackle specifically. This only works for minor repairs like nail holes.
You need ideal temperature with low humidity. Good air circulation must be in place.
When You Shouldn ‘t Rush
Don’t rush with large holes or deep repairs. Don’t rush when using standard or epoxy spackle.
High humidity conditions require more wait time. Professional results always matter more than speed.
Most professionals recommend waiting overnight, especially for visible walls in living areas.
Conclusion
Understanding how long spackle take to dry depends on multiple factors working together. The type of spackle matters most, but environmental factors, repair size, and application technique all play important roles.
Whether you’re handling a DIY project or planning painting projects for your home, knowing these drying times helps you plan effectively.
For homeowners in the Sacramento area who want professional results, OnDemand Painters offers expert interior painting services and ceiling painting at convenient locations. We understand spackle drying time, use the proper tools and techniques, and deliver repairs that last.
Taking the extra time to let spackle dry fully means better-looking walls and longer-lasting repairs.
How long does spackle take to dry?
Spackle takes 15 minutes to 24 hours to dry depending on the type. Quick dry formulas are ready in 15-30 minutes, while standard spackle needs 1-2 hours to dry and 24 hours to cure completely before painting.
Can I use spackle on drywall?
Yes, spackle works perfectly on drywall for small holes, nail holes, and surface imperfections. It’s specifically designed for drywall repairs and is easier to work with than joint compound for minor fixes.
What ‘s the difference between spackle and drywall compound?
Spackle is best for small holes and quick repairs, while drywall compound (also called joint compound) works better for large holes and seams. Spackle dries faster and is ready to sand sooner than drywall mud.
How do I know when spackle is completely dry?
Touch the repaired area gently. If it feels cool or soft, it needs more time. Completely dry spackle feels hard, warm to the touch, and matches the temperature of the surrounding wall.
Can I speed up how long spackle takes to dry?
Yes, use fans to increase air circulation, run a dehumidifier to remove moisture, or turn on the air conditioner. Apply thin coats instead of thick ones, and maintain room temperature between 50-90°F.
Do I need to prime drywall after spackling?
Yes, always prime spackled areas before painting. Without primer, the repaired spots will show through your paint as lighter patches, even after multiple coats.
Contents
Does Spackle Go Bad? Shelf Life and Storage Tips
How to Wash Walls Before Painting
Wood Porch Paint Ideas: Transform Your Outdoor Space
Elastomeric Paint: Complete Guide to Coatings
[
Chris Heerdegen
Chris Heerdegen is the founder and owner of OnDemand Painters, a painting and finishing company serving six metro markets across the Midwest and Florida. With over 20 years in the industry since 2001, Chris built OnDemand around a simple idea: answer the phone, show up when you say you will, and do the kind of work that earns a review.
All Posts