A fresh coat of paint can do wonders for your home’s interior. It can brighten up a dark room, add personality to bland walls, and protect surfaces from wear and tear. But before you start painting, there’s some prep work that needs to be done.
First, unless you’re an experienced painter, the process can be quite daunting and even a bit messy. You’ll need to protect your floors, furniture, and other surfaces from paint splatters and drips. And unless you have the right tools and supplies, the job will be that much more difficult.
That’s why many homeowners opt to hire a professional painter instead of taking on the task themselves. A professional painter will have the experience and expertise to get the paint job done quickly and efficiently. Plus, they’ll have all the necessary tools and supplies on hand. But finding a reputable contractor or company that provides interior house painting services can be tricky.
Get an accurate quote in as little as 10 minutes!
Here are a few painting tips to get started.
Start with a clean slate:
Before painting your interior walls, make sure all surfaces are clean and free of dust or debris. This will help the paint adhere better and create a more even finish.
Prime problem areas:
If there are any cracks, holes, or other imperfections in your wall surface, use primer to fill them in before painting. This will create a smoother surface for the paint and help hide any flaws.
Tape it off:
Use painter’s tape to mask off any areas you don’t want painted, such as baseboards, moldings, or window frames. This step is especially important if you’re working with multiple colors.
Protect your floors and surfaces:
Once the room is empty, it’s time to protect your floors and surfaces from paint. You can do this by laying down a drop cloths or tarp. Be sure to smooth out any wrinkles or creases so that the fabric lies flat against the floor. This will help prevent paint from seeping through and ruining your flooring.
Repair any damaged walls:
If there are any cracks, holes, or other damage to the walls, now is the time to repair them. This will help create a smooth surface for painting and will also help prevent further damage down the road.
Remove wall hangings and ornaments:
This includes anything that is hung on the walls, such as pictures, mirrors, etc. It’s best to remove these items before painting so that you don’t have to worry about paint splatters or drips.
Remove or cover electronics and appliances:
Any electronics or appliances that are in the room will need to be removed or covered. This includes things like televisions, stereos, and computers. Be sure to unplug all electronics before moving them.
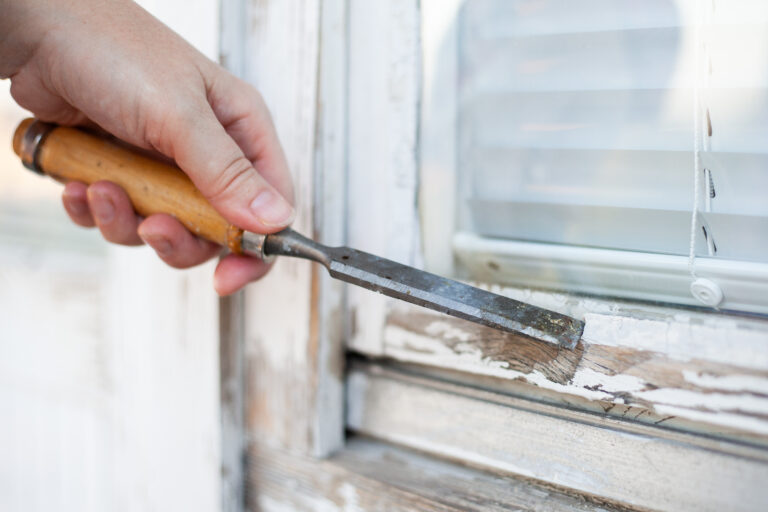
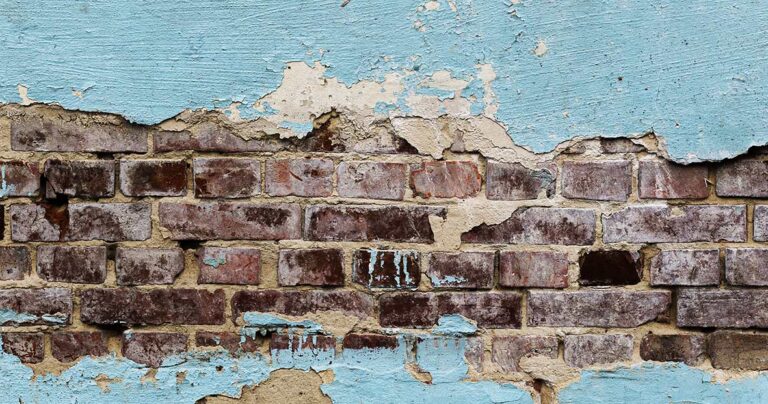
Scrape off any loose paint:
If there are any areas of loose or old paint, you’ll need to scrape them off before painting. This will help create a smooth surface for the new paint to adhere to.
Sand down rough areas:
If there are any rough spots on the walls, you’ll need to sand them down. This will help create a smooth surface for painting.
Now that you know how to prep a house interior, you can begin the painting process of choosing the right colors and materials.

Choosing the Right Paint
You need to take into consideration the type of paint, the color, and the sheen. The three most common types of paint are:
- Latex paint : It is the most popular type of paint because it is easy to clean up and it dries quickly.
- Oil-based: It takes longer to dry but it is more durable
- Alkyd: It is similar to oil-based but it dries even slower.
As far as color goes, you want to choose a color that will complement your décor and make the room feel warm and inviting.
- The sheen refers to the amount of light that reflects off the paint and ranges from flat to high gloss.
- A flat finish has no shine and is best for walls that have imperfections.
- An eggshell finish has a small amount of shine and is good for hiding imperfections.
- A semi-gloss finish has a medium amount of shine and is ideal for kitchens and bathrooms because it is easy to clean.
- A high-gloss finish has a lot of shine and works well on trim because it makes scratches less noticeable.
Materials and Supplies Needed
– drop cloth or plastic sheeting to protect floors and surfaces from paint splatters
– painter’s tape to mask off any areas you don’t want painted
– primer to help the paint adhere better to surfaces
– paintbrush or roller and extension pole (if needed)
– paint tray or liner
– paint stirrer
– ladders (if needed)
Benefits of Hiring interior house painting services vs Do it Yourself
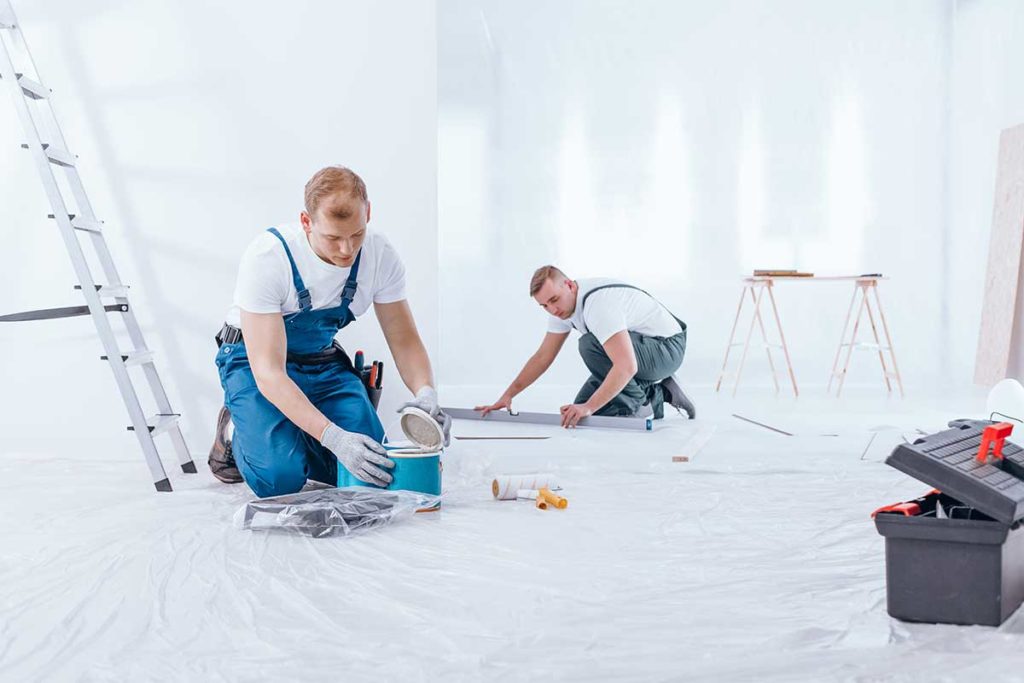
While painting may seem like a straightforward task, there are actually many benefits of hiring professional painters that can save you time, money, and hassle in the long run.
Professionals Have the Experience and Expertise:
One of the biggest advantages of hiring professional painters is that they have the experience and expertise to get the job done right. Professional painters have been trained on how to properly prep, paint, and finish a variety of surfaces. They also know which products and techniques will produce the best results for your specific project.
Professionals Save You Time:
Another advantage of hiring professional painters is that they can save you a considerable amount of time. When you hire professionals, you won’t have to spend time researching painting techniques or products, or waste time trial-and-error to find what works best. Professionals will also complete the job in a fraction of the time it would take you to do it yourself.
Professionals Can Save You Money:
Hiring professional painters can actually save you money in the long run. When you try to tackle a painting project yourself, there’s always the potential for costly mistakes that will end up costing you more to fix. Professional painters, on the other hand, will get the job done right the first time, which can save you money in the long run.


