When it comes to caulking in home maintenance and painting projects, a big question is whether to caulk before or after painting. This decision really depends on a few things, like the kind of caulk you’re using, the surface you’re painting, and what your project needs.
Understanding Caulk
You’ll find many kinds of caulk out there, each designed for specific uses. Silicone caulk is tough and great for places that get wet, so it’s a top choice for outdoors. Acrylic latex caulk, meanwhile, works really well inside because it’s easy to use and gets along with paint. The caulk you pick can make a big difference in how your painting project turns out.
Preparing for Caulking
Before diving into your caulking task, make sure you have the right tools. You’ll need a caulk gun for most caulk types, and a putty knife is handy for smoothing out the caulk. Getting the surface ready is just as important. Clear off any old caulk and wipe the area with a damp cloth. This prep work ensures the new caulk sticks well and gives you a neat finish.
The Caulking Process
Caulking might look easy, but doing it like a pro takes some skill. Begin by snipping the caulk tube’s tip at a 45-degree angle for better control. Keep the caulk gun at a steady angle and apply even pressure for a uniform line of caulk. Once it’s on, use a putty knife or your finger to smooth it out, making sure it blends nicely with the area around it.
Caulk Before or After Painting?
Deciding whether to caulk before or after painting really depends on what your project needs. If you caulk before painting, you can get a seamless look because the paint blends the caulk into the surrounding area. But be ready for possible touch-ups if the caulk shrinks or expands as it dries. On the other hand, caulking after you paint might be trickier to match colors perfectly, but it gives you sharp, clean caulk lines that can boost the overall look of your paint job.
When you choose to caulk after painting, you gain the benefit of sharp, distinct lines. This approach prevents paint from smearing over the caulk, aiming for a more polished and professional finish. But remember, it takes a steady hand to make sure the fresh caulk doesn’t mess up your paintwork.
How to Choose When to Caulk: Exterior vs. Interior Projects
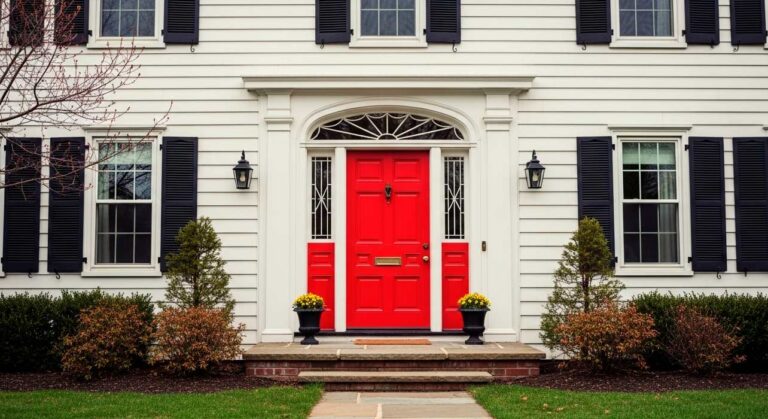
Several factors play a role in deciding whether to caulk before or after painting. One key factor is the nature of the project. For exterior painting jobs, caulking usually happens before painting. This seals up gaps against the weather, like moisture and wind. It’s not just about looking good; it also helps make your home more energy-efficient by blocking air leaks.
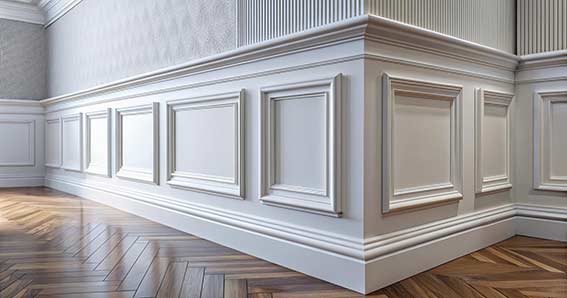
That being said, for interior work, particularly on trim and baseboards, you might find caulking after painting works better for a cleaner, sharper look. Another thing to think about is the surface material. Whether it’s wood, vinyl siding, or drywall, each may need a slightly different approach to caulking and painting.
Choosing the Right Caulk for Your Project
When it comes to picking the right caulk, it’s a game-changer for both how well your project turns out and how it looks. For outdoor projects, your best bet is silicone caulk or any exterior caulk that’s made to handle the outdoors. These types can take on extreme weather and keep moisture damage at bay.
Now, for indoor work, a paintable caulk like acrylic latex is the way to go. It blends right in with your walls and trim because you can paint over it easily. Always think about what your project needs and pick a caulk that matches those needs perfectly.
How to Properly Caulk for Painting Projects

Getting caulking right is about more than just having the right stuff. It’s also about the way you do it. Let’s walk through the steps for a caulking job that looks professional:
Surface Preparation: First, make sure the surface you’re caulking is clean and dry. Scrape off any old caulk with a utility knife and wipe down the area with a damp cloth.
Applying Caulk: For a precise job, cut the tip of your caulk tube at a 45-degree angle. Then, using a caulk gun, apply the caulk evenly along the seam or gap. Be thorough and fill the space completely, avoiding any gaps.
Smoothing the Caulk: Once you’ve got your caulk on there, smooth it out with a putty knife or even your finger (just dip it in some soapy water first). This step is key to getting that neat, professional look.
Drying and Curing: You’ve got to let the caulk dry all the way before you start painting. Check the caulk’s label for the exact drying time, as it can differ between caulk types.
How to Keep Your Caulk Lasting Longer
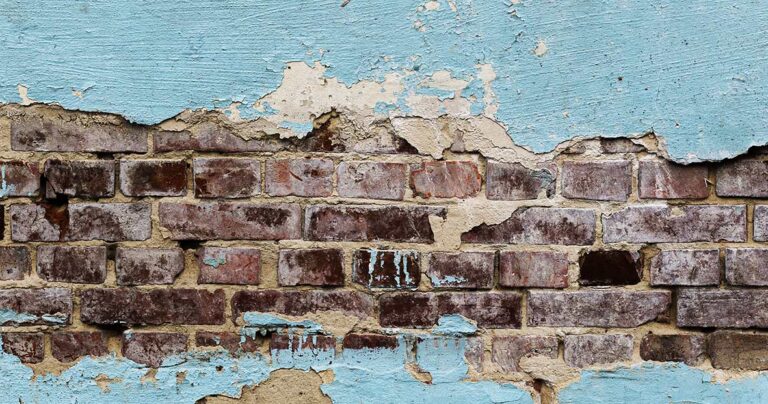
Keeping your caulking in good shape is a big part of keeping your home well-maintained. Make it a habit to regularly check the caulking, especially in places that get a lot of moisture like bathrooms, kitchens, and around windows and doors. Be on the lookout for any cracks or peeling. Fixing these issues quickly is key to avoiding water damage and keeping both your paint job and the outside of your home looking great.
FAQs
Should you apply caulk before or after you paint?
Whether you apply caulk before or after painting depends on the project. For exterior projects, it’s common to apply exterior caulking before painting. On interior projects, like caulk trim, doing it after painting often leads to a neater finish.
Should you seal gaps with caulk before or after painting?
Sealing gaps with caulk, especially for exterior projects, is best done before painting. This approach helps create a uniform and long-lasting paint job.
Do you caulk baseboards before or after painting skirting?
Caulking baseboards after painting skirting usually gives a cleaner, more professional appearance. But, if there are large gaps, caulking before painting might be the better option.
Can you apply caulk and paint at the same time?
It’s best to wait until the caulk is completely dry before painting over it. Painting over wet caulk can ruin the finish and might require extra touch-ups later.
How long should you wait to paint after applying caulk?
The wait time before painting over caulk varies with the type of caulk. Generally, wait at least 24 hours for the caulk to dry completely. Check the manufacturer’s instructions for exact drying times.
Is there a difference in applying caulk for indoor and outdoor use?
The basic technique is similar, but exterior caulking typically requires tougher materials like silicone caulking to handle the elements. Indoor caulking, like when you caulk trim or baseboards, often involves more paintable options, such as acrylic latex caulk.
Can you paint over old caulk?
It’s not advised to paint over old, deteriorating caulk. Removing excess caulk and applying fresh caulk will provide a better and more lasting finish.


